Have you ever looked at an Oreo cookie and thought, “This would be even better inside another cookie”? Well, I certainly have, and that’s exactly how my obsession with these Cookies & Cream Cookies began. These aren’t just any cookies – they’re a meta cookie experience that combines the iconic flavor of cream-filled sandwich cookies with the warm, gooey goodness of a classic chocolate chip cookie. The result? A treat that’s twice as nice and impossible to resist.
The Magic of Cookies & Cream
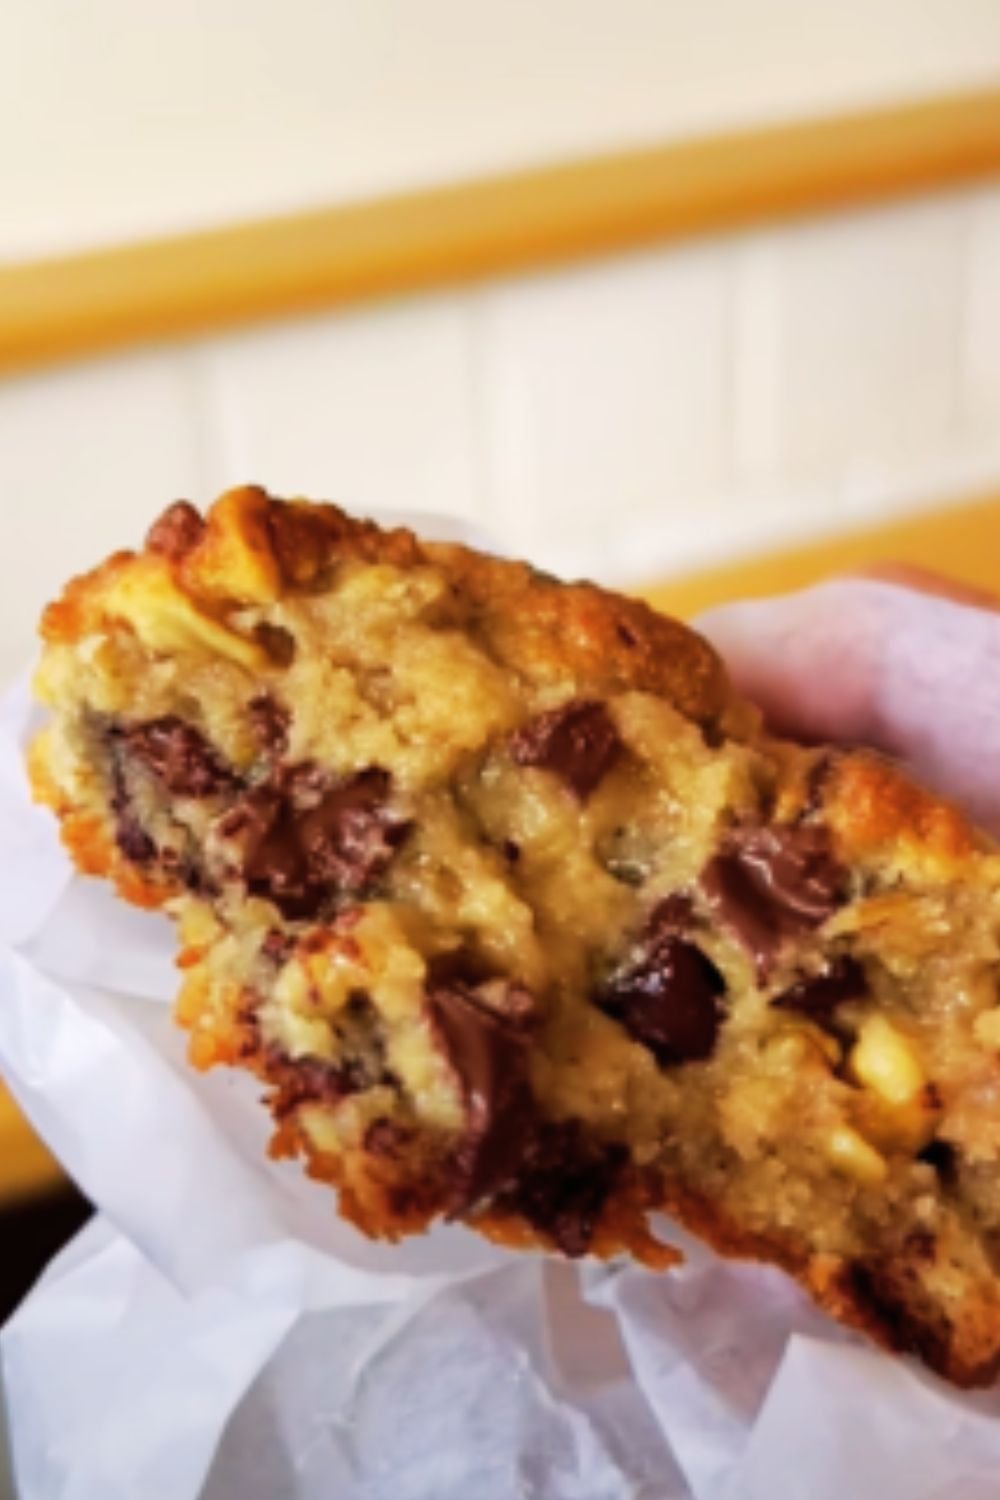
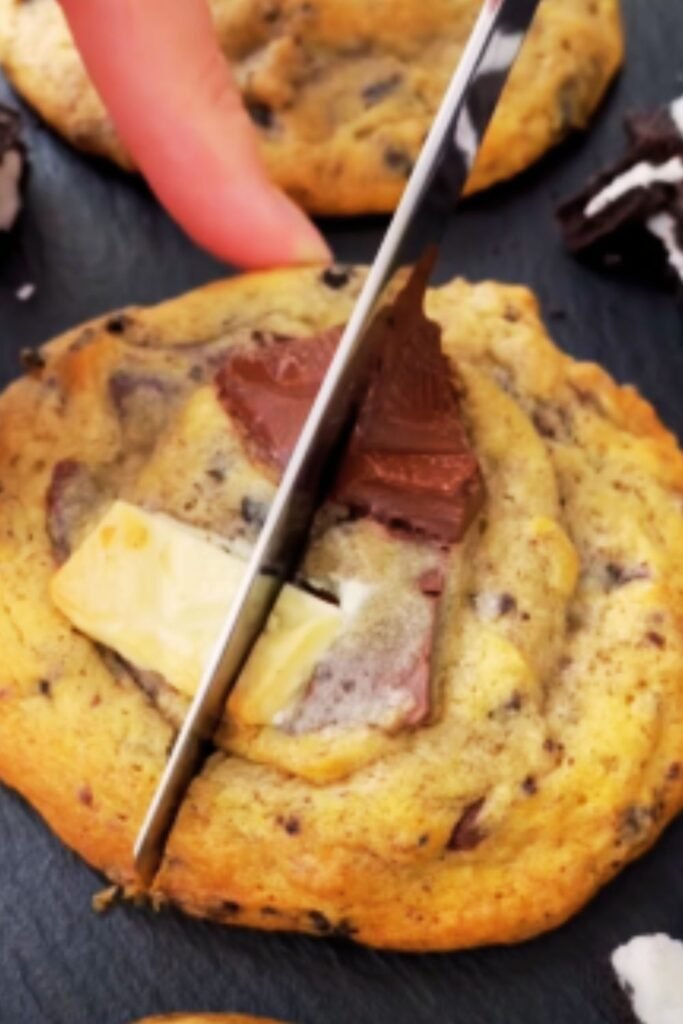
I’ll never forget the first time I baked these cookies. The kitchen filled with a heavenly aroma that had everyone in the house wandering in to investigate. When I pulled the tray from the oven, the cookies were perfectly golden around the edges with visible chunks of cookies and cream throughout. Taking that first bite was a revelation – the contrast between the crunchy cookie pieces and the soft, chewy cookie base was absolutely divine.
What makes these cookies special isn’t just their incredible taste – it’s how they bring together nostalgic flavors in an exciting new way. They’re perfect for bake sales, holiday cookie exchanges, after-school treats, or simply enjoying with a cold glass of milk when those cookie cravings strike.
The Science Behind Cookie Perfection
Before diving into the recipe, let’s talk about what makes these cookies so incredible. The secret lies in understanding a few key principles:
| Cookie Science Factor | Impact on Final Result | My Technique |
|---|---|---|
| Fat-to-Sugar Ratio | Determines spread and texture | Balanced butter and sugar with added cream cheese for richness |
| Mixing Method | Affects air incorporation and gluten development | Creaming butter and sugar properly, then gentle folding of dry ingredients |
| Chilling Time | Controls spread and develops flavor | Minimum 1 hour chill time (or overnight for best results) |
| Cookie Size | Affects baking time and texture contrast | Using a 3-tablespoon scoop for optimal crisp-to-chewy ratio |
| Baking Temperature | Creates perfect texture contrast | Starting at higher temp (375°F) then reducing to 350°F |
| Cooling Method | Sets structure properly | 5 minutes on baking sheet, then wire rack |
After years of testing and tweaking, I’ve perfected these elements to create cookies with a golden exterior, slightly crisp edges, and a wonderfully soft, chewy center studded with cookies and cream pieces.
Ingredients You’ll Need
For these spectacular cookies, gather the following:
- 2¼ cups all-purpose flour (280g)
- 1 teaspoon baking soda
- ½ teaspoon salt
- 1 cup (2 sticks) unsalted butter, softened
- 2 oz cream cheese, softened (optional but recommended for extra richness)
- ¾ cup granulated sugar (150g)
- ¾ cup packed light brown sugar (150g)
- 2 large eggs, at room temperature
- 2 teaspoons vanilla extract
- 20 cream-filled chocolate sandwich cookies (like Oreos), roughly chopped (about 2 cups)
- 1 cup white chocolate chips (optional, but highly recommended)
Special Equipment:
- Stand mixer or hand mixer
- Cookie scoop (3-tablespoon size recommended)
- Baking sheets
- Parchment paper or silicone baking mats
- Wire cooling rack
Step-by-Step Instructions
Preparing the Cookie Dough
- Combine dry ingredients: In a medium bowl, whisk together the flour, baking soda, and salt. Set aside.
- Cream the fats and sugars: In the bowl of a stand mixer fitted with the paddle attachment (or using a hand mixer), beat the softened butter, cream cheese (if using), granulated sugar, and brown sugar on medium-high speed until light and fluffy, about 3-4 minutes. Don’t rush this step! Proper creaming creates air pockets that help your cookies achieve the perfect texture.
- Add the eggs and vanilla: Reduce the mixer speed to medium and add eggs one at a time, making sure each is fully incorporated before adding the next. Scrape down the sides of the bowl as needed. Add the vanilla extract and mix until combined.
- Incorporate the dry ingredients: With the mixer on low, gradually add the flour mixture until just combined. Be careful not to overmix, as this can develop the gluten and result in tough cookies.
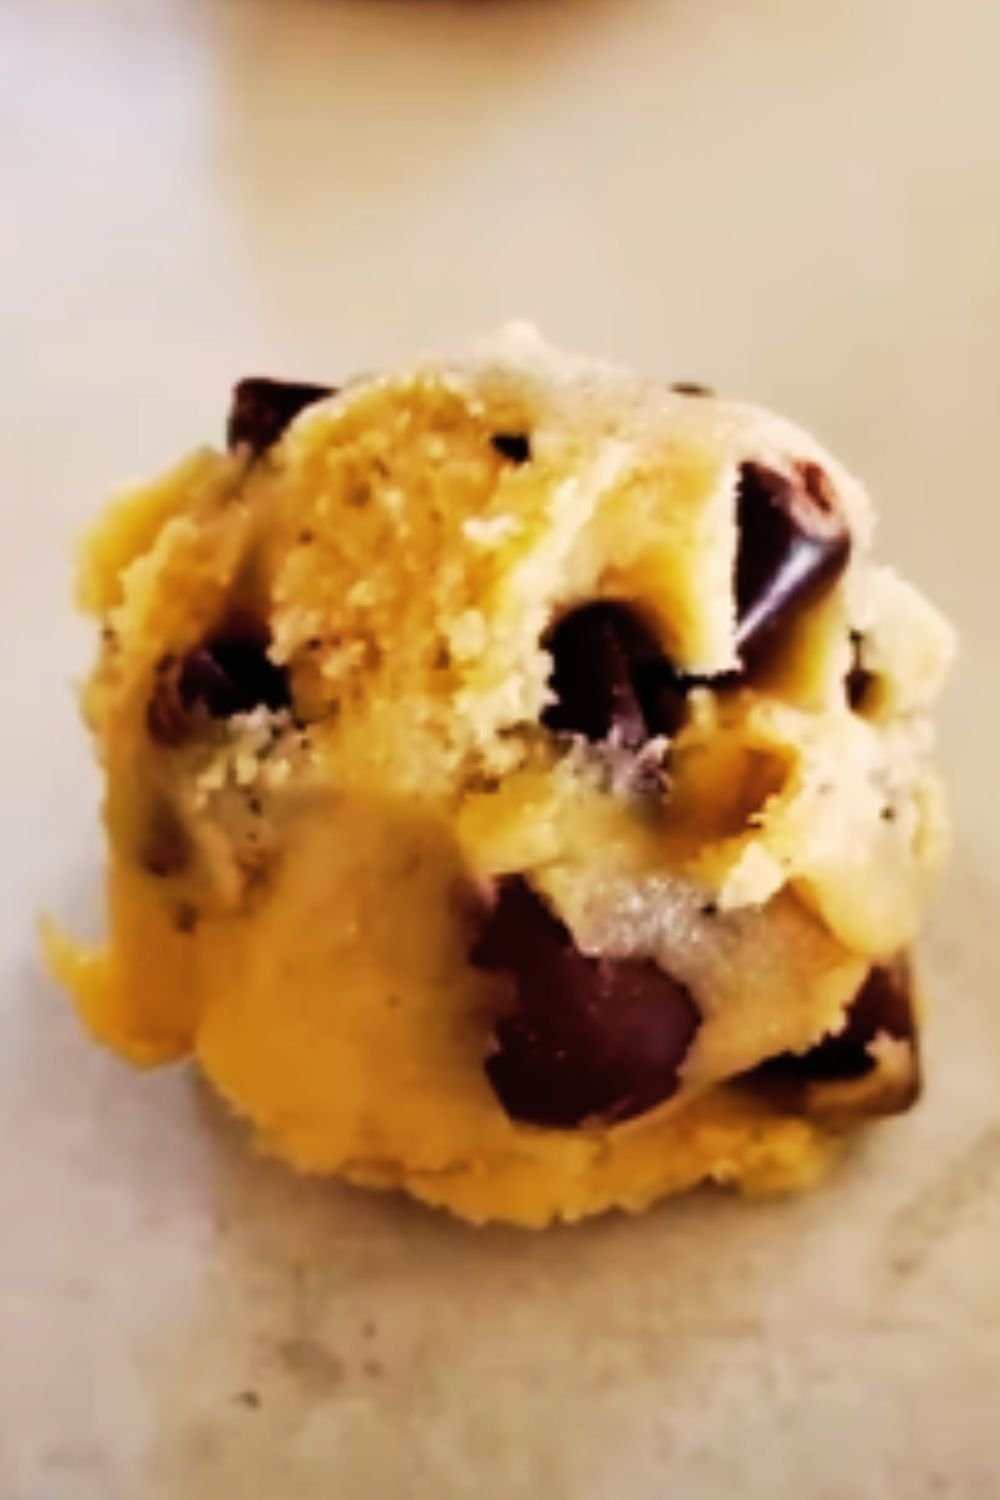
- Fold in the cookies and chips: Using a rubber spatula, gently fold in the chopped cream-filled sandwich cookies and white chocolate chips (if using). The dough will be thick and chunky.
Chilling the Dough
- Chill the dough: Cover the bowl with plastic wrap and refrigerate for at least 1 hour, or preferably overnight. This step is crucial as it allows the flavors to meld and prevents the cookies from spreading too much during baking.
Baking the Cookies
- Preheat the oven: When ready to bake, preheat your oven to 375°F (190°C). Line baking sheets with parchment paper or silicone baking mats.
- Portion the dough: Using a 3-tablespoon cookie scoop, portion the dough onto the prepared baking sheets, spacing them about 2 inches apart. For perfectly round cookies, roll each portion into a ball.
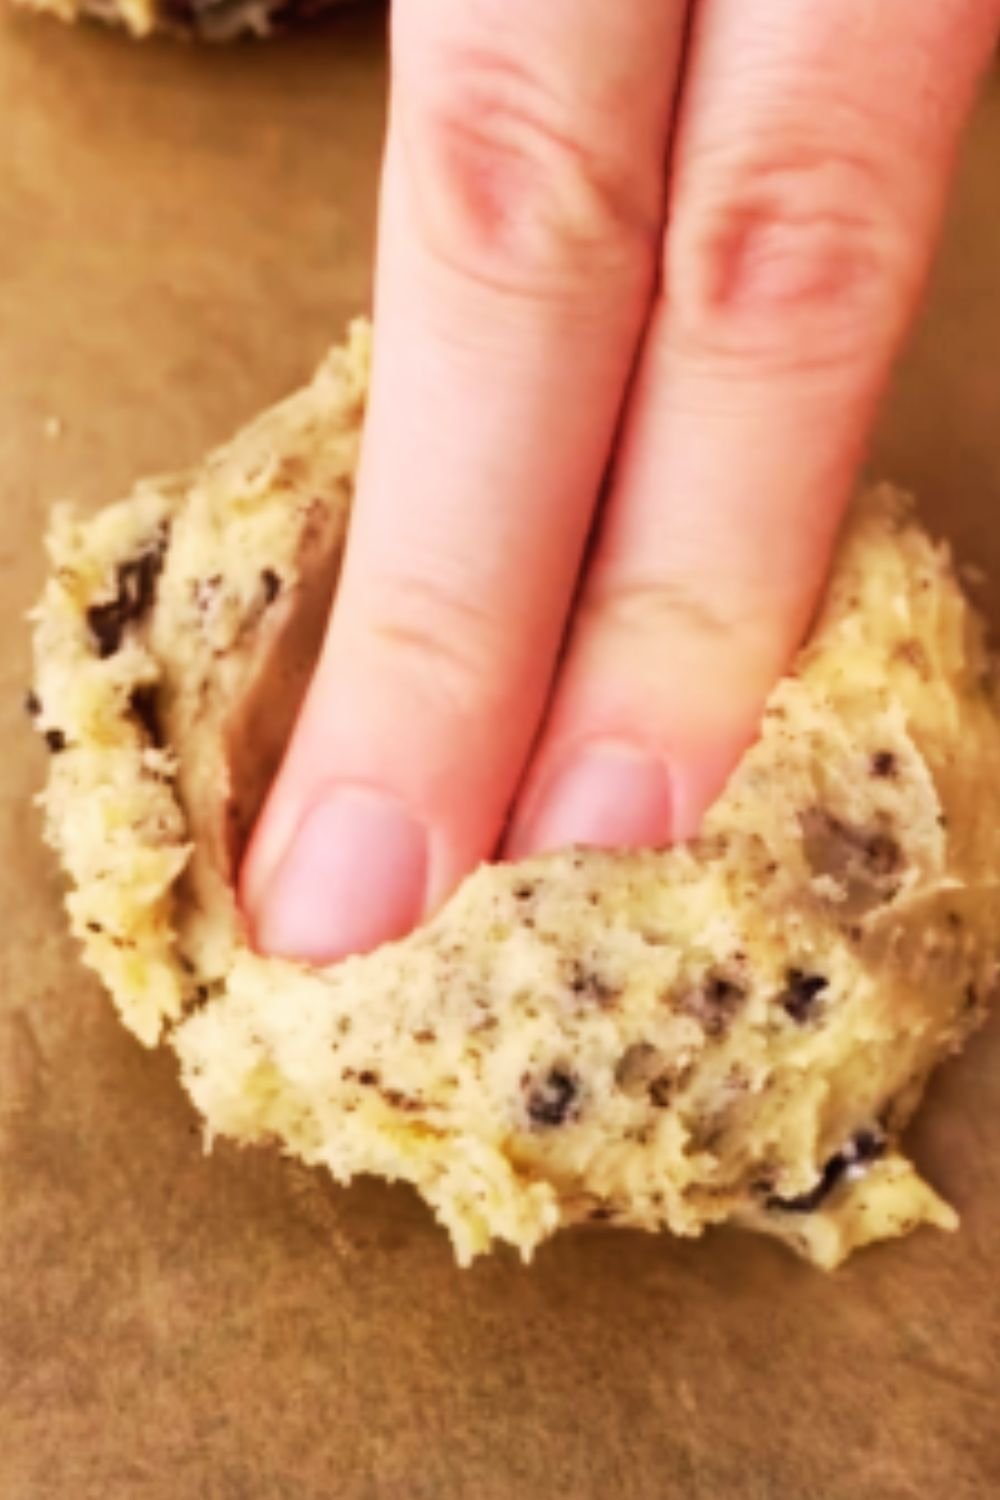
- Optional height trick: For extra-thick cookies with a beautiful texture, tear each dough ball in half and stack the rough sides together before placing on the baking sheet.
- Bake to perfection: Place in the preheated oven and immediately reduce the temperature to 350°F (175°C). Bake for 11-13 minutes, or until the edges are set and lightly golden while the centers still appear slightly underdone.
- Cool properly: Allow the cookies to cool on the baking sheet for 5 minutes before transferring to a wire rack to cool completely. The cookies will continue to set up as they cool.
Pro Tips for Cookie Success
I’ve made these cookies countless times, and along the way, I’ve discovered some tips and tricks that take them from good to absolutely irresistible:
- Cookie chunk size matters: Chop your sandwich cookies into various sizes – some larger chunks and some smaller crumbs create interesting texture throughout the cookie.
- Don’t skimp on chilling: The minimum chill time is 1 hour, but overnight results in the best flavor development and texture.
- Watch for visual cues: The perfect cookie may require slightly different baking times depending on your oven. Look for set edges and slightly underdone centers – they’ll continue to cook on the hot baking sheet.
- Try different mix-ins: While classic cream-filled chocolate sandwich cookies are traditional, experiment with different flavored ones like mint, peanut butter, or birthday cake varieties.
- Freezer-friendly dough: The cookie dough can be portioned and frozen for up to 3 months. Bake straight from frozen, adding 2-3 minutes to the baking time.
Storage and Make-Ahead Options
After you’ve baked these amazing cookies, here’s how to keep them fresh (if they last that long!):
| Storage Method | Duration | Best Practices |
|---|---|---|
| Room Temperature | 3-4 days | Store in airtight container with slice of bread to maintain moisture |
| Refrigerator | Up to 1 week | Keep in airtight container, bring to room temp before serving |
| Freezer (Baked Cookies) | Up to 3 months | Layer between parchment in freezer-safe container |
| Freezer (Raw Dough) | Up to 3 months | Roll into balls, flash freeze, then transfer to ziplock bag |
Troubleshooting Common Issues
Even the most experienced bakers encounter problems sometimes. Here are solutions to common cookie challenges:
Cookie Spread Too Much
- The butter was too soft or melted
- The dough wasn’t chilled long enough
- The oven temperature was too low
- Too much sugar in the recipe
Solution: Make sure your butter is at cool room temperature (should indent slightly when pressed, not flatten). Always chill the dough thoroughly, and check your oven temperature with an oven thermometer.
Cookies Too Dry or Hard
- Too much flour (measuring incorrectly)
- Overbaking
- Too little fat in the recipe
Solution: Measure flour by spooning it into measuring cups and leveling off (don’t scoop directly with the measuring cup). Set a timer and check cookies at the minimum baking time.
Cookies Browning Too Quickly
- Oven temperature too high
- Baking sheet too dark
- Cookies too close to the heating element
Solution: Use light-colored baking sheets, check your oven temperature with a thermometer, and position the rack in the center of the oven.

Serving Suggestions
These cookies are absolutely delicious on their own, but here are some fun ways to enjoy them:
- Cookie ice cream sandwiches: Sandwich a scoop of vanilla ice cream between two completely cooled cookies. Roll the edges in mini chocolate chips for an extra special treat.
- Cookie sundae: Crumble a warm cookie over your favorite ice cream and top with hot fudge sauce.
- Cookie milkshake: Blend 1-2 cookies with vanilla ice cream and milk for an incredible shake.
- Cookies & coffee: The complex flavor of these cookies pairs beautifully with a cup of coffee or espresso.
- Milk bar: Set up a milk bar with different types of milk (whole, almond, oat) in pretty glasses alongside a plate of these cookies for a fun dessert option at gatherings.
Dietary Adaptations
I understand that many people have specific dietary needs or preferences. Here are some tested adaptations that work well:
- Gluten-free: Substitute the all-purpose flour with a 1:1 gluten-free flour blend and use gluten-free sandwich cookies.
- Dairy-free: Use plant-based butter and dairy-free cream-filled chocolate sandwich cookies. Skip the cream cheese or use a dairy-free cream cheese alternative.
- Egg-free: Replace each egg with ¼ cup unsweetened applesauce or a flax egg (1 tablespoon ground flaxseed mixed with 3 tablespoons water, left to sit for 5 minutes).
- Reduced sugar: Reduce each sugar by ¼ cup, though this will affect the texture somewhat.
Why This Recipe Works
After developing and testing countless cookie recipes over the years, I’ve found the perfect balance in this one. The cookies have:
- Perfect texture contrast: Crisp edges with soft, chewy centers
- Balanced sweetness: The cookie base isn’t too sweet, letting the cookies and cream pieces shine
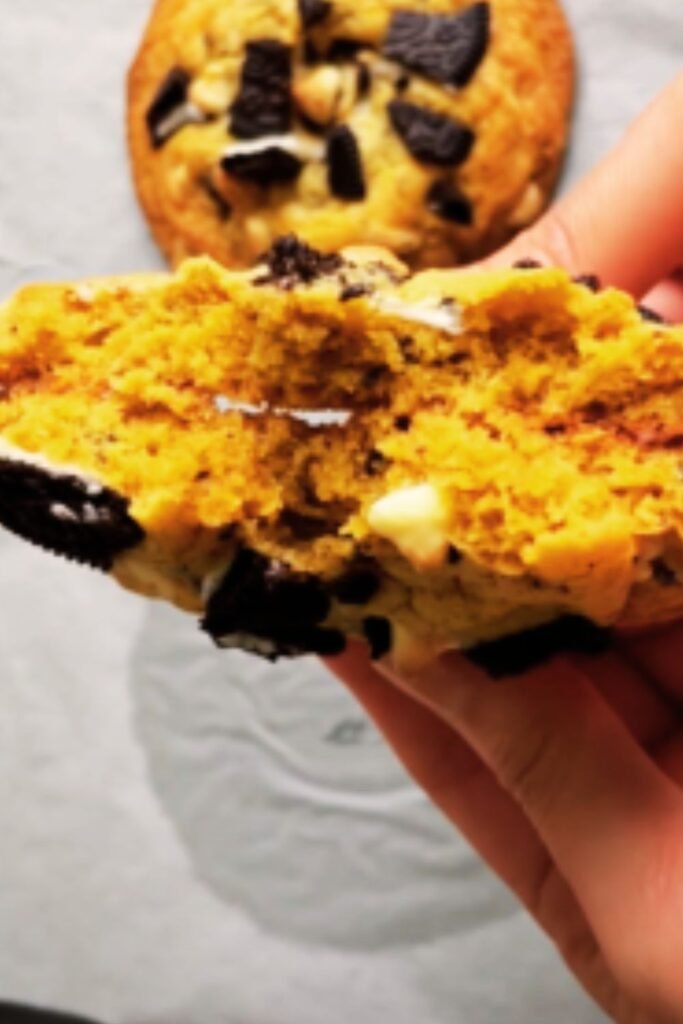
- Visual appeal: The black and white contrast of the cookie pieces against the golden dough is stunning
- Nostalgic flavor: Combines childhood favorite cookies with homemade goodness
- Make-ahead convenience: The dough actually improves with an overnight chill
Frequently Asked Questions
Can I use double-stuffed cream-filled sandwich cookies instead of regular ones? Absolutely! Double-stuffed cookies will give you more cream filling in each bite. Just be aware that they may melt a bit more during baking, potentially creating slightly larger pockets in your cookies.
Why do you add cream cheese to the dough? The cream cheese adds richness and helps create a softer, more tender cookie texture. It also complements the “cream” theme of these cookies. However, it’s optional if you don’t have it on hand.
Can I make smaller cookies? Yes! For smaller cookies, use a 1½-tablespoon scoop and reduce the baking time to 8-10 minutes. Keep a close eye on them as they’ll bake faster.
My cookies didn’t spread enough. What went wrong? This usually happens if the dough is too cold or contains too much flour. Let the dough sit at room temperature for 10-15 minutes before baking, and make sure you’re measuring your flour correctly.
Can I add other mix-ins besides white chocolate chips? Definitely! Semi-sweet chocolate chips, milk chocolate chunks, or even crushed candy pieces would be delicious additions. Just keep the total amount of mix-ins around 3 cups total to maintain the proper dough-to-mix-in ratio.
How do I know when the cookies are done baking? The cookies are done when the edges are set and lightly golden, but the centers still look slightly underdone. They’ll continue to cook on the hot baking sheet after you take them out of the oven. For soft, chewy cookies, it’s better to slightly underbake than overbake.
My cookies turned out flat. How can I prevent this? Make sure your butter isn’t too warm, chill the dough thoroughly, and check that your baking soda is fresh. Using a silicone baking mat instead of parchment paper can also help prevent spreading.
Final Thoughts
These Cookies & Cream Cookies represent everything I love about baking – the creativity, the nostalgia, and the pure joy of sharing something homemade with others. There’s something truly magical about the moment someone takes their first bite and their eyes light up with delight. Whether you’re an experienced baker or just starting out, this recipe is approachable while still delivering impressive results.
What I appreciate most about these cookies is their versatility. They’re fancy enough for special occasions but simple enough for everyday treats. They transport well, freeze beautifully, and always disappear quickly. I’ve made them for countless bake sales, holiday gatherings, and just because it’s Tuesday and we need something sweet.
I hope you enjoy making (and eating) these cookies as much as I do. Happy baking!