Have you ever taken a bite of a cookie so magnificent that it changed your perception of what a cookie could be? That’s the Levain Bakery experience. Their legendary dark chocolate chip cookies, with crispy edges and gooey centers, have become the stuff of bakery legend, drawing lines around the block at their New York City locations.
Today, I’m thrilled to share my journey recreating these iconic treats. After countless test batches (and probably too many late-night taste tests), I’ve perfected a recipe that captures the magic of the original. These aren’t just any chocolate chip cookies – they’re a revelation of texture and flavor that might just ruin regular cookies for you forever.
What Makes Levain Cookies Special?
Before diving into the recipe, let’s talk about what sets these cookies apart:
- Size matters: Authentic Levain cookies are massive (about 6 ounces each)
- Texture contrast: Crispy exterior with an almost underbaked, gooey center
- Height not width: They rise more than they spread, creating that distinctive dome
- Quality ingredients: Premium chocolate and European-style butter create unmatched flavor
- Temperature play: The cold dough and hot oven create the perfect texture dynamic
I’ve spent months studying these cookies, even waiting in line at the original bakery multiple times to conduct “research” (a tough job, but someone had to do it). The recipe I’m sharing today captures that magic while making it achievable in a home kitchen.
Essential Ingredients Breakdown
The secret to these cookies lies partly in using the right ingredients. Here’s what you’ll need:
| Ingredient | Amount | Notes |
|---|---|---|
| Cold unsalted butter | 1 cup (2 sticks/226g) | European-style preferred, cut into small cubes |
| Light brown sugar | 1 cup (200g) | Packed firmly |
| Granulated sugar | ½ cup (100g) | Regular white sugar |
| Large eggs | 2 | Cold from refrigerator |
| Vanilla extract | 2 teaspoons | Pure, not imitation |
| Cake flour | 1½ cups (180g) | Lower protein content for tenderness |
| All-purpose flour | 1½ cups (190g) | Provides structure |
| Baking powder | 1 teaspoon | For proper rise |
| Baking soda | ¼ teaspoon | Helps with browning |
| Salt | 1 teaspoon | Fine sea salt preferred |
| Dark chocolate | 2 cups (340g) | High-quality 60-70% dark chocolate, roughly chopped |
| Walnuts (optional) | 1 cup (120g) | Roughly chopped |
A Note on Ingredients:
Butter: The temperature is crucial. Cold butter creates pockets of steam during baking, helping these cookies achieve their signature height. I keep mine in the refrigerator until just before use.
Chocolate: While chocolate chips work, I strongly recommend splurging on good-quality chocolate bars and chopping them yourself. This creates varying sizes of chocolate pieces and those magical puddles of melted chocolate. I prefer Valrhona or Guittard, but any premium dark chocolate in the 60-70% range will work beautifully.
Flour Blend: The combination of cake flour and all-purpose flour is non-negotiable. This precise blend achieves the tender interior while maintaining structure.
Equipment You’ll Need
Before starting, make sure you have:
- Stand mixer with paddle attachment (or electric hand mixer)
- Digital kitchen scale (highly recommended for precision)
- Large baking sheets
- Parchment paper
- Large ice cream scoop (about 3-4 tablespoon capacity)
- Wire cooling rack
Step-by-Step Method
Let’s break down the process of creating these magnificent cookies:
1. Prepare Your Ingredients
Start by organizing everything you’ll need. Measure all ingredients, chop the chocolate and nuts (if using), and ensure your butter is properly chilled.

2. Mix the Wet Ingredients
- Place cold cubed butter, brown sugar, and granulated sugar in the bowl of your stand mixer
- Beat on medium speed for 3-4 minutes until just combined (it will look rough, not creamy)
- Add eggs one at a time, mixing for about 15 seconds after each
- Add vanilla extract and mix until just incorporated
Pro tip: Don’t overmix at this stage. We’re not looking for the light and fluffy texture you might be used to with other cookie recipes.
3. Combine Dry Ingredients
- In a separate bowl, whisk together cake flour, all-purpose flour, baking powder, baking soda, and salt
- Make sure everything is evenly distributed
4. Create the Dough
- With the mixer on low speed, gradually add the dry ingredients to the wet ingredients
- Mix just until no dry streaks remain (about 30-45 seconds)
- Add the chopped chocolate and nuts (if using)
- Mix on low for 10-15 seconds, then finish incorporating by hand with a spatula
At this point, your dough will be very thick and somewhat shaggy in appearance – this is exactly what we want!
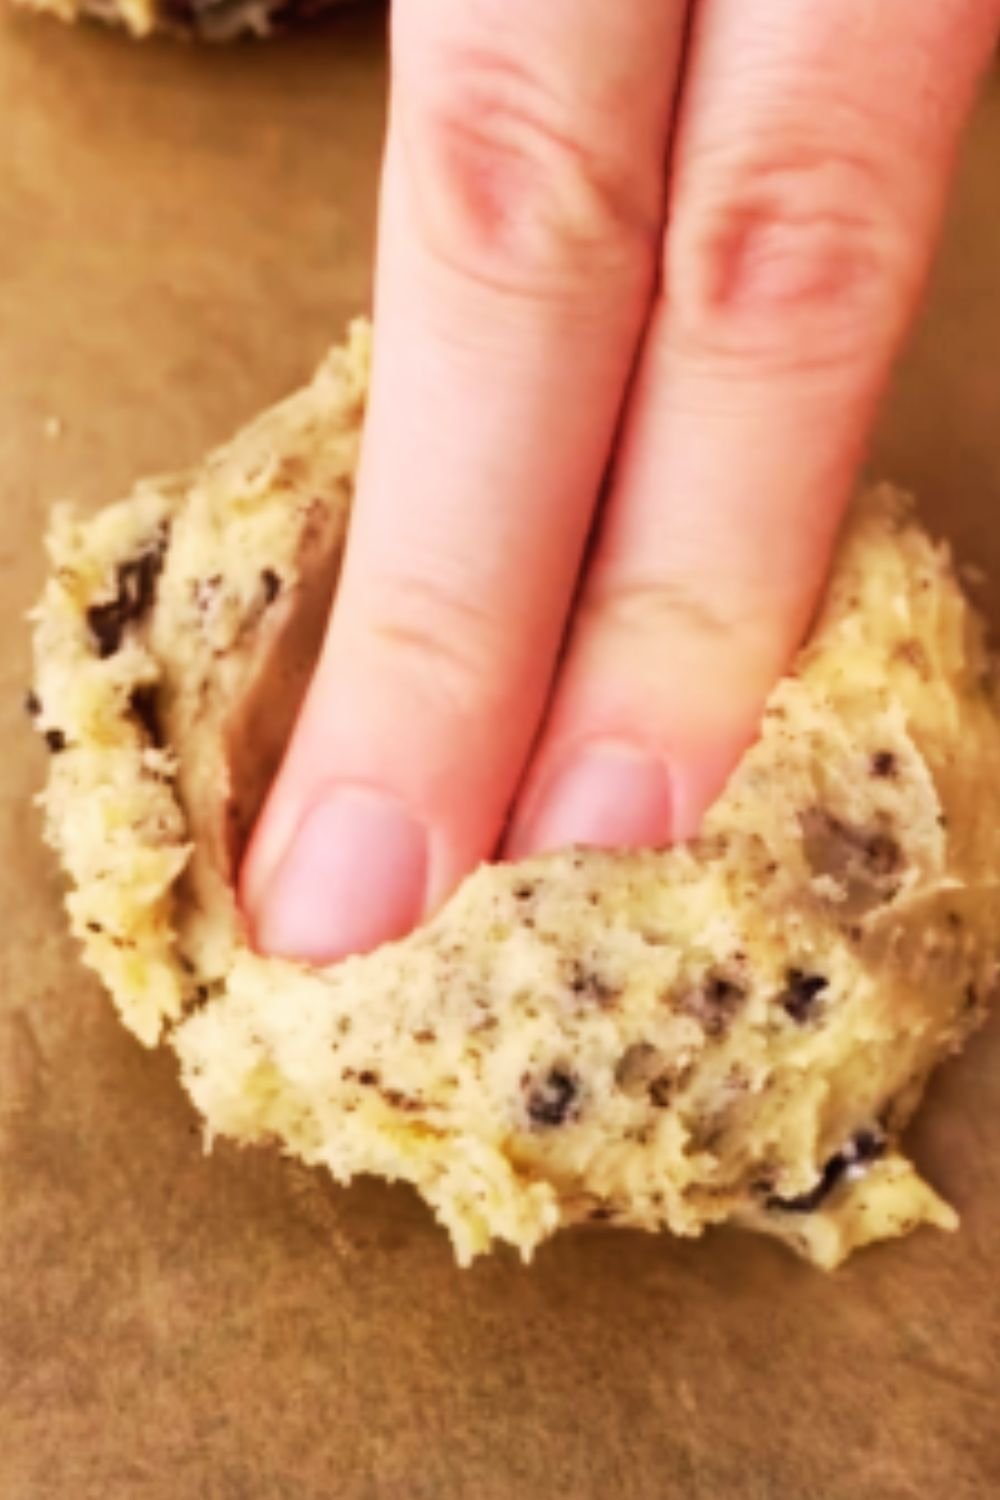
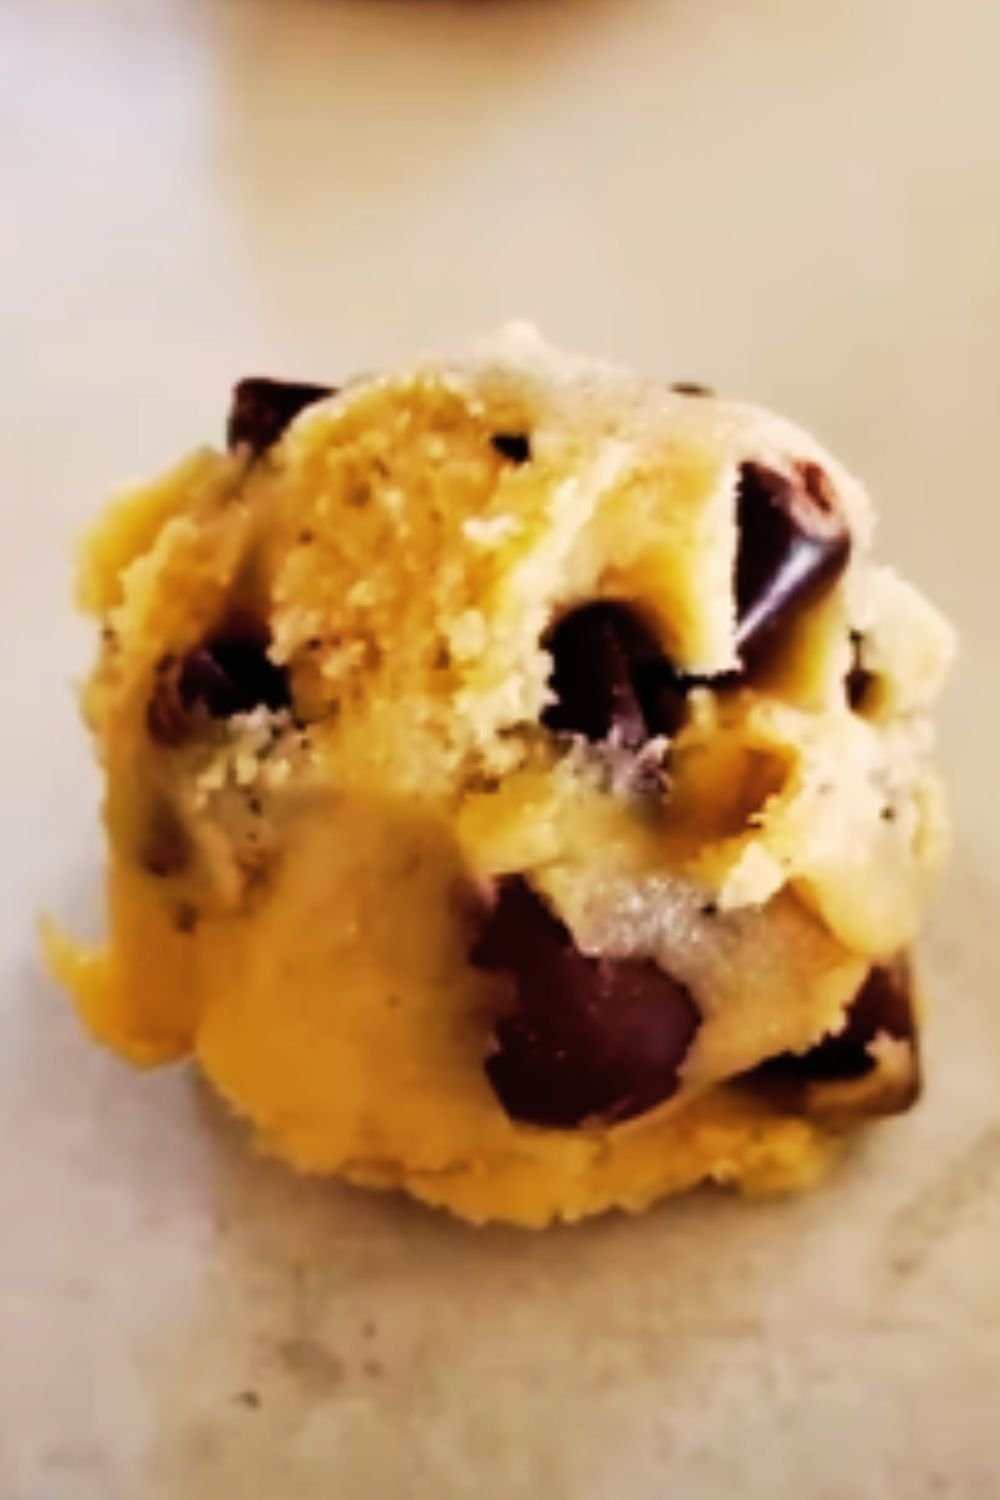
5. Shape and Chill
- Use a large ice cream scoop to portion the dough into approximately 6-ounce balls (about the size of a generous baseball)
- Place the dough balls on a parchment-lined plate or tray
- Refrigerate for at least 2 hours, or preferably overnight
The chilling step is absolutely essential. It prevents excessive spreading and helps develop flavor.
6. Bake to Perfection
- Preheat your oven to 400°F (205°C)
- Line baking sheets with parchment paper
- Place chilled dough balls on the baking sheets, leaving at least 4 inches between each cookie
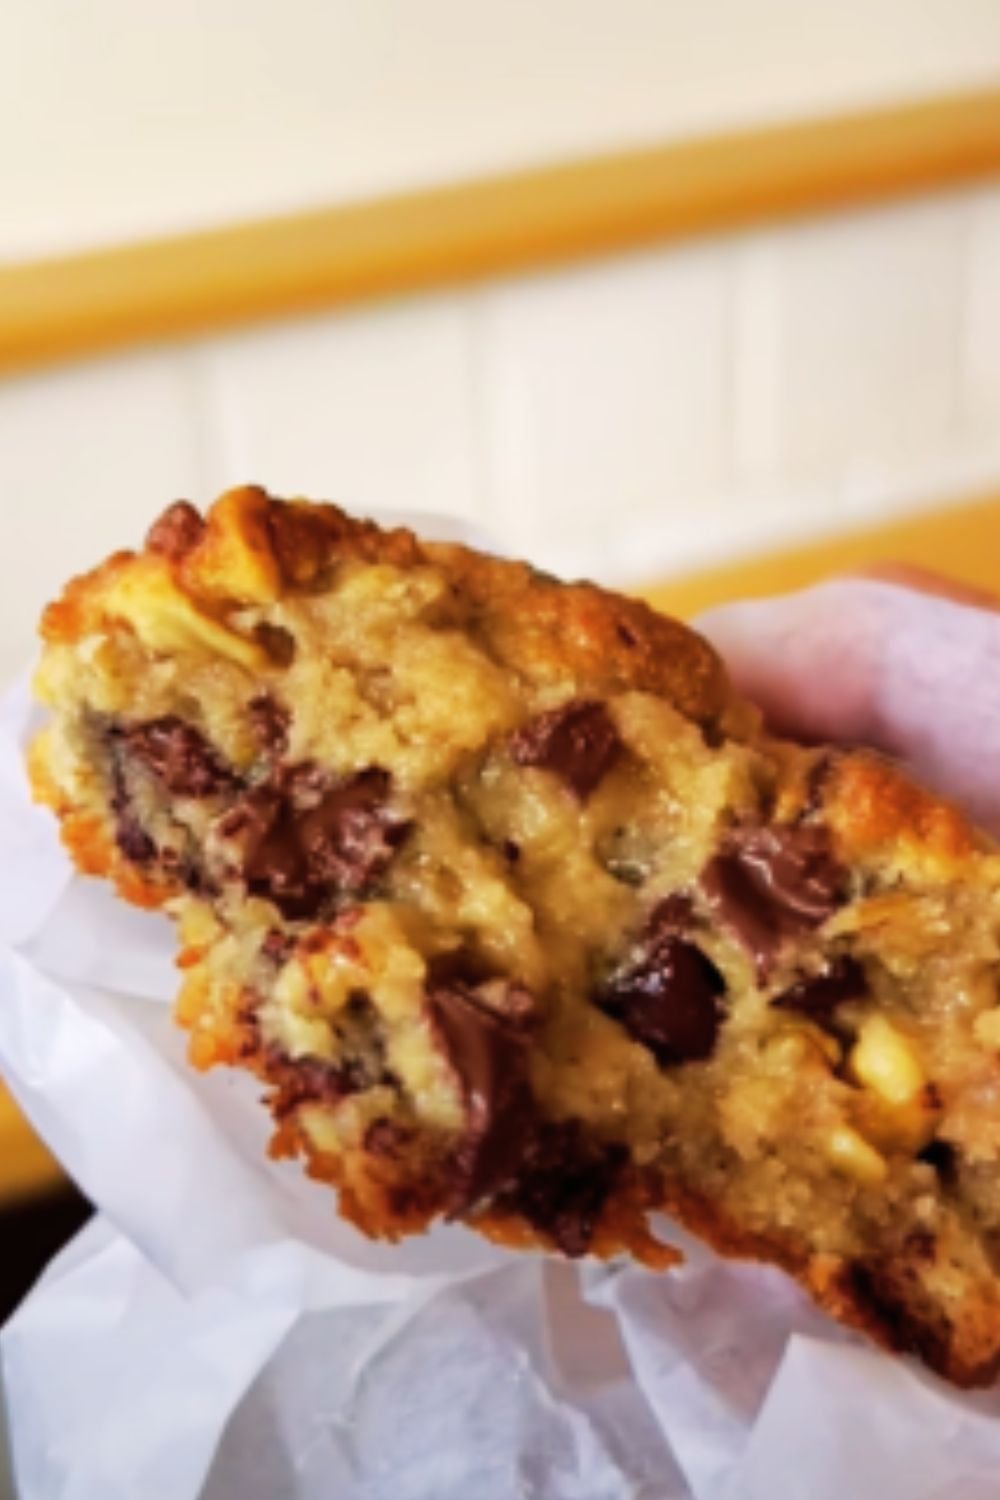
- Bake for 10-13 minutes, until edges are golden brown but centers still look slightly underdone
Crucial note: These cookies will look underbaked when you remove them from the oven. Resist the urge to leave them in longer – this is the secret to their gooey centers!
7. Cool Properly
- Allow cookies to rest on the baking sheet for 10 minutes
- Transfer to a wire rack to cool for at least another 15-20 minutes
These cookies are actually best when they’re still slightly warm, so timing is everything.

Common Issues and Troubleshooting
| Problem | Possible Cause | Solution |
|---|---|---|
| Cookies spread too much | Butter too warm | Make sure butter stays cold; chill dough longer |
| Cookies don’t rise enough | Old leavening agents | Check expiration dates on baking powder/soda |
| Too crispy/overbaked | Oven temperature too high | Use an oven thermometer; reduce baking time |
| Too dense | Overmixed dough | Mix just until ingredients are combined |
| Not enough chocolate flavor | Poor quality chocolate | Invest in higher-quality chocolate; increase amount |
| Uneven baking | Inconsistent oven temperature | Rotate pans halfway through baking |
The Science Behind These Magnificent Cookies
As a baking enthusiast, I find the science behind these cookies fascinating. Here’s what’s happening:
Cold Butter Magic
Unlike most cookie recipes that call for room temperature butter, Levain-style cookies use cold butter. When cold butter hits a hot oven, it creates steam pockets that help the cookies rise dramatically before the structure sets. This creates that distinctive height.
Flour Protein Balance
The specific ratio of cake flour to all-purpose flour creates the perfect protein percentage. Too much protein (gluten) would make the cookies tough; too little would cause them to collapse. This precise blend creates the perfect chewy-yet-tender texture.
Sugar Functionality
Brown sugar contains molasses, which adds moisture and creates deeper flavor through Maillard reactions during baking. The balance with granulated sugar ensures proper spread while maintaining height.
High Temperature Baking
The 400°F oven rapidly sets the cookie exterior while leaving the interior somewhat underbaked. This temperature differential is crucial for the signature texture contrast.
Variations to Try
While the classic dark chocolate walnut is iconic, here are some variations I’ve tested that work beautifully with this base recipe:
Dark Chocolate Raspberry
Add 1 cup freeze-dried raspberries (not fresh or frozen) along with the chocolate. The tangy berry flavor pairs beautifully with the rich chocolate.
Triple Chocolate
Replace the walnuts with a combination of white chocolate chunks and milk chocolate pieces to complement the dark chocolate. This creates a sophisticated flavor layering.
Brown Butter Pecan
Toast 1 cup of pecans and substitute for walnuts. Additionally, brown half the butter before chilling it back to solid form. This adds a nutty, caramelized undertone.
Sea Salt Caramel
Add ½ cup of caramel bits along with the chocolate, and sprinkle flaky sea salt on top before baking for a sweet-salty masterpiece.
Storage and Serving Suggestions
These cookies are at their absolute peak when enjoyed while still slightly warm, about 30 minutes after baking. However, they store remarkably well:
Room Temperature: Store in an airtight container for up to 3 days.
Refrigerator: Extend freshness to 1 week by refrigerating in an airtight container.
Freezer: Baked cookies can be frozen for up to 3 months. The cookie dough balls can be frozen for up to 6 months – just add 2-3 minutes to the baking time when baking from frozen.
Perfect Pairings
These cookies are a complete experience on their own, but they reach new heights when paired with:
- A tall glass of cold milk (whole milk creates the perfect richness contrast)
- Hot coffee, especially a medium-roast that won’t overpower the cookie flavors
- Vanilla ice cream – place a warm cookie in a bowl and top with a scoop for an indulgent dessert
- Hot chocolate with a dollop of whipped cream for the ultimate comfort pairing
Why Making These Cookies Is Worth It
I won’t lie – these cookies require more effort than your average chocolate chip cookie. But the results transcend ordinary cookies. Here’s why it’s worth taking the time:
- The texture experience is unmatched in the cookie world
- They’re impressive for gatherings and celebrations
- The recipe makes cookies that actually improve on day two as flavors meld
- They freeze beautifully, giving you ready-to-bake treats for emergencies
- The technique teaches valuable baking principles that improve all your baking
Nutritional Information
While these are certainly indulgent treats, here’s the approximate nutritional breakdown per cookie (based on a yield of 8 large cookies):
| Nutrient | Amount per cookie |
|---|---|
| Calories | 680 |
| Total Fat | 38g |
| Saturated Fat | 21g |
| Trans Fat | 0g |
| Cholesterol | 115mg |
| Sodium | 380mg |
| Total Carbohydrates | 79g |
| Dietary Fiber | 4g |
| Sugars | 45g |
| Protein | 10g |
These are treats to be enjoyed mindfully, not daily staples!
Frequently Asked Questions
Why did my cookies spread too much? Your butter was likely too warm or the dough wasn’t chilled long enough. Remember, cold dough is critical for these cookies’ structure.
Can I use all all-purpose flour instead of the cake flour blend? You can, but the texture won’t be authentic. The cake flour creates that tender interior that makes these cookies special.
Do I really need to use cold butter? Absolutely! This is perhaps the most crucial technique difference. Cold butter creates steam pockets that help the cookies rise properly.
Can I make smaller cookies with this recipe? Yes, but you’ll need to reduce the baking time significantly (start checking at 7 minutes). However, part of the Levain magic is the size contrast between the crisp exterior and gooey interior, which is harder to achieve with smaller cookies.
Why do my cookies seem underbaked in the middle? That’s exactly right! Authentic Levain cookies have an almost cookie-dough-like center. If you prefer a more fully baked cookie, you can add 2-3 minutes to the baking time.
How many cookies does this recipe make? Following the authentic size, you’ll get about 8 large (6-ounce) cookies. If you make them slightly smaller, you might get 10-12.
Can I add other mix-ins besides chocolate and nuts? Absolutely! Just keep the total volume of mix-ins around 3 cups. Good options include toffee bits, dried cherries, or coconut flakes.
My Personal Cookie Journey
When I first tasted a Levain cookie during a trip to New York, I was stunned by how different it was from any cookie I’d ever tried. The contrast between the crisp exterior and that molten, gooey center was revelatory. I immediately knew I had to recreate this experience at home.
My first attempts were disastrous – flat, spread-out cookies that tasted good but weren’t even close to the original. Through dozens of test batches and countless hours of research, I gradually unlocked the secrets: cold butter, the specific flour blend, higher baking temperature, and precise portion size.
The moment when I finally pulled a batch from the oven that looked and tasted like the real thing was one of my proudest baking achievements. I still remember breaking open that first successful cookie and watching the melted chocolate stretch between the halves – pure cookie perfection.
Now these cookies are my signature bake, the treat friends and family request for special occasions, and the recipe I’m most frequently asked to share. I hope your baking journey with them brings as much joy as mine has.
Final Thoughts
Recreating these legendary cookies at home connects us to a beloved bakery experience while allowing us to put our own spin on a classic. Yes, they require more effort than your average cookie, but that first bite – with its crisp exterior giving way to a molten chocolate center – makes it all worthwhile.
Remember that baking is both science and art. Follow the recipe precisely the first time, then feel free to experiment. The joy of home baking is making these recipes your own.
I’d love to hear about your experiences with this recipe! Each baker brings their own touch to these cookies, and the journey of perfecting them is half the fun.
Happy baking!