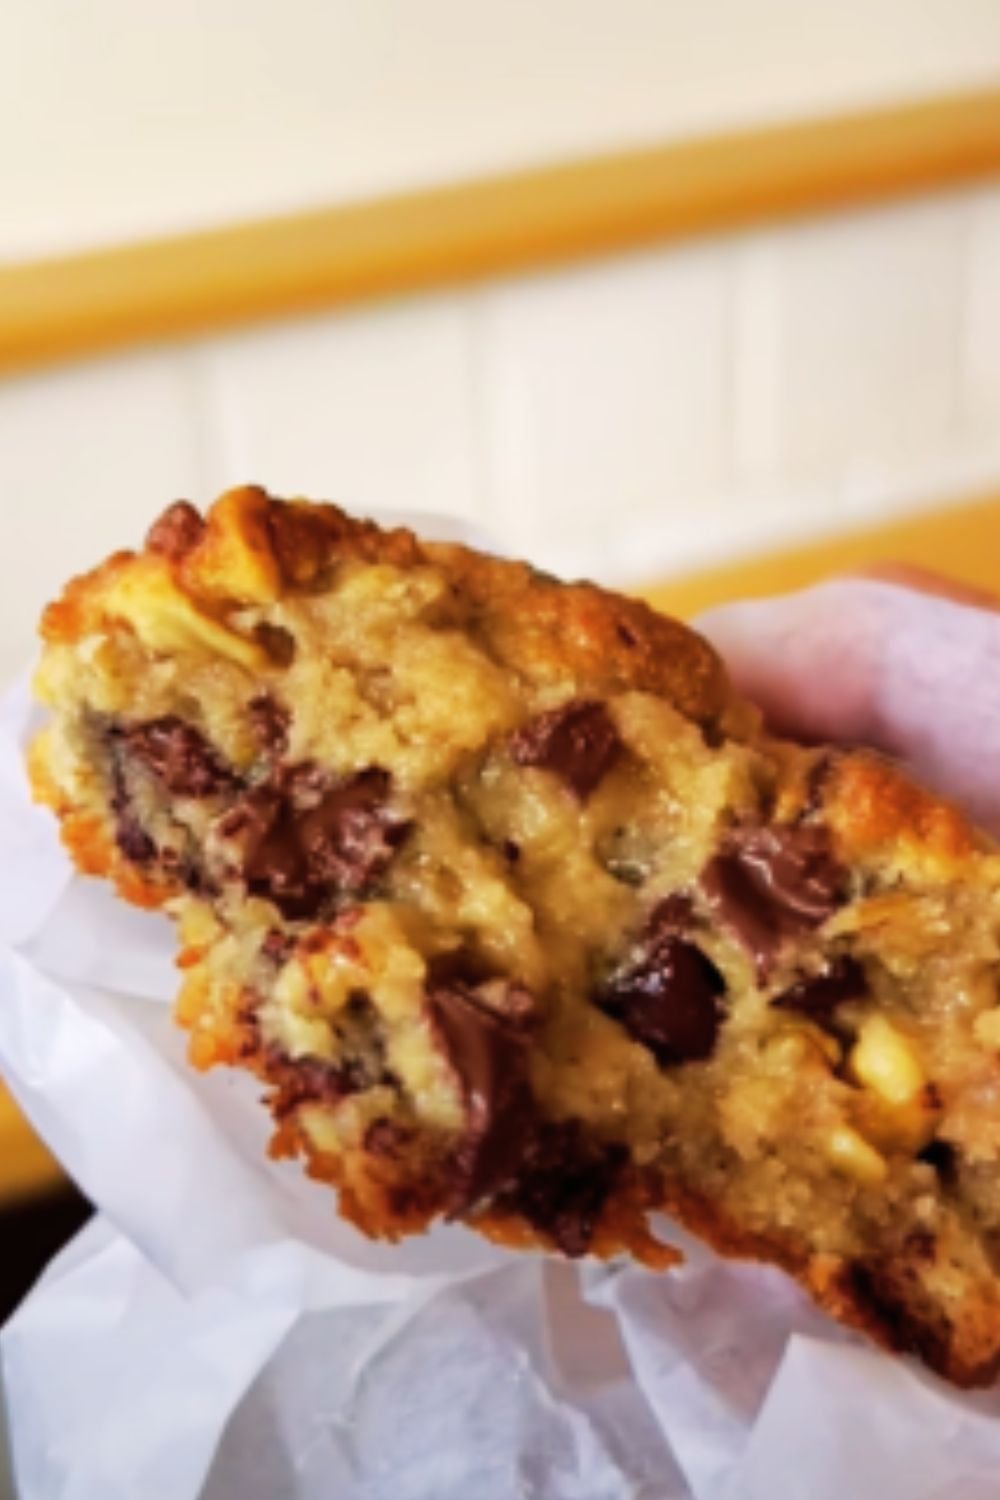
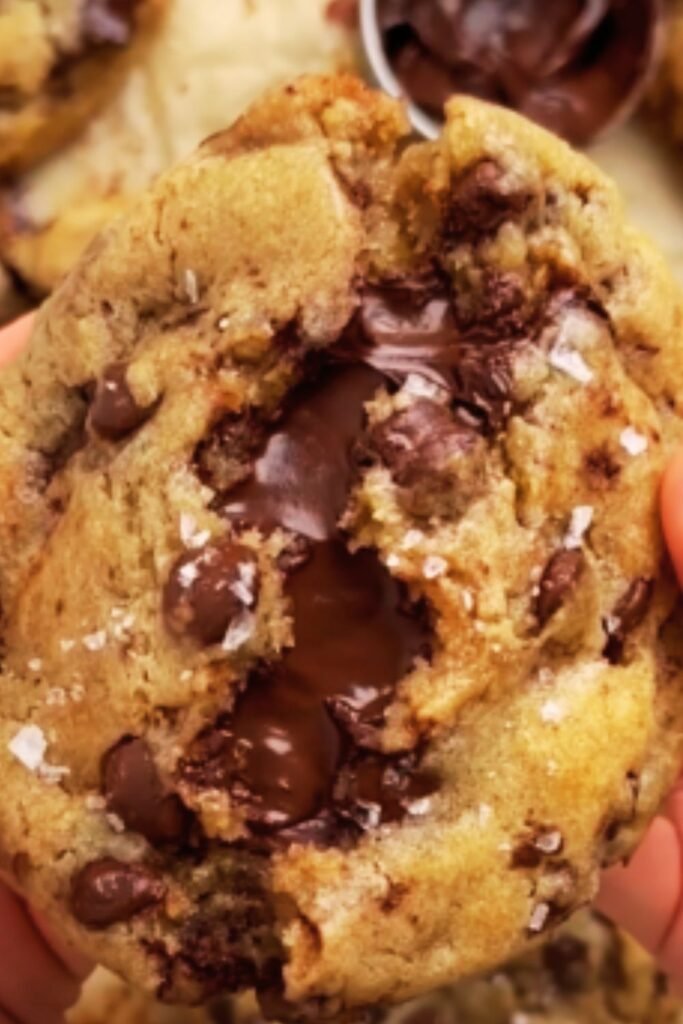
There’s something truly magical about a perfectly baked chocolate cookie – that moment when you break it open and the center is still warm and gooey, while the edges have just the right amount of crispness. Today, I’m sharing my absolute favorite recipe for chewy chocolate fudge cookies that I’ve been perfecting for years. These aren’t just any chocolate cookies; they’re rich, indulgent, and have that perfect fudgy texture that will make you reach for seconds (and thirds!).
Every time I make these cookies, they disappear within minutes. Friends and family hover around the kitchen, waiting for them to cool just enough to handle. The deep chocolate flavor comes from using both cocoa powder and real chocolate, while a special technique gives these cookies their signature chewy texture that lasts for days (though they rarely survive that long in my house!).
Why These Chocolate Fudge Cookies Stand Out
Before diving into the recipe, let me tell you why these cookies deserve a special place in your baking repertoire:
- Double chocolate goodness: Cocoa powder in the dough plus chocolate chips for an intense chocolate experience
- Perfect texture: Crisp edges with soft, chewy centers that stay that way even days later
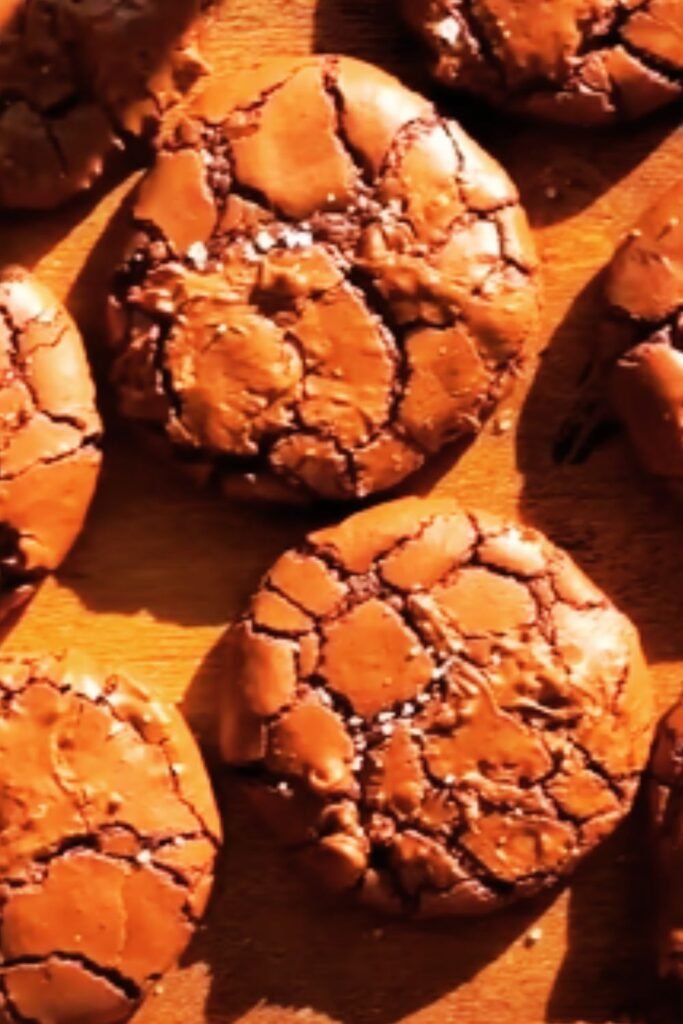
- Bakery-style appearance: Beautiful crackly tops that make them look professionally made
- Foolproof recipe: Detailed instructions ensure success even for beginner bakers
- Customizable: Easy to adapt with different mix-ins or flavor variations
Essential Ingredients
The secret to exceptional cookies lies in quality ingredients. Here’s what you’ll need:
| Ingredient | Amount | Notes |
|---|---|---|
| Unsalted butter | 1/2 cup (113g) | Room temperature for proper creaming |
| Granulated sugar | 1/2 cup (100g) | Provides structure and sweetness |
| Brown sugar | 1 cup (200g) | Dark brown preferred for deeper flavor and moisture |
| Eggs | 2 large | Room temperature |
| Vanilla extract | 2 teaspoons | Pure vanilla, not imitation |
| All-purpose flour | 1 1/2 cups (188g) | Measured by weight if possible |
| Dutch-process cocoa powder | 1/2 cup (50g) | For rich chocolate flavor and darker color |
| Baking soda | 1 teaspoon | Provides lift and spread |
| Salt | 1/2 teaspoon | Enhances all flavors |
| Semi-sweet chocolate chips | 1 1/2 cups (265g) | High-quality chips melt better |
| Optional mix-ins | 1/2 cup | Walnuts, pecans, or additional chocolate chunks |
Key Equipment
For best results, I recommend having these tools ready:
- Stand mixer or hand mixer
- Mixing bowls (various sizes)
- Silicone spatula
- Cookie scoop (3 tablespoon size)
- Baking sheets
- Parchment paper or silicone baking mats
- Wire cooling racks
- Kitchen scale (for precise measurements)
The Step-by-Step Process
Preparation Phase
- Remove butter and eggs from the refrigerator 1-2 hours before baking to bring them to room temperature
- Preheat your oven to 350°F (175°C)
- Line two baking sheets with parchment paper or silicone mats
- Measure all ingredients using a kitchen scale for accuracy
Making the Cookie Dough
I’ve found that the mixing method significantly impacts the final texture of these cookies. Follow these steps carefully:
- Cream the butter and sugars: In a large bowl, beat the softened butter, granulated sugar, and brown sugar together for 3-4 minutes until light and fluffy. Don’t rush this step! Proper creaming incorporates air into the dough, giving the cookies their perfect texture.
- Add the eggs and vanilla: Beat in the eggs one at a time, ensuring each is fully incorporated before adding the next. Mix in the vanilla extract. The mixture should look smooth and glossy.
- Combine dry ingredients: In a separate bowl, whisk together the flour, cocoa powder, baking soda, and salt until no cocoa lumps remain.
- Combine wet and dry ingredients: Add the dry ingredients to the wet mixture in three batches, mixing on low speed just until combined after each addition. Be careful not to overmix, which can make the cookies tough.
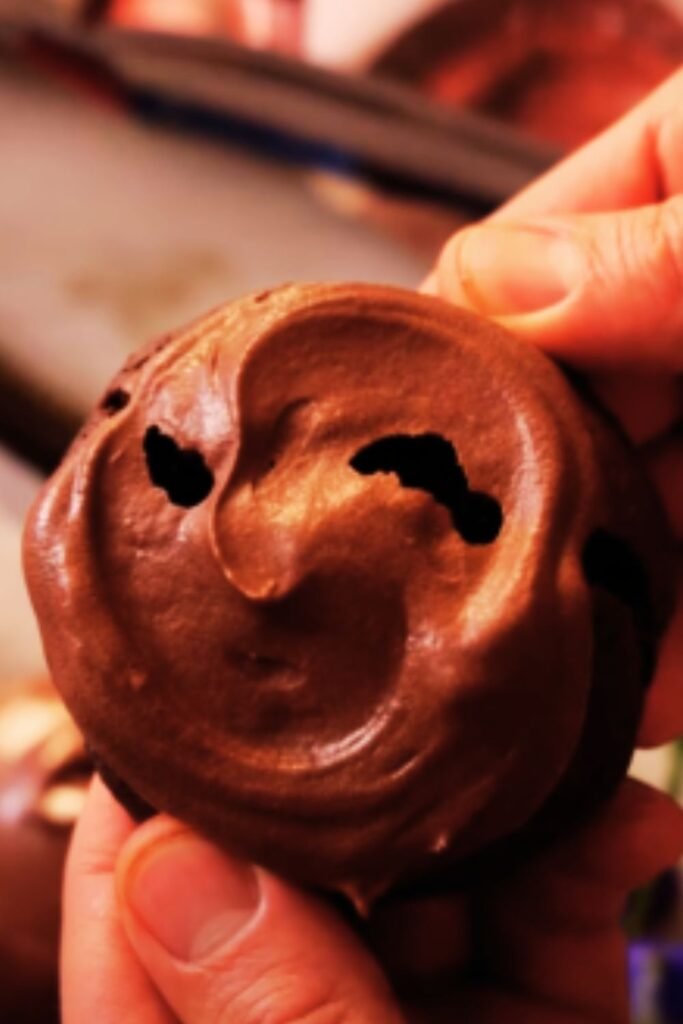
- Fold in the chocolate chips: Use a spatula to gently fold in the chocolate chips and any optional mix-ins. The dough will be thick and somewhat sticky.
Baking the Perfect Cookie
The baking process is where many cookie recipes fall short. Here’s how to ensure yours turn out perfectly:
- Chill the dough (optional but recommended): For thicker cookies with more concentrated flavor, cover the dough and refrigerate for at least 1 hour or up to 24 hours.
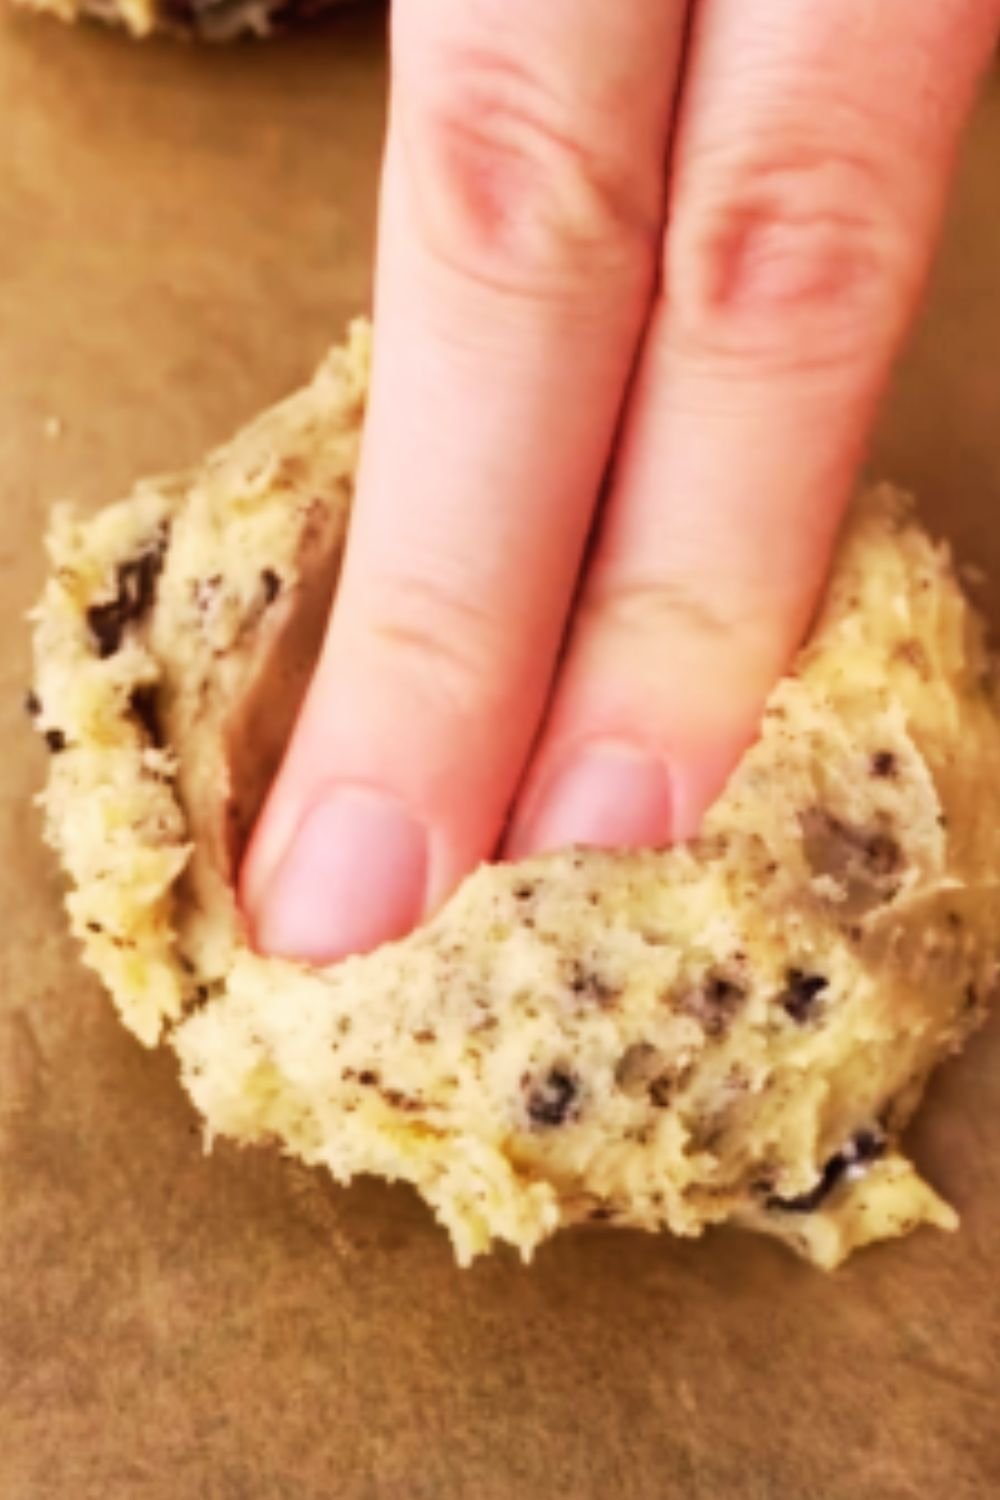
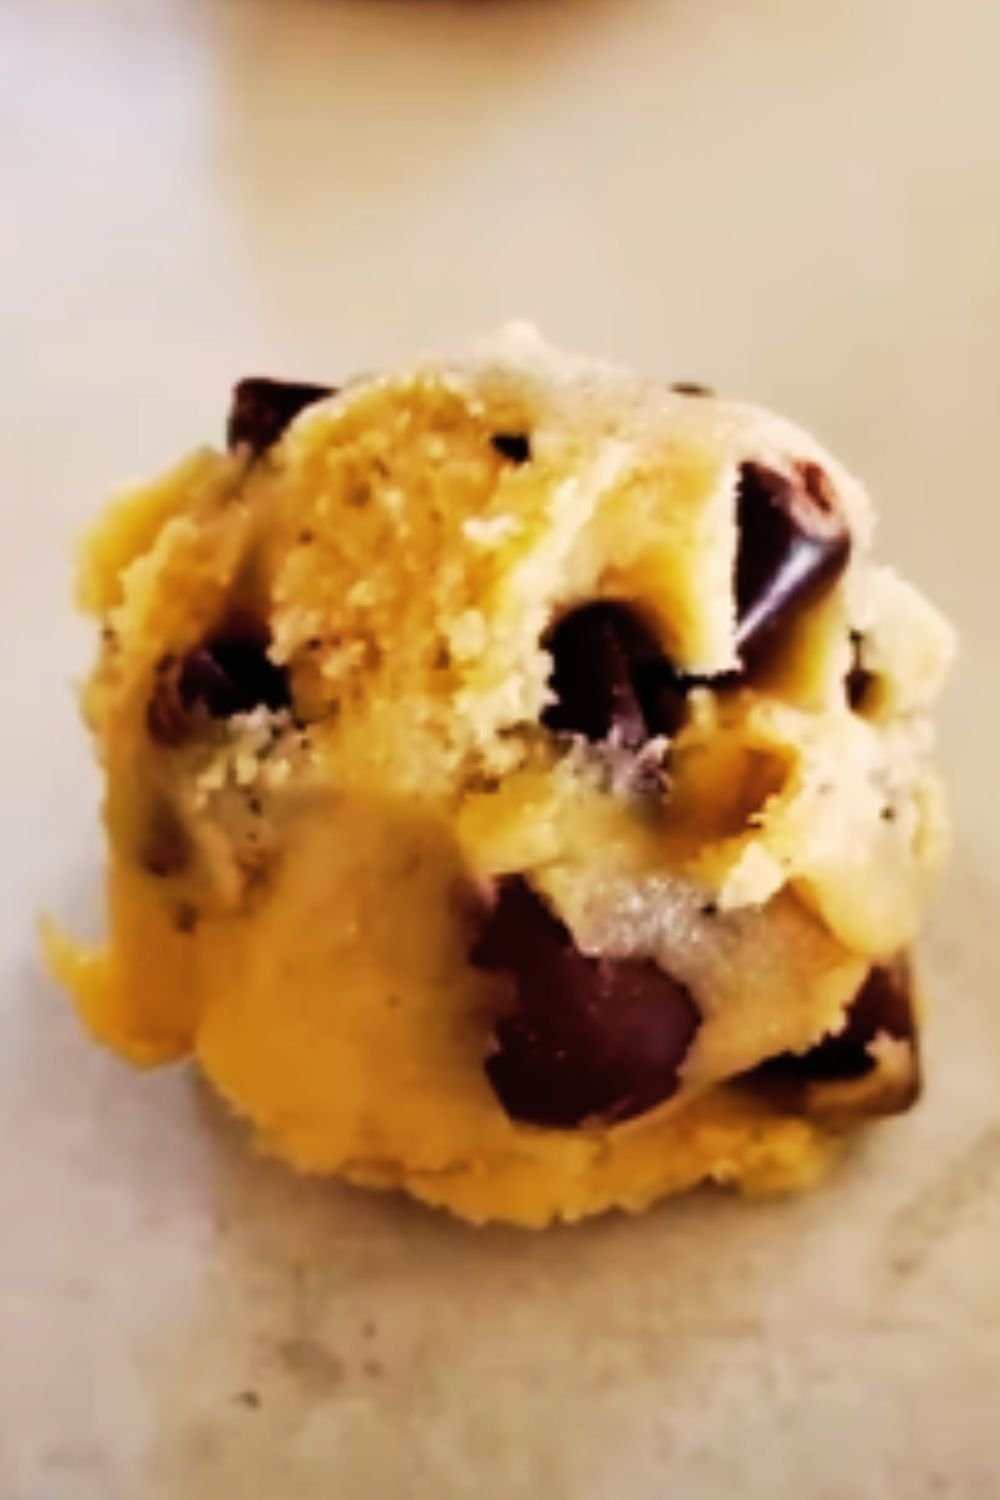
- Scoop and shape: Using a 3-tablespoon cookie scoop, portion the dough onto the prepared baking sheets, leaving about 2 inches between each cookie. For bakery-style cookies, roll each scoop into a ball, then slightly flatten the top.
- Add extra chips (professional touch): Press a few additional chocolate chips onto the top of each cookie dough ball for that picture-perfect look when baked.
- Bake strategically: Place the cookies in the preheated oven and bake for 10-12 minutes. The key is to remove them when the edges are set but the centers still look slightly underdone. They’ll continue cooking on the hot baking sheet.
- Perfect the shape: For perfectly round cookies, use a large round cookie cutter or glass to “scoot” around each hot cookie immediately after removing from the oven. This gently shapes any uneven edges.
- Cooling process: Let the cookies rest on the baking sheet for 5 minutes before transferring to a wire rack to cool completely. This rest period is crucial for developing the right texture.
Visual Doneness Cues
How do you know when these cookies are perfectly baked? Look for these signs:
- Edges are set and slightly firm to the touch
- Centers look slightly underdone and soft
- Surface has begun to crack slightly
- Cookies have spread and flattened somewhat but still maintain some thickness
If you wait until they look completely done in the oven, they’ll end up overbaked and lose their wonderful chewiness.
Troubleshooting Common Issues
Even experienced bakers encounter problems sometimes. Here are solutions to common cookie challenges:
| Problem | Possible Cause | Solution |
|---|---|---|
| Cookies spread too much | Butter too warm or too much sugar | Chill dough longer; check measurements |
| Cookies don’t spread enough | Flour overmeasured or dough too cold | Measure flour by weight; let dough warm slightly |
| Tough cookies | Overmixing the dough | Mix just until ingredients are combined |
| Dry cookies | Overbaking or too much flour | Reduce baking time; check measurements |
| Cookies stick to pan | Pan not properly prepared | Always use parchment or silicone mats |
| Uneven baking | Oven hot spots or crowded sheet | Rotate pan halfway; bake one sheet at a time |
Storage and Shelf Life
These cookies stay wonderfully chewy when stored properly. Here’s how to keep them at their best:
- Room temperature: Store in an airtight container with a slice of bread (the bread keeps them moist). They’ll stay chewy for up to 5 days.
- Freezing baked cookies: Place in freezer bags with parchment between layers. Freeze for up to 3 months. Thaw at room temperature.
- Freezing cookie dough: Scoop dough balls onto a baking sheet and freeze until solid. Transfer to freezer bags and store for up to 3 months. Bake from frozen, adding 1-2 minutes to the baking time.
Flavor Variations
While the classic version is hard to beat, here are some delicious variations I’ve experimented with:
Mint Chocolate Fudge Cookies
Add 1/2 teaspoon peppermint extract to the dough and substitute part of the chocolate chips with mint chocolate chips.
Mexican Chocolate Fudge Cookies
Add 1 teaspoon cinnamon and a pinch of cayenne pepper to the dry ingredients for a warming, spicy kick.
Peanut Butter Chocolate Fudge Cookies
Swirl 1/4 cup of peanut butter into the finished dough and add 1/2 cup of peanut butter chips along with the chocolate chips.
Salted Caramel Chocolate Fudge Cookies
Press a caramel candy into the center of each cookie dough ball before baking and sprinkle with flaky sea salt after baking.
Serving Suggestions
These cookies are versatile enough for any occasion. Here are my favorite ways to enjoy them:
- Warm from the oven with a cold glass of milk
- As the base for an ice cream sandwich with vanilla bean ice cream
- Crumbled over vanilla pudding or chocolate mousse
- Paired with a hot cup of coffee or tea
- Gifted in a decorative tin for holidays or special occasions
- As part of a dessert board with fresh fruits and other sweet treats
Nutritional Information
For those who are watching their intake, here’s an approximate nutritional breakdown per cookie (based on 24 cookies per batch):
| Nutrient | Amount per Cookie |
|---|---|
| Calories | 175 |
| Total Fat | 9g |
| Saturated Fat | 5g |
| Cholesterol | 25mg |
| Sodium | 75mg |
| Total Carbohydrates | 23g |
| Dietary Fiber | 1.5g |
| Sugars | 15g |
| Protein | 2g |
Frequently Asked Questions
Q: Can I use natural cocoa powder instead of Dutch-process? Yes, you can substitute natural cocoa powder, but the cookies will be slightly lighter in color and have a different flavor profile. If you do make this substitution, replace the baking soda with 1 teaspoon of baking powder to account for the difference in acidity.
Q: Why did my cookies turn out flat? Flat cookies usually result from butter that’s too soft, not enough flour, or skipping the chilling step. Make sure your butter is room temperature but not melted, measure your flour precisely, and consider chilling the dough if you live in a warm climate.
Q: Can I make these cookies gluten-free? Yes! I’ve successfully made these with a 1:1 gluten-free flour blend. Make sure your blend contains xanthan gum for the right texture. The cookies may spread slightly less, so you might want to flatten them more before baking.
Q: How can I make these cookies less sweet? You can reduce the granulated sugar by up to 1/4 cup without significantly affecting the texture. Using darker chocolate chips (60-70% cacao) will also reduce the overall sweetness while maintaining the rich chocolate flavor.
Q: My cookies seem undercooked in the middle. Did I do something wrong? Not at all! These cookies are meant to be slightly underdone when you remove them from the oven. They’ll continue to cook on the hot baking sheet and will set up as they cool. This is what gives them their signature chewy texture.
Q: Can I double this recipe? Absolutely! This recipe doubles beautifully. Just be sure to use a large enough bowl for mixing and bake in batches to avoid crowding the oven.
The Secret to Bakery-Style Cookies
After years of baking, I’ve discovered a few professional tricks that take these cookies from good to spectacular:
- Temperature layering: Start with room temperature ingredients, chill the dough, then bake at the precise temperature. This temperature control develops perfect flavor and texture.
- Weighing ingredients: Professional bakers weigh rather than measure ingredients. Try it once and you’ll notice the difference in consistency.
- Cookie scoot technique: Use a round cutter to “scoot” around each cookie right after baking to create perfectly round cookies with a nice thickness at the edges.
- Deliberate mix-ins: Don’t just stir in the chocolate chips randomly. Reserve some to press onto the tops of the cookie dough balls for a beautiful appearance.
- Rest periods: Both the dough (before baking) and the cookies (after baking) need proper rest periods to develop optimal flavor and texture.
These chocolate fudge cookies have become my signature dessert, requested at every gathering and holiday. With their rich flavor and perfect texture, they’ve earned their place as my most cherished recipe. I hope they bring as much joy to your kitchen as they have to mine!
Q&A With a Cookie Expert
Q: What’s the number one mistake people make when baking chocolate cookies? The biggest mistake is overbaking. Many people wait until cookies look completely done in the oven, but by then, they’re actually overdone. For chewy cookies, they should look slightly underbaked when you remove them from the oven.
Q: How important is it to use room temperature ingredients? Very important! Room temperature butter and eggs create an emulsion that traps air, giving you a lighter, chewier cookie. Cold ingredients don’t incorporate properly and can result in dense, flat cookies.
Q: Do I really need to chill the dough? While you can bake these cookies without chilling the dough, a rest period of even 30 minutes improves flavor and texture dramatically. The flour hydrates, the flavors deepen, and the cookies spread less during baking, giving you thicker, chewier results.
Q: What’s the best chocolate to use in these cookies? For the chips, choose high-quality semi-sweet chocolate chips with around 60% cacao content. The higher cocoa butter content means they’ll melt better in the cookies. You can also chop a chocolate bar instead of using chips for more melty chocolate pockets.
Q: How can I ensure my cookies all bake evenly and look the same size? A cookie scoop is your best friend! It portions the dough exactly the same for each cookie. Also, bake one sheet at a time in the center of your oven for the most even heat distribution.