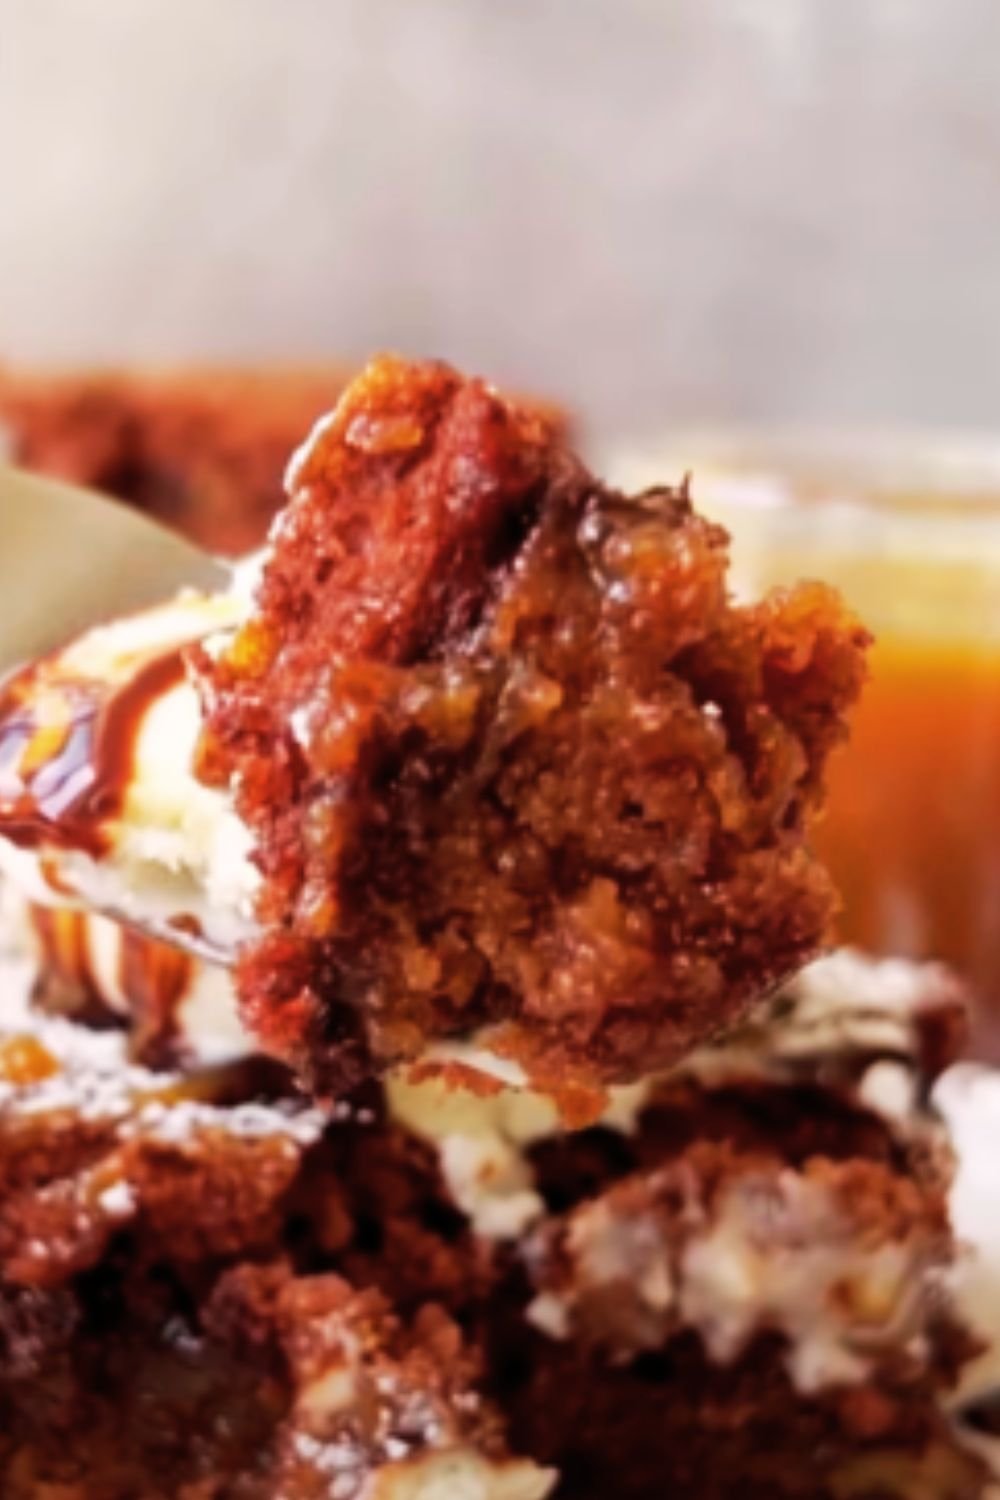
There’s something utterly irresistible about the caramelized, spiced flavor of Lotus Biscoff cookies that has taken the dessert world by storm. Today, I’m sharing my absolute favorite way to showcase these delicious cookies – in a creamy, indulgent no-bake cheesecake that will leave your guests begging for the recipe.
As someone who’s made countless cheesecakes over the years, I can honestly say this Lotus Biscoff version has become my go-to when I need an impressive dessert without turning on the oven. The combination of the crunchy Biscoff base, silky smooth cheesecake filling, and that signature speculoos flavor creates pure dessert magic.
Why You’ll Love This Recipe
- No baking required! Perfect for hot summer days or when your oven is occupied
- Make-ahead friendly – ideal for entertaining
- Simple ingredients that are easy to find
- Foolproof technique – even novice bakers will succeed
- Show-stopping presentation with minimal effort
- That incredible Biscoff flavor that everyone loves
The beauty of this cheesecake lies in its simplicity. With just a handful of ingredients and some patience while it sets, you’ll create a dessert that looks and tastes like it came from a high-end bakery.
Ingredients
For the Biscoff Cookie Base:
- 2 packages (8.8 oz/250g each) Lotus Biscoff cookies
- 1/2 cup (115g) unsalted butter, melted
- Pinch of salt
For the Cheesecake Filling:
- 2 1/2 cups (600g) full-fat cream cheese, room temperature
- 1 cup (240ml) heavy whipping cream, cold
- 3/4 cup (170g) Lotus Biscoff spread (smooth)
- 2/3 cup (135g) granulated sugar
- 1 tablespoon vanilla extract
- 1/4 teaspoon salt
For the Topping:
- 1/2 cup (120g) Lotus Biscoff spread, slightly warmed
- 1/2 cup (120ml) heavy whipping cream, whipped to soft peaks
- 6-8 Lotus Biscoff cookies, crushed and whole for decoration
Equipment Needed
- 9-inch (23cm) springform pan
- Parchment paper
- Food processor or ziplock bag and rolling pin
- Electric mixer (stand or handheld)
- Rubber spatula
- Mixing bowls
- Measuring cups and spoons
- Refrigerator (obviously!)
Detailed Instructions
Step 1: Prepare Your Pan
I always start by lining the bottom of my springform pan with parchment paper. This simple step makes removing the finished cheesecake so much easier. Then, lightly grease the sides of the pan with butter or cooking spray.
Step 2: Create the Biscoff Cookie Base
The foundation of our cheesecake is an irresistible Biscoff cookie crust that perfectly complements the creamy filling.
- Place the Biscoff cookies in a food processor and pulse until you have fine crumbs. If you don’t have a food processor, place the cookies in a ziplock bag and crush them with a rolling pin until finely ground.
- Transfer the cookie crumbs to a mixing bowl and add the melted butter and a pinch of salt.
- Stir until the mixture resembles wet sand and all crumbs are evenly moistened.
- Press the mixture firmly into the bottom of your prepared springform pan, creating an even layer.
- Use the bottom of a measuring cup to compress the crust, ensuring it’s packed tightly.
- Place the pan in the refrigerator while you prepare the filling (at least 15 minutes).

Step 3: Make the Cheesecake Filling
Now for the star of the show – the creamy, Biscoff-infused cheesecake filling that will make your taste buds sing!
- In a large mixing bowl, beat the cream cheese until smooth and creamy, about 2 minutes.
- Add the sugar, vanilla extract, and salt, beating until well combined and no lumps remain.
- Add the Biscoff spread and beat until fully incorporated. The mixture should be smooth and uniform in color.
- In a separate bowl, whip the heavy cream until stiff peaks form.
- Gently fold the whipped cream into the cream cheese mixture using a rubber spatula. Work in batches, folding with a light touch to maintain as much air as possible.
- Continue folding until no white streaks remain and the mixture is completely uniform.
Step 4: Assemble the Cheesecake
- Remove the crust from the refrigerator.
- Pour the filling over the crust, smoothing the top with a spatula.
- Gently tap the pan on the counter a few times to remove any air bubbles.
- Cover with plastic wrap and refrigerate for at least 6 hours, preferably overnight. This resting time is crucial for the perfect texture!
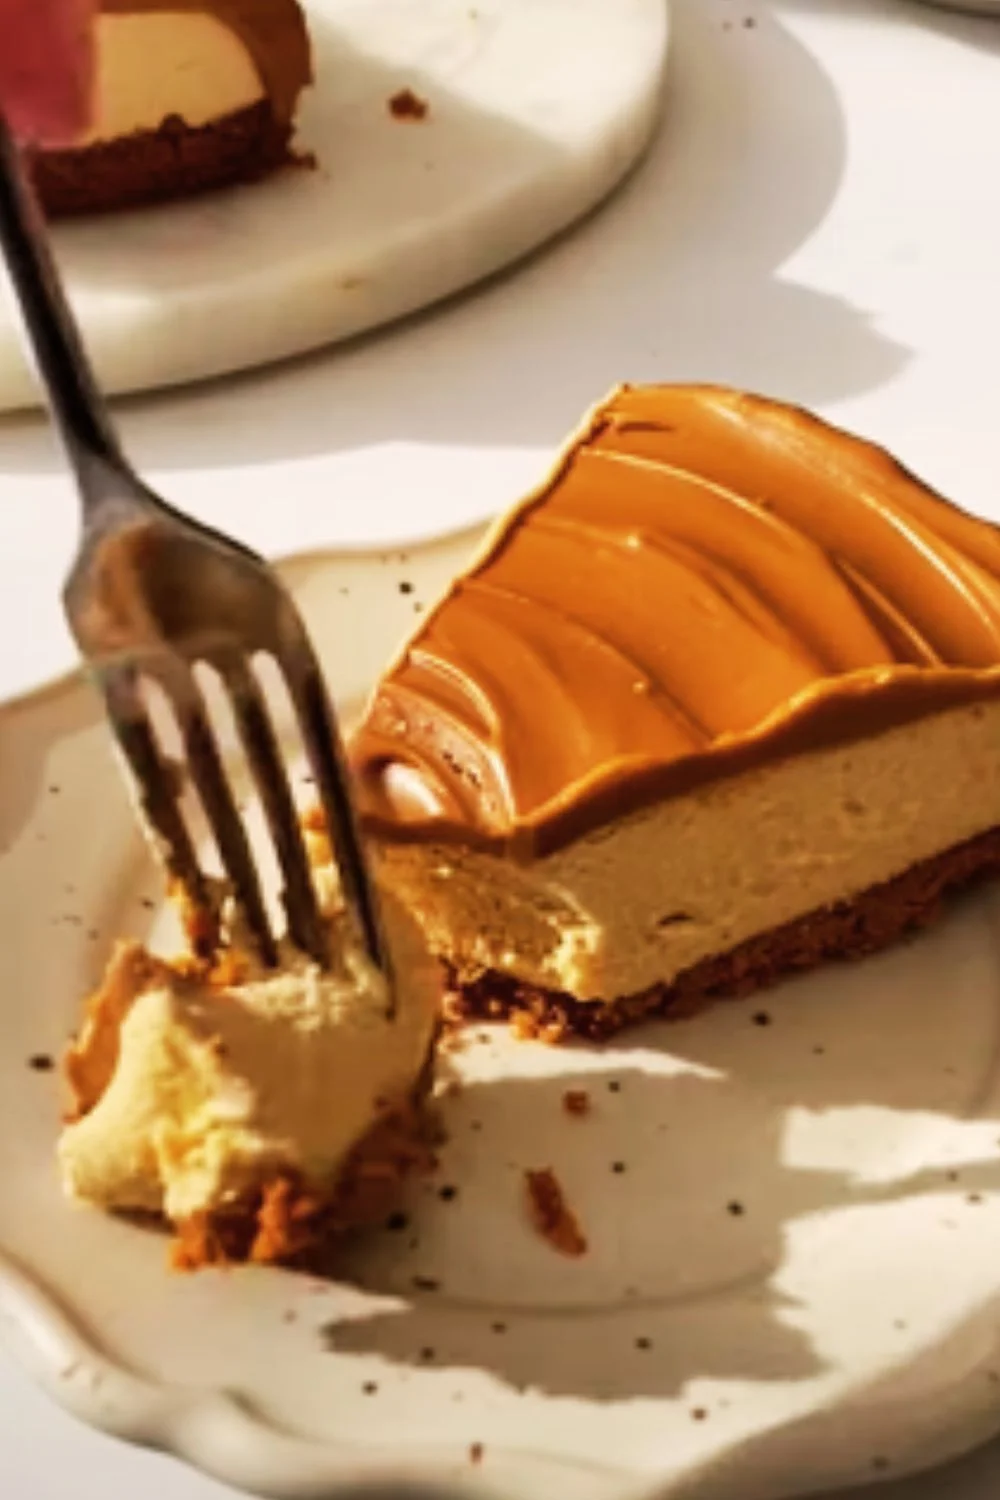
Step 5: Add the Toppings
The final flourish that takes this cheesecake from delicious to spectacular!
- When the cheesecake has fully set, gently warm the Biscoff spread in the microwave for 20-30 seconds until just pourable.
- Pour the spread over the top of the cheesecake, quickly tilting the pan to create an even layer or decorative swirls.
- Allow the spread to cool slightly, then pipe whipped cream around the edges.
- Decorate with whole and crushed Biscoff cookies just before serving.

Expert Tips for Perfect Results
After making this cheesecake dozens of times, I’ve gathered some valuable insights that will help you achieve consistent success:
- Room temperature cream cheese is non-negotiable. Cold cream cheese will leave lumps in your filling, no matter how long you beat it.
- Gentle folding is key. When incorporating the whipped cream, use a light touch to maintain as much air as possible for that perfect mousse-like texture.
- Patience pays off. The hardest part of this recipe is waiting for it to set! Give it at least 6 hours, but overnight is even better.
- Clean cuts every time. Dip your knife in hot water and wipe it clean between each slice for restaurant-quality presentation.
- Temperature matters for the topping. The Biscoff spread should be just warm enough to pour, but not hot, or it will melt your carefully set filling.
Troubleshooting Common Issues
Even experienced bakers encounter challenges occasionally. Here are solutions to the most common problems:
| Problem | Cause | Solution |
|---|---|---|
| Filling is too soft | Insufficient setting time or cream not whipped enough | Refrigerate longer; ensure cream is whipped to stiff peaks |
| Crust is crumbly | Too little butter or not compressed enough | Add 1-2 tbsp more melted butter; press firmly with measuring cup |
| Filling has lumps | Cream cheese wasn’t at room temperature | Ensure cream cheese sits out for at least 1 hour before starting |
| Topping sets before spreading | Biscoff spread cooled too quickly | Rewarm slightly and work quickly |
| Cheesecake sticks to pan | Pan not properly prepared | Line with parchment and grease sides generously |
Variations to Try
One of the things I love about this basic recipe is how versatile it is. Here are some delicious variations I’ve experimented with:
- Chocolate Biscoff: Add 1/4 cup cocoa powder and 2 oz melted dark chocolate to the filling
- Berry Biscoff: Swirl 1/2 cup raspberry or strawberry coulis through the filling before setting
- Coffee Biscoff: Dissolve 1 tablespoon instant espresso powder in 1 tablespoon hot water and add to the filling
- Salted Caramel: Drizzle homemade salted caramel sauce between the filling and topping

Make-Ahead and Storage Information
This cheesecake is perfect for planning ahead:
- Make-ahead: Prepare up to 3 days before serving and store covered in the refrigerator
- Refrigerator: Keeps well for up to 5 days in an airtight container
- Freezer: Can be frozen for up to 3 months; thaw overnight in the refrigerator
Detailed Storage Table
| Storage Method | Preparation | Maximum Time | Special Notes |
|---|---|---|---|
| Refrigerator (whole) | Cover with plastic wrap | 5 days | Best within first 3 days |
| Refrigerator (sliced) | Store in airtight container with pieces separated by parchment | 4 days | Texture best in first 48 hours |
| Freezer (whole) | Wrap in plastic, then foil, place in freezer bag | 3 months | Thaw in refrigerator for 24 hours |
| Freezer (slices) | Wrap individual slices, place in container | 2 months | Thaw in refrigerator for 4-6 hours |
| Room temperature | Not recommended | 2 hours maximum | For serving only |
Serving Suggestions
I love finding creative ways to serve this showstopper dessert:
- Add a scoop of vanilla ice cream for the ultimate indulgence
- Serve with a shot of espresso for a sophisticated coffee pairing
- Create a dessert board with fresh berries, chocolate-dipped Biscoff cookies, and this cheesecake as the centerpiece
- For special occasions, dust the top with edible gold dust for a touch of elegance
- Drizzle with warm chocolate sauce just before serving
Nutritional Information
While this is definitely a decadent treat, here’s the approximate nutritional breakdown per slice (assuming 12 slices per cheesecake):
| Nutrient | Amount per Serving |
|---|---|
| Calories | 485 |
| Total Fat | 34g |
| Saturated Fat | 19g |
| Cholesterol | 95mg |
| Sodium | 320mg |
| Total Carbohydrates | 42g |
| Dietary Fiber | 0.5g |
| Sugars | 32g |
| Protein | 5g |
Why This Recipe Works
The science behind this no-bake cheesecake is fascinating. The combination of fat from the cream cheese and heavy cream, along with the sugar, creates a stable emulsion. When chilled, this emulsion firms up beautifully, giving you that perfect cheesecake texture without the need for eggs or baking.
The Biscoff spread adds both flavor and structure. Its high fat content helps the filling set properly, while its distinctive spiced caramel flavor permeates every bite.
Frequently Asked Questions
Q: Can I use light cream cheese instead of full-fat? While technically possible, I don’t recommend it. Full-fat cream cheese gives the cheesecake its luxurious texture and helps it set properly. Light versions contain more water and can result in a softer, less stable filling.
Q: What if I can’t find Biscoff spread? Cookie butter or speculoos spread are identical products with different branding. In a pinch, you could substitute creamy peanut butter with 2 tablespoons of brown sugar and 1/4 teaspoon cinnamon, though the flavor will be different.
Q: My cheesecake didn’t set properly. What went wrong? The most common causes are not whipping the cream to stiff peaks, overmixing after adding the whipped cream, or not refrigerating long enough. Make sure to follow the recipe precisely and give it plenty of time to set.
Q: Can I make individual mini cheesecakes instead? Absolutely! Use a muffin tin lined with paper liners and follow the same process. Individual portions will set faster – about 4 hours should be sufficient.
Q: Is there a way to make this recipe dairy-free? Yes, you can substitute dairy-free cream cheese and coconut cream (the solid part from a can of full-fat coconut milk). The texture will be slightly different but still delicious.
Q: My family doesn’t like things too sweet. Can I reduce the sugar? You can reduce the sugar to 1/2 cup without affecting the texture significantly. Remember that the Biscoff spread and cookies already contain sugar.
Q: How do I know when the cheesecake is properly set? The surface should be firm to the touch, with only a slight jiggle in the very center when you gently shake the pan.
Q: Can I use a different size pan? Yes, but you’ll need to adjust the quantities. For an 8-inch pan, reduce all ingredients by 25%. For a 10-inch pan, increase by 25%.
Final Thoughts
This Easy No-Bake Lotus Biscoff Cheesecake has become my signature dessert for good reason. It combines simplicity with spectacular results – exactly what we all want in a recipe. The caramelized, slightly spiced flavor of the Biscoff cookies and spread creates a dessert that’s familiar yet distinctive.
Whether you’re an experienced baker or just starting out, this forgiving recipe delivers impressive results every time. The fact that it can be made well in advance makes it perfect for entertaining, and its stunning appearance belies the minimal effort required.
I hope you’ll give this recipe a try the next time you’re craving something special or need a dessert that’s guaranteed to impress. I’m confident it will become a favorite in your recipe collection, just as it has in mine!