There’s something magical about that first bite of perfectly fried chicken – the way the crispy coating crunches beneath your teeth before giving way to juicy, tender meat. Today, I’m sharing my treasured recipe for old school fried chicken, the kind that brings back memories of Sunday family gatherings and warm summer afternoons on the porch.
The Secret Behind Perfect Fried Chicken
After years of perfecting this recipe, I’ve discovered that great fried chicken isn’t just about the ingredients – it’s about patience, technique, and understanding the science behind that perfect crust. Let me take you through everything you need to know to create this classic comfort food masterpiece.
Essential Equipment
| Equipment | Purpose | Recommended Type |
|---|---|---|
| Cast Iron Skillet | Main cooking vessel | 12-inch deep skillet |
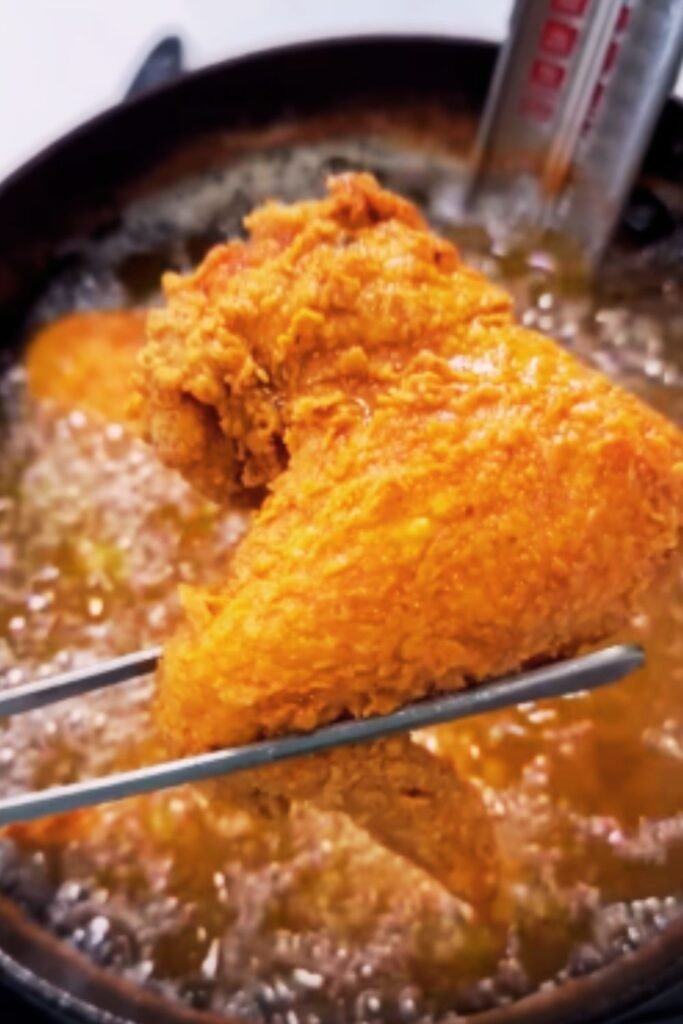
| Thermometer | Oil temperature control | Digital instant-read |
| Spider Strainer | Safe chicken removal | Stainless steel mesh |
| Paper Towels | Oil absorption | Unscented, heavy-duty |
| Large Bowl | Brining container | Non-reactive metal or glass |
| Mixing Bowls | Coating stations | Various sizes |
Ingredients for the Perfect Bird
| Ingredient | Amount | Notes |
|---|---|---|
| Whole Chicken | 3-4 pounds | Cut into 8 pieces |
| Buttermilk | 2 cups | Full-fat recommended |
| Kosher Salt | 1/4 cup | For brining |
| All-Purpose Flour | 3 cups | Unbleached |
| Paprika | 2 tablespoons | Sweet or smoked |
| Garlic Powder | 1 tablespoon | Fresh ground |
| Onion Powder | 1 tablespoon | Fresh ground |
| Black Pepper | 2 teaspoons | Freshly ground |
| Cayenne Pepper | 1 teaspoon | Adjust to taste |
| Vegetable Oil | 4-6 cups | For frying |
The Crucial Steps
The Brine (12-24 hours ahead)
- Mix 2 cups buttermilk with 1/4 cup kosher salt
- Submerge chicken pieces completely
- Cover and refrigerate for 12-24 hours
- Turn pieces occasionally for even brining
The Coating Mix
- Combine flour and all seasonings in a large paper bag
- Shake well to distribute spices evenly
- Reserve 1 cup of mixture for double dredging
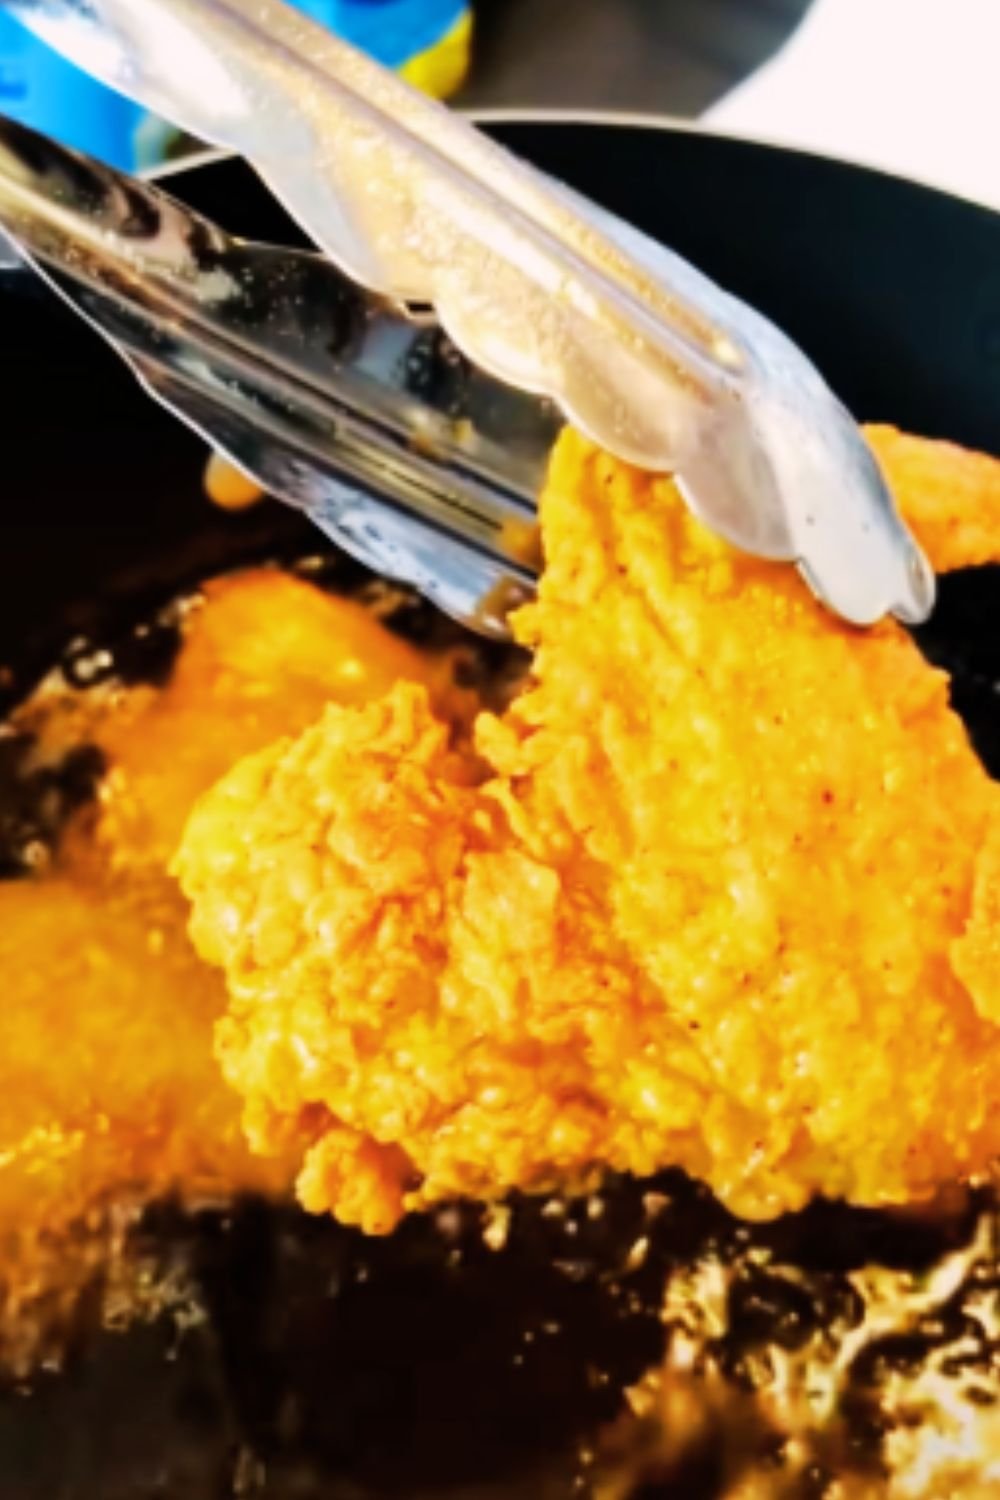
The Frying Process
Temperature control is crucial for perfect fried chicken. Here’s my tested timing chart:
| Chicken Part | Oil Temperature | Cooking Time |
|---|---|---|
| Wings | 350°F | 8-10 minutes |
| Breasts | 325°F | 12-15 minutes |
| Thighs | 325°F | 12-14 minutes |
| Drumsticks | 325°F | 10-12 minutes |
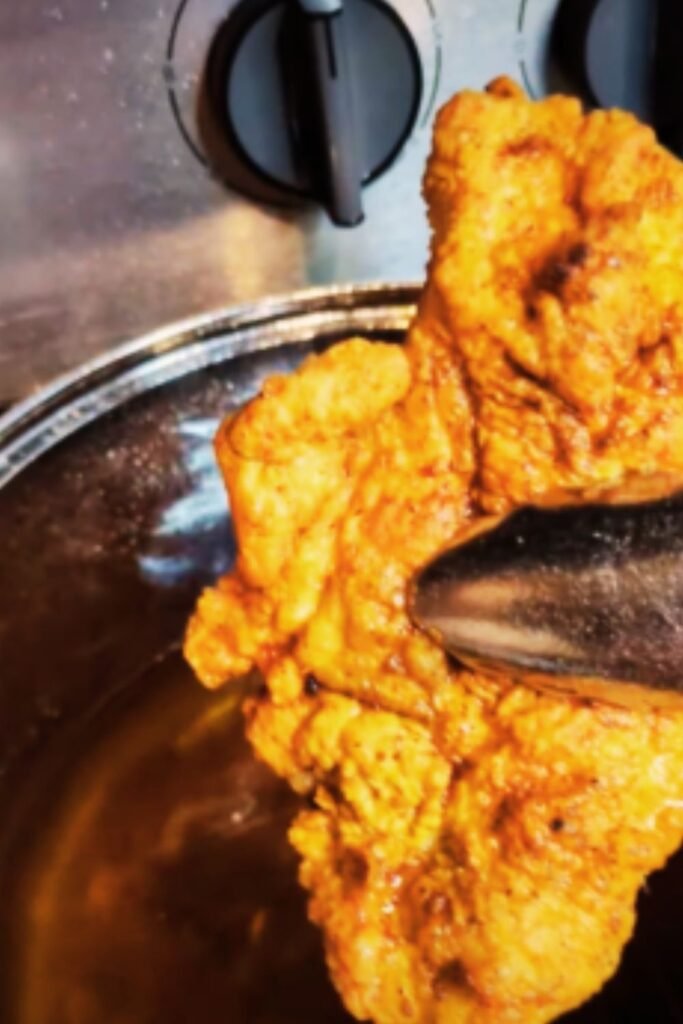
Step-by-Step Frying Instructions
- Remove chicken from brine and pat dry thoroughly
- Dredge in seasoned flour mixture
- Let rest on a wire rack for 10 minutes
- Dredge again for extra crispiness
- Heat oil to temperature specified in chart
- Fry pieces in batches, maintaining oil temperature
- Turn pieces every 3-4 minutes for even cooking
- Check internal temperature (165°F for doneness)
Troubleshooting Tips
| Problem | Cause | Solution |
|---|---|---|
| Dark crust, raw inside | Oil too hot | Maintain lower temperature |
| Greasy chicken | Oil not hot enough | Use thermometer to monitor |
| Coating falls off | Wet surface | Pat chicken very dry |
| Bland taste | Insufficient brining | Brine full 24 hours |
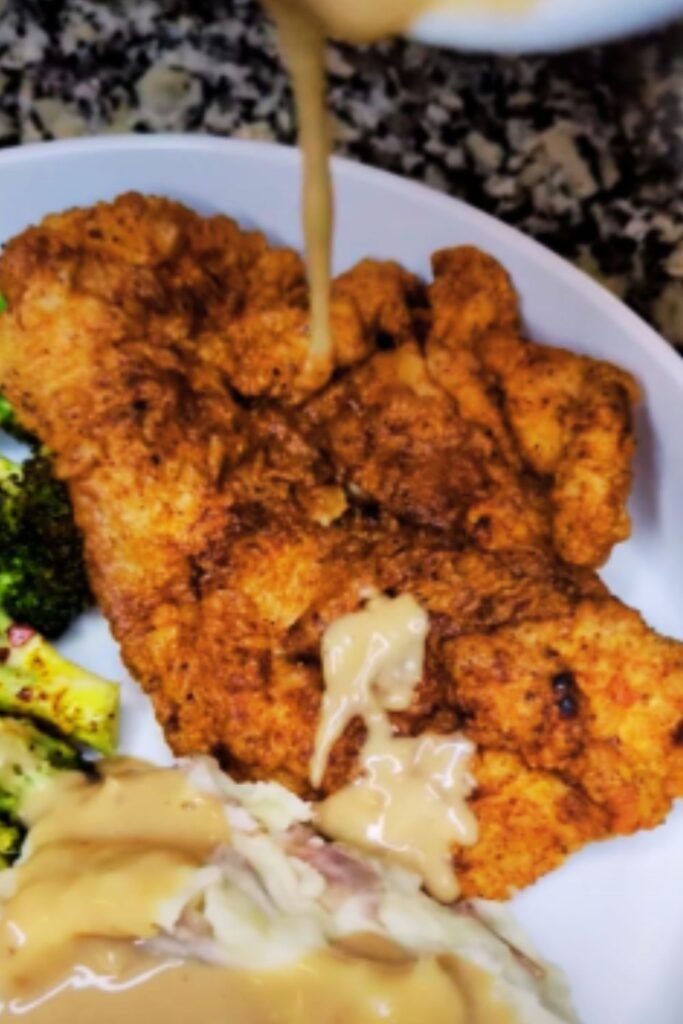
Serving Suggestions
- Fresh corn on the cob
- Creamy coleslaw
- Buttermilk biscuits
- Southern-style green beans
- Mac and cheese
- Sweet potato fries
- Honey for drizzling
Storage and Reheating
| Storage Method | Duration | Notes |
|---|---|---|
| Room Temperature | 2 hours max | Not recommended |
| Refrigerator | 3-4 days | In airtight container |
| Freezer | 4 months | Wrap individually |
Reheating Methods
- Oven (recommended):
- Preheat to 375°F
- Place on wire rack
- Heat 10-15 minutes
- Air Fryer:
- 375°F for 4-5 minutes
- Single layer only
Common Questions
Q: Why is my chicken not crispy enough?
A: The key to crispy chicken is double dredging and maintaining proper oil temperature. Make sure your chicken is pat dry before coating, and let it rest between dredges.
Q: Can I use regular milk instead of buttermilk?
A: While you can, buttermilk’s acidity helps tenderize the meat. If using regular milk, add 1 tablespoon of lemon juice or vinegar per cup of milk.
Q: How do I know when the chicken is done?
A: Use a meat thermometer to check that the internal temperature reaches 165°F. The juices should run clear when pierced.
Q: Can I reuse the frying oil?
A: Yes, strain cooled oil through a fine-mesh sieve lined with cheesecloth. Store in an airtight container and reuse 2-3 times maximum.
Q: Why soak chicken in buttermilk?
A: Buttermilk’s enzymes help break down proteins, making the meat more tender. The acidity also adds flavor and helps the coating adhere better.
Pro Tips from My Kitchen
- Always bring chicken to room temperature before frying
- Never crowd the pan – leave space between pieces
- Use a spider strainer for safe removal of chicken
- Keep a fire extinguisher nearby (never use water on oil fires)
- Save the pan drippings for gravy
- Rest fried chicken on a wire rack, not paper towels
- Season the chicken immediately after removing from oil
Special Notes on Food Safety
| Critical Point | Temperature | Time |
|---|---|---|
| Oil Maximum | 375°F | N/A |
| Chicken Done | 165°F | Instant |
| Danger Zone | 40-140°F | 2 hours max |
Remember, great fried chicken takes practice and patience. Don’t be discouraged if your first attempt isn’t perfect – each batch is a learning experience. Focus on maintaining oil temperature, proper coating technique, and most importantly, enjoy the process of creating this beloved comfort food classic.