There’s something magical about the way a bowl of homemade butternut squash soup can warm both body and soul on a chilly evening. As someone who has spent countless hours perfecting this recipe in my kitchen, I’m excited to share my foolproof method for creating the most velvety, flavorful butternut squash soup you’ve ever tasted.
The Magic of Butternut Squash
Before we dive into the recipe, let me share why I’m absolutely in love with butternut squash. This humble gourd isn’t just delicious – it’s packed with nutrients that make it a powerhouse ingredient. In my years of cooking, I’ve discovered that roasting brings out its natural sweetness in a way that simply can’t be matched by any other cooking method.
Nutritional Benefits
| Nutrient | Amount per Cup | % Daily Value |
|---|---|---|
| Vitamin A | 14,882 IU | 297% |
| Vitamin C | 31 mg | 52% |
| Potassium | 582 mg | 17% |
| Fiber | 6.6 g | 26% |
| Protein | 1.8 g | 4% |
| Calories | 82 | – |
Essential Ingredients
For this recipe, I’ve carefully selected ingredients that complement each other perfectly:
Main Ingredients
- 1 large butternut squash (about 3 pounds)
- 2 medium yellow onions
- 4 cloves of garlic
- 3 medium carrots
- 2 tablespoons extra virgin olive oil
- 4 cups vegetable broth (homemade preferred)
- 1 cup full-fat coconut milk
- 1 fresh sage sprig
Seasonings
- 1 teaspoon fresh thyme leaves
- 1/2 teaspoon ground nutmeg
- 1 teaspoon sea salt
- 1/2 teaspoon freshly ground black pepper
- 1/4 teaspoon ground cinnamon

Kitchen Equipment Needed
I’ve found these tools essential for the perfect soup:
- Large baking sheet
- Sharp chef’s knife
- Large soup pot or Dutch oven
- Immersion blender (or regular blender)
- Measuring cups and spoons
- Wooden spoon
- Vegetable peeler
The Step-by-Step Process
Preparation Phase
- Preheat your oven to 400°F (200°C)
- Peel and cube the butternut squash into 1-inch pieces
- Roughly chop onions, garlic, and carrots

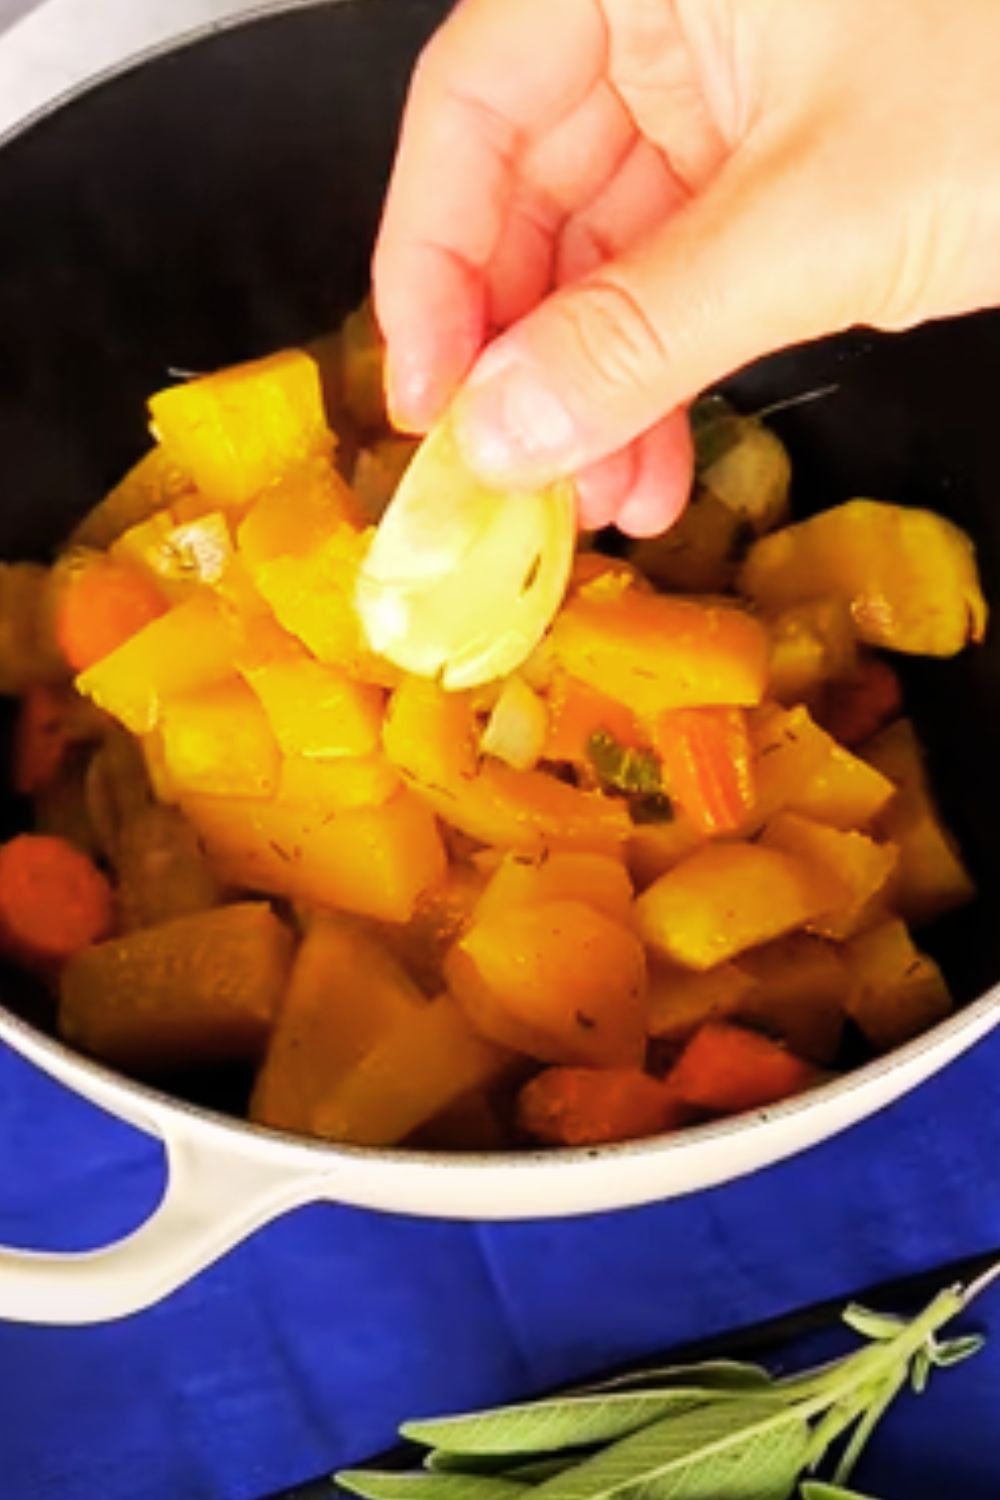
Roasting Process
- Spread squash, onions, carrots, and garlic on baking sheet
- Drizzle with olive oil and season with salt and pepper
- Roast for 35-40 minutes, stirring halfway through
- Look for golden brown edges and tender vegetables
Making the Soup
- Transfer roasted vegetables to soup pot
- Add broth and bring to simmer
- Add herbs and spices
- Simmer for 15-20 minutes
- Blend until smooth
- Stir in coconut milk
- Adjust seasoning to taste
Pro Tips from My Kitchen
Over the years, I’ve discovered several tricks that elevate this soup from good to exceptional:
- Roast Extra Long: Don’t rush the roasting process. Those caramelized edges are flavor gold.
- Season in Layers: Add basic seasoning during roasting, then adjust again after blending.
- Temperature Matters: Let the soup cool slightly before blending to prevent accidents.
- Texture Control: Add more broth or coconut milk to achieve your preferred consistency.
Storage and Reheating
I often make a double batch because this soup stores beautifully:
Storage Options
- Refrigerator: Up to 5 days in airtight container
- Freezer: Up to 3 months in freezer-safe container
Reheating Guidelines
- Stovetop: Medium heat, stirring occasionally
- Microwave: 2-3 minutes, stirring halfway through
Serving Suggestions

I love getting creative with toppings. Here are my favorite combinations:
Crunchy Toppings
- Roasted pumpkin seeds
- Crispy sage leaves
- Spiced pecans
- Homemade croutons
Creamy Additions
- Swirl of coconut cream
- Dollop of Greek yogurt
- Crème fraîche
Accompaniments
- Crusty artisan bread
- Fresh green salad
- Grilled cheese sandwich
- Roasted vegetable medley
Troubleshooting Common Issues
Throughout my recipe testing, I’ve encountered various challenges. Here’s how to solve them:
Texture Problems
- Too thick: Add warm broth gradually
- Too thin: Simmer uncovered to reduce
- Grainy: Blend longer, use high-speed setting
Flavor Adjustments
- Bland: Add more salt and fresh herbs
- Too sweet: Balance with acid (lemon juice)
- Too savory: Add a touch of maple syrup
Seasonal Variations
I adapt this recipe throughout the year:
Fall Version
- Add roasted apple
- Include warming spices
- Garnish with crispy bacon
Winter Version
- Increase coconut milk
- Add ginger and turmeric
- Top with spiced pepitas
Spring Version
- Lighten with lemon zest
- Add fresh herbs
- Garnish with microgreens
Frequently Asked Questions
Q: Can I make this soup ahead for a dinner party?
A: Absolutely! In fact, I find the flavors develop even better when made 1-2 days ahead.
Q: Is there a substitute for coconut milk?
A: Yes! Heavy cream or cashew cream work wonderfully as alternatives.
Q: My squash is really hard to cut. Any tips?
A: I recommend microwaving the whole squash for 3-4 minutes to soften it slightly before cutting.
Q: Can I use pre-cut butternut squash?
A: While convenient, I find whole squash produces better results. But pre-cut works in a pinch!
Q: How do I make this soup thicker?
A: Reduce the amount of broth initially, or simmer uncovered until desired thickness is reached.
Q: Can I make this in a slow cooker?
A: Yes, though I still recommend roasting the vegetables first for the best flavor.
Health Considerations
This soup fits into many dietary preferences:
Dietary Compliance
- Gluten-free
- Dairy-free
- Vegan
- Paleo-friendly
- Whole30 compliant
Modifications
- Low-sodium: Reduce salt, use low-sodium broth
- Lower-fat: Use light coconut milk
- FODMAP: Omit garlic and onions
- Nut-free: Avoid nut-based toppings
Remember, cooking is about making the recipe your own. I encourage you to experiment with different spices and toppings until you find your perfect combination. This soup has become a staple in my kitchen, and I hope it becomes one in yours too!