There’s something truly magical about a dessert that creates its own sauce while baking. Chocolate cobbler ranks high on my list of comfort desserts that never fail to impress, yet requires minimal effort to prepare. The first time I made this dessert, I was skeptical—pouring hot water over a perfectly good batter seemed like culinary sabotage. But then the magic happened in the oven: the water and cocoa transformed into a rich, molten sauce underneath a cake-like top layer.
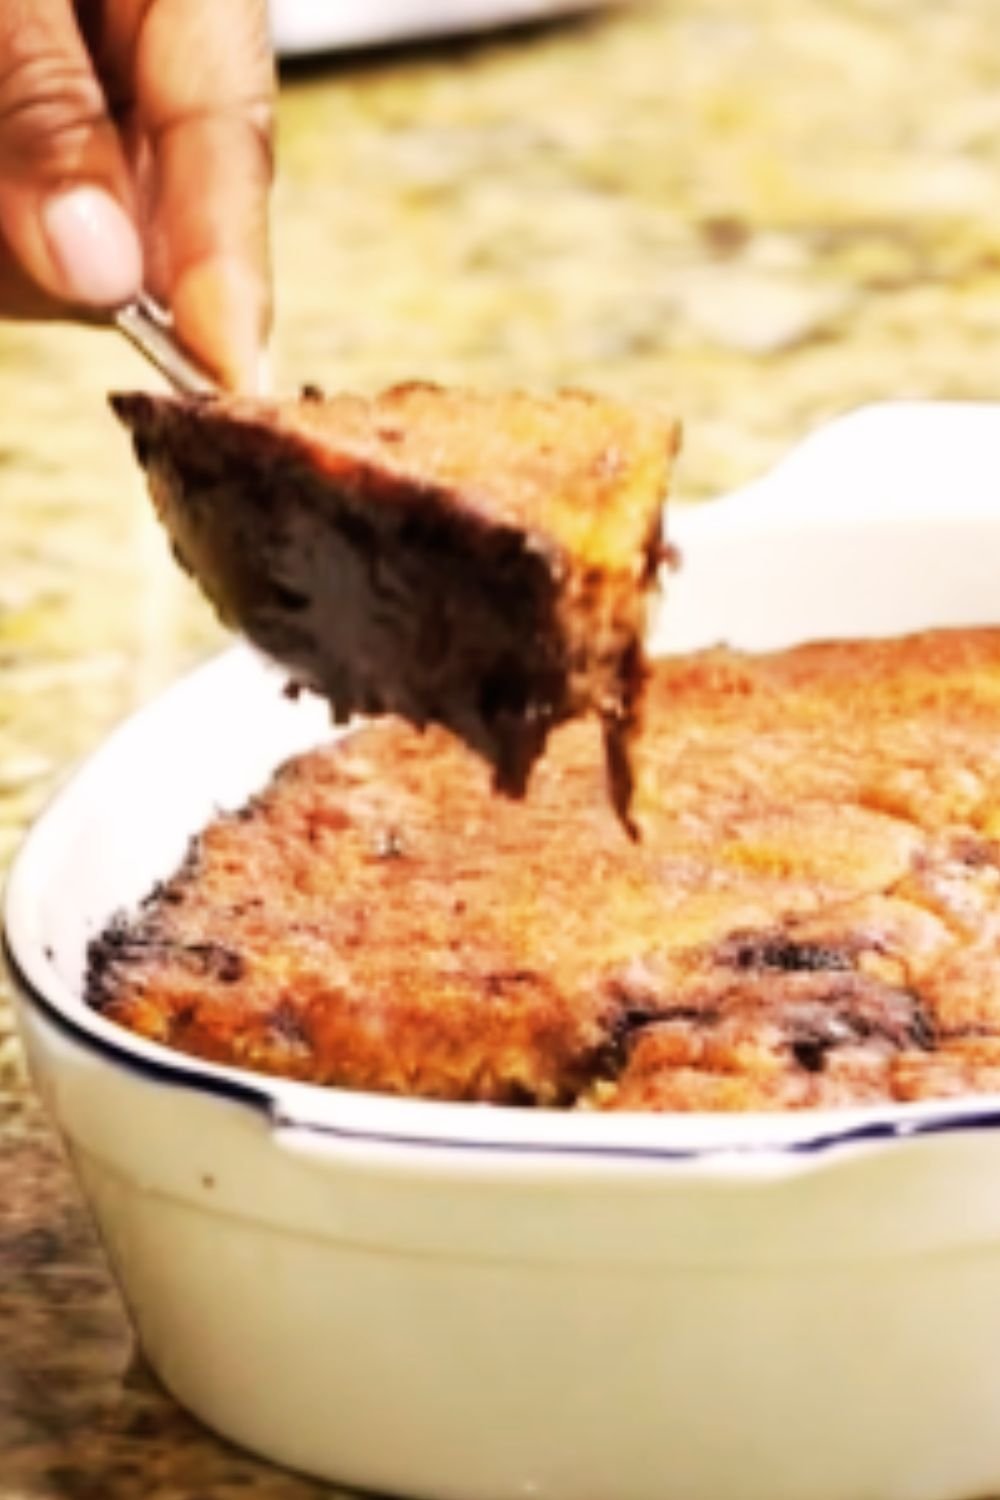
What makes chocolate cobbler special is its dual-textured charm. When you dig in with your spoon, you break through a soft, brownie-like crust only to discover a pool of warm chocolate sauce waiting beneath. It’s like having a rich chocolate cake and hot fudge sauce in one glorious, self-saucing package.
In this article, I’ll guide you through everything you need to know about making the perfect chocolate cobbler, from understanding its origins to troubleshooting common problems. Whether you’re a novice baker or a seasoned dessert enthusiast, you’ll find this decadent treat becomes a regular in your recipe rotation.
The History Behind Chocolate Cobbler
While most people are familiar with fruit cobblers—those rustic American desserts featuring fruit topped with a biscuit-like crust—chocolate cobbler is less well-known but equally deserving of attention.
The concept of self-saucing puddings has been around for generations, possibly originating from British steamed puddings. Chocolate cobbler specifically has roots in Southern American cooking, where resourceful home cooks created magical desserts with pantry staples. It shares similarities with other self-saucing desserts like chocolate pudding cake and lava cake, though with its own unique characteristics.
What distinguishes cobbler as a category is its preparation method—a batter or dough that gets partially submerged in liquid, creating distinct textural layers during baking. In fruit cobblers, the fruit juices bubble up around the topping; in chocolate cobbler, that magical hot water and cocoa powder create the sauce.
Essential Ingredients for Perfect Chocolate Cobbler
The beauty of chocolate cobbler lies in its simplicity. Most of the ingredients are pantry staples you likely already have on hand:
- All-purpose flour: The backbone of the cake layer, providing structure
- Granulated sugar: Sweetens the batter and contributes to the crisp top
- Unsweetened cocoa powder: The star of the show, used in both the batter and the sauce layer
- Baking powder: Creates lift in the cake portion
- Salt: Enhances all the flavors and balances sweetness
- Milk: Provides moisture to the batter
- Butter: Adds richness and helps create that crackly top crust
- Vanilla extract: Complements the chocolate flavor
- Brown sugar: Creates depth in the sauce layer
- Hot water: The secret ingredient that transforms into chocolate sauce during baking
For the best result, I recommend using high-quality cocoa powder. The difference between standard supermarket cocoa and premium Dutch-processed cocoa is noticeable in the final flavor. However, this recipe is forgiving enough that it tastes delicious regardless of the cocoa quality.
Special Equipment Needed
The beauty of chocolate cobbler is that it requires minimal special equipment:
- 8×8 or 9×9 baking dish (preferably ceramic or glass)
- Mixing bowls
- Measuring cups and spoons
- Whisk or wooden spoon
That’s it! No need for stand mixers, food processors, or special baking tools.

Step-by-Step Chocolate Cobbler Recipe
Now let’s get to the heart of this article—the recipe itself. Follow these instructions for chocolate cobbler perfection.
Ingredients
For the batter:
- 1 cup all-purpose flour
- 3/4 cup granulated sugar
- 2 tablespoons unsweetened cocoa powder
- 2 teaspoons baking powder
- 1/4 teaspoon salt
- 1/2 cup milk
- 1/3 cup unsalted butter, melted
- 1 teaspoon vanilla extract
For the topping:
- 3/4 cup brown sugar, packed
- 1/4 cup unsweetened cocoa powder
- 1 1/2 cups hot water
Instructions
- Preheat your oven to 350°F (175°C) and lightly grease an 8×8 or 9×9 baking dish.
- Prepare the batter: In a medium bowl, whisk together the flour, granulated sugar, 2 tablespoons cocoa powder, baking powder, and salt.
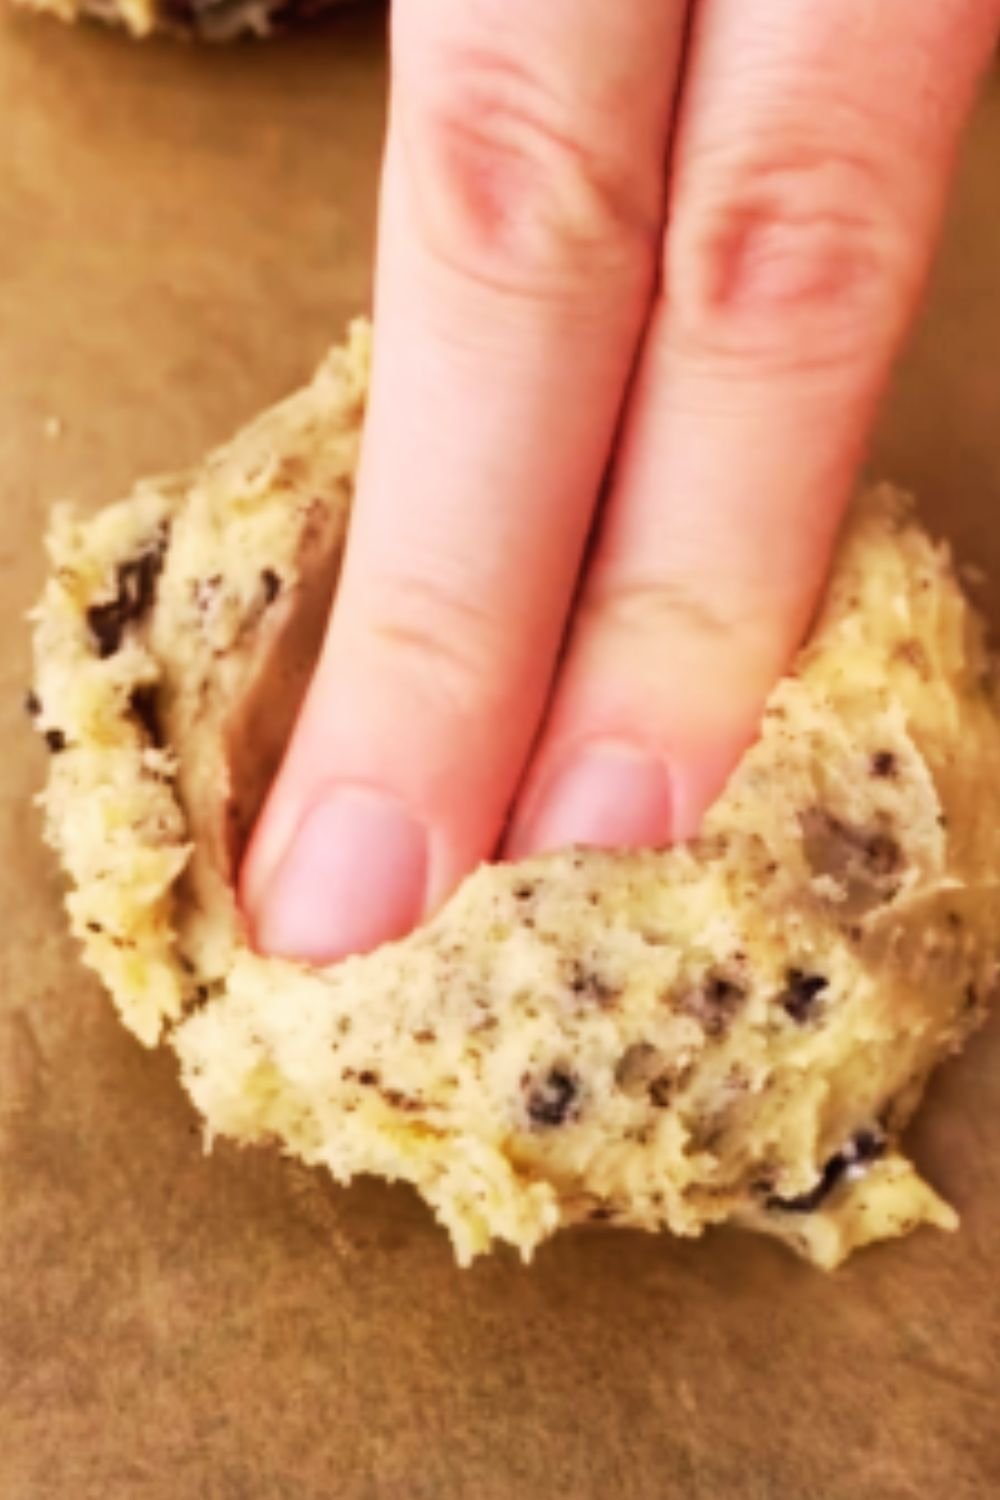
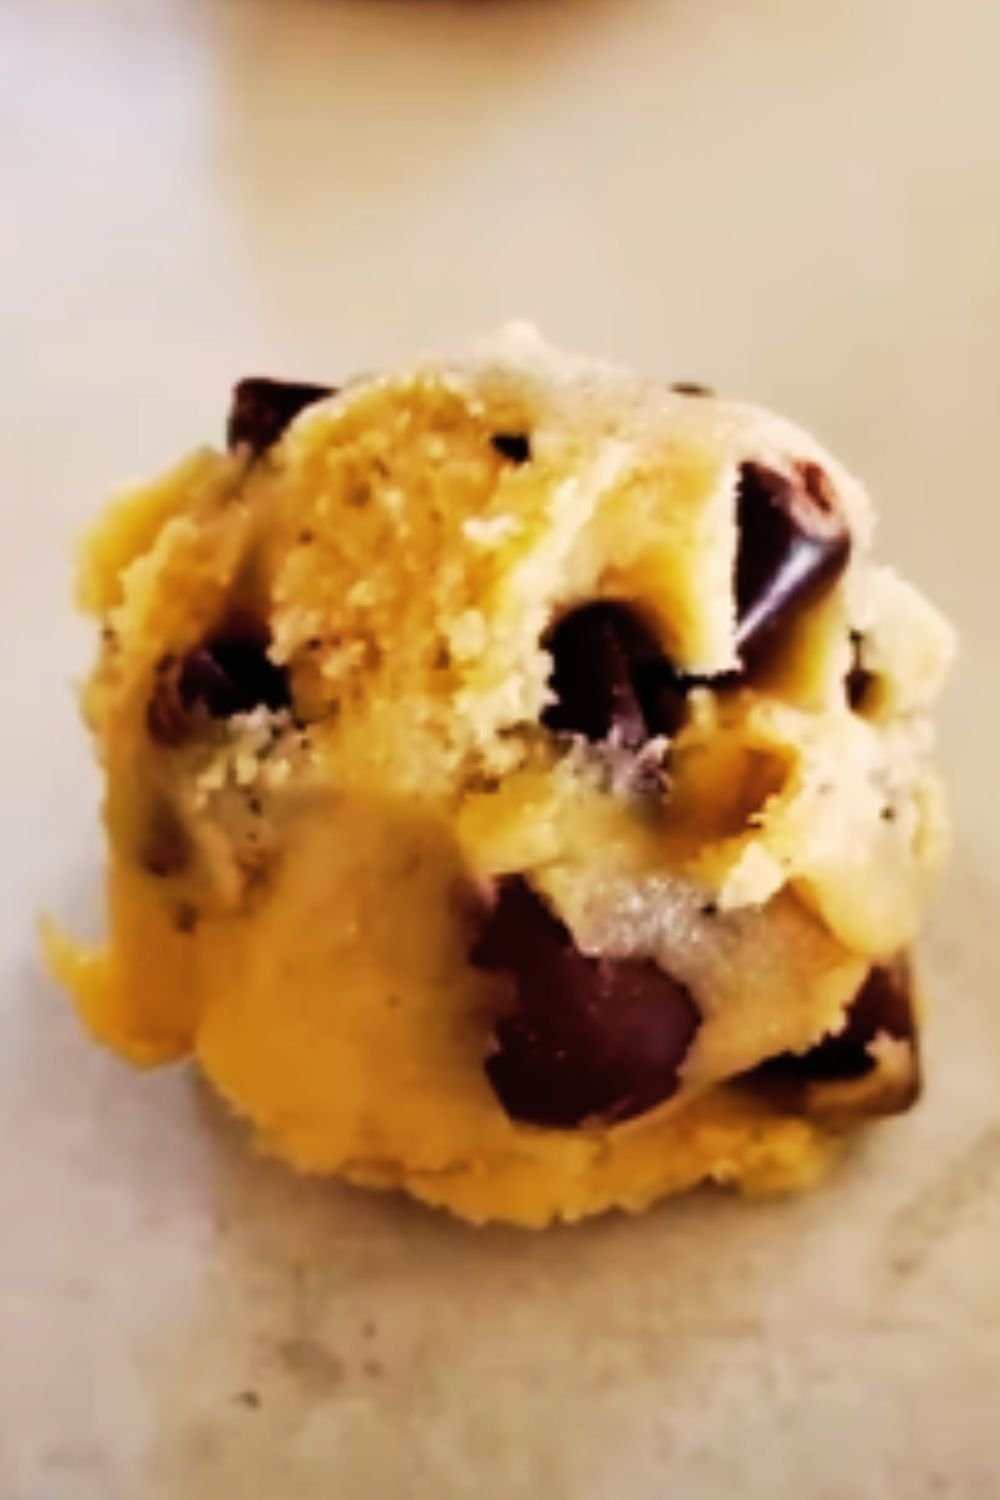
- Add wet ingredients: Stir in the milk, melted butter, and vanilla extract until well combined. The batter will be relatively thick, similar to cake batter.
- Transfer to baking dish: Spread the batter evenly in the prepared baking dish.
- Create the topping: In a separate bowl, combine the brown sugar and 1/4 cup cocoa powder. Sprinkle this mixture evenly over the batter in the dish.
- Add the magic: Carefully pour the hot water over the top. Do not stir! This is the step that seems counterintuitive but creates the pudding-like sauce underneath.
- Bake to perfection: Place in the preheated oven and bake for 35-40 minutes, until the top looks set but the center still appears slightly soft. The cake will rise to the top while the sauce forms underneath.
- Cool slightly: Allow the cobbler to cool for about 15 minutes before serving. This gives the sauce time to thicken slightly.
- Serve warm: Scoop portions into dessert bowls, making sure to get both the cake layer and plenty of the chocolate sauce beneath.
Nutritional Information
For those watching their intake, here’s a breakdown of the approximate nutritional content per serving (assuming 9 servings per recipe):
| Nutrient | Amount per Serving |
|---|---|
| Calories | 290 |
| Total Fat | 9g |
| Saturated Fat | 5.5g |
| Cholesterol | 23mg |
| Sodium | 170mg |
| Total Carbohydrates | 53g |
| Dietary Fiber | 2g |
| Sugars | 38g |
| Protein | 3g |
Keep in mind that these values will change if you add ice cream or other toppings!
Serving Suggestions and Variations
Chocolate cobbler is delicious on its own, but there are several ways to elevate it:
Classic Pairings
- Vanilla ice cream: The ultimate companion to warm chocolate cobbler, creating a hot-and-cold contrast that’s irresistible
- Freshly whipped cream: Lightens the richness of the dessert
- Fresh berries: Raspberries or strawberries add a tart counterpoint
- Chopped nuts: Toasted pecans or walnuts add wonderful texture
- Caramel sauce: For the truly indulgent, a drizzle of caramel creates a turtle-inspired dessert
- Coffee or espresso: The bitterness complements the sweet dessert perfectly
Creative Variations
Want to put your own spin on chocolate cobbler? Try these variations:
- Mocha Cobbler: Add 1 tablespoon of instant espresso powder to the batter
- Mexican Chocolate Cobbler: Include 1 teaspoon of cinnamon and a pinch of cayenne in the batter
- Double Chocolate Cobbler: Fold 1/2 cup chocolate chips into the batter before baking
- Mint Chocolate Cobbler: Add 1/4 teaspoon of mint extract to the batter
- Peanut Butter Swirl: Drop spoonfuls of peanut butter onto the batter and swirl gently before adding the topping
- Coconut Chocolate Cobbler: Add 1/2 cup toasted coconut to the topping mixture

Troubleshooting Common Chocolate Cobbler Problems
Even with such a straightforward recipe, things can occasionally go wrong. Here are solutions to common chocolate cobbler issues:
Too Soupy
Problem: The cobbler has too much liquid sauce and not enough cake.
Solutions:
- Your oven temperature might be too low. Consider checking with an oven thermometer.
- You may have added too much water. Measure carefully next time.
- Bake for an additional 5-10 minutes, keeping a close eye on it.
Too Dry
Problem: The cobbler doesn’t have enough sauce.
Solutions:
- You might have baked it too long. Reduce baking time by 5 minutes next time.
- The batter might have been too thick. Make sure you’re measuring flour correctly (spoon into measuring cup, don’t pack it).
- Increase the hot water by 1/4 cup next time.
Burnt Top
Problem: The top is burning before the inside is fully baked.
Solutions:
- Your oven might be running hot. Lower the temperature by 25°F.
- Position the rack in the middle of the oven rather than near the top.
- Place a sheet of aluminum foil loosely over the top during the last 10-15 minutes of baking.
Grainy Sauce
Problem: The chocolate sauce has a grainy texture.
Solutions:
- Make sure the brown sugar is fully dissolved in the hot water before pouring.
- Sift the cocoa powder to prevent clumps.
- Use slightly hotter water to help dissolve ingredients better.
Storing and Reheating
Chocolate cobbler is best enjoyed fresh from the oven, but leftovers can be stored and reheated:
- Refrigeration: Cover leftovers with plastic wrap or transfer to an airtight container. Refrigerate for up to 3 days.
- Reheating individual portions: Microwave for 20-30 seconds until warm. The sauce may have thickened in the refrigerator but will loosen up when heated.
- Reheating the entire cobbler: Cover with foil and warm in a 300°F oven for about 15-20 minutes.
- Freezing: While possible, freezing isn’t ideal as it changes the texture of the cake layer. If you must freeze it, thaw overnight in the refrigerator before reheating.
Health-Conscious Adaptations
Looking for ways to make this indulgent dessert a bit more waistline-friendly? Try these modifications:
- Reduce sugar: Cut the granulated and brown sugar by up to 1/4 cup each
- Use whole wheat pastry flour: Replace half the all-purpose flour for added fiber
- Add fruit: Mix fresh berries into the batter for natural sweetness and nutrients
- Portion control: Serve in small ramekins for built-in portion control
- Alternative milk: Use almond, oat, or other plant-based milk in place of dairy milk
- Light ice cream: If serving with ice cream, choose a lighter version or frozen yogurt
Remember that these changes will alter the taste and texture somewhat, but can make the dessert fit better into a balanced diet.
The Science Behind the Magic
What makes chocolate cobbler so fascinating is the chemistry happening in your oven. Let’s break it down:
When you pour hot water over the cocoa and sugar topping, it seems like you’re ruining the dessert. However, several processes occur during baking:
- Density differences: The cake batter is less dense than the water/cocoa mixture, so it rises to the top during baking.
- Steam generation: The hot water creates steam, which helps cook the batter from underneath while also creating air pockets that make the cake portion light and fluffy.
- Sugar dissolution: The brown sugar and cocoa powder dissolve in the hot water, creating a syrup that thickens as it heats in the oven.
- Maillard reaction: The top of the cake undergoes this chemical reaction between amino acids and reducing sugars, creating the beautiful brown color and enhancing flavor.
- Starch gelatinization: The flour’s starch absorbs liquid and sets as it cooks, creating the cake-like top layer.
The result is a perfect balance of textures: a tender cake floating atop a rich chocolate sauce, all from one simple preparation.

Seasonal Adaptations
While chocolate cobbler is delicious year-round, you can adapt it to match the seasons:
Spring
- Add fresh strawberries or rhubarb compote on top
- Garnish with edible flowers like violets or pansies
- Serve with a strawberry-infused whipped cream
Summer
- Pair with fresh cherries or blueberries
- Serve with a scoop of homemade vanilla bean ice cream
- Garnish with garden mint
Fall
- Add cinnamon, nutmeg, and a touch of clove to the batter
- Serve with spiced apple slices
- Top with pumpkin-spiced whipped cream
Winter
- Add a splash of peppermint extract
- Serve with a dollop of eggnog-flavored whipped cream
- Garnish with crushed candy canes during the holidays
Q&A Section: Your Chocolate Cobbler Questions Answered
Q: Can I make chocolate cobbler in advance for a dinner party? A: Yes, but it’s best prepared shortly before serving. You can mix the dry ingredients and the wet ingredients separately up to a day ahead, then combine and bake about an hour before serving. The magic happens when it’s fresh from the oven!
Q: Is chocolate cobbler the same as lava cake? A: While both have molten chocolate elements, they’re different desserts. Chocolate lava cake has a solid cake exterior with a purposely undercooked center that creates the “lava.” Chocolate cobbler has a distinct cake layer that forms on top while a separate sauce develops underneath during baking.
Q: Can I double this recipe for a larger crowd? A: Absolutely! Double all ingredients and use a 9×13 baking dish. You may need to increase the baking time by 5-10 minutes, but watch carefully as oven temperatures vary.
Q: Why is my cobbler sauce bitter? A: This usually happens when using natural cocoa powder that hasn’t been Dutch-processed. Try a different cocoa powder, or add an extra tablespoon of sugar to the topping mixture.
Q: Can I make this gluten-free? A: Yes, substitute the all-purpose flour with a 1:1 gluten-free flour blend. Look for one that contains xanthan gum for best results.
Q: How do I know when my chocolate cobbler is done? A: The top should appear set and cake-like, with some cracking. A toothpick inserted into the cake portion should come out mostly clean, though it will be covered in sauce if you push it all the way to the bottom.
Q: Why did my cake layer sink into the sauce? A: This usually happens if the batter is overmixed or if your baking powder is old. Be gentle when mixing the batter, and make sure your baking powder is fresh.
Q: Can I use dark brown sugar instead of light brown sugar? A: Absolutely! Dark brown sugar will give you a deeper molasses flavor and a slightly darker sauce.
Final Thoughts
Chocolate cobbler embodies everything wonderful about homestyle desserts: it’s unpretentious, comforting, and surprisingly magical. The contrast between the warm, cake-like top and the luscious sauce underneath makes each bite an experience to savor.
What I love most about this recipe is its accessibility. You don’t need to be a pastry chef or have special equipment to create something that will have everyone asking for seconds. It’s the perfect dessert for those moments when you want to impress without stress.
Next time you’re craving chocolate, skip the boxed brownie mix and give this chocolate cobbler a try. Whether you’re serving it at a family dinner, bringing it to a potluck, or simply treating yourself after a long day, it delivers maximum comfort with minimal effort. And isn’t that what great home cooking is all about?
Remember, the best part of cooking is making it your own. Don’t be afraid to experiment with the variations I’ve suggested or create your own signature version. The humble chocolate cobbler welcomes creativity almost as warmly as it welcomes a scoop of vanilla ice cream on top.