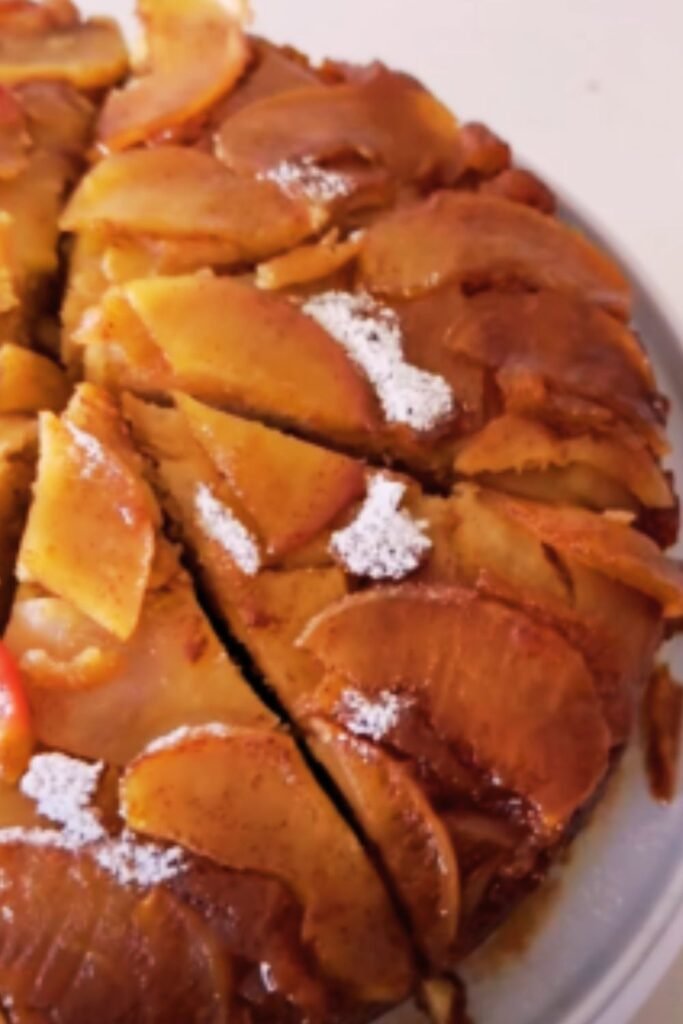
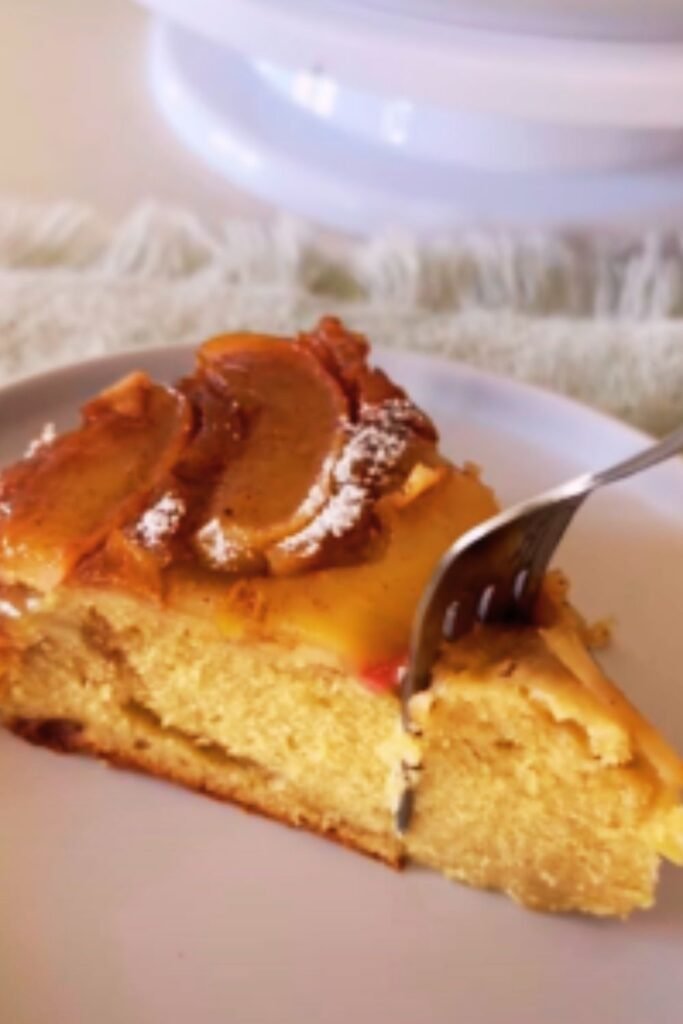
Fall is my absolute favorite time of year, and nothing says autumn quite like the irresistible combination of caramel and apples. Today, I’m sharing my go-to recipe for Caramel Apple Dessert Cups – individual servings of pure comfort that perfectly balance tart apples, sweet caramel, and buttery crumble. These delightful little cups are impressive enough for guests but simple enough for a cozy night in.
I’ve been perfecting this recipe for years, and trust me when I say these cups will disappear faster than you can say “apple picking season!” Let’s dive into everything you need to know to create these little cups of heaven.
What Makes These Caramel Apple Dessert Cups Special
Before we get to the recipe, let me tell you why these little dessert cups deserve a place in your regular rotation:
- Perfectly Portioned: Individual servings mean no messy cutting or serving – plus they look so much more elegant!
- Make-Ahead Friendly: Prepare components in advance and assemble before serving
- Customizable: Easy to adapt for dietary restrictions or personal preferences
- Crowd-Pleasing: Appeals to both kids and adults alike
- Seasonal Showstopper: Captures the essence of fall in each bite
Essential Ingredients
Let’s talk about what you’ll need to make these caramel apple cups truly shine:
For the Apple Filling
- 4 large apples (I prefer a mix of Honeycrisp and Granny Smith)
- 2 tablespoons unsalted butter
- ⅓ cup brown sugar, packed
- 1 tablespoon fresh lemon juice
- 1 teaspoon ground cinnamon
- ¼ teaspoon ground nutmeg
- ⅛ teaspoon ground cloves
- 1 tablespoon cornstarch
- 2 tablespoons water
- 1 teaspoon vanilla extract
For the Crumble Topping
- 1 cup old-fashioned rolled oats
- ½ cup all-purpose flour
- ½ cup brown sugar, packed
- ½ teaspoon ground cinnamon
- ¼ teaspoon salt
- ½ cup cold unsalted butter, cubed
For the Caramel Sauce
- 1 cup granulated sugar
- ¼ cup water
- ¼ cup heavy cream
- 4 tablespoons unsalted butter
- ½ teaspoon sea salt
- 1 teaspoon vanilla extract
For Assembly
- 8 serving glasses or mason jars (8-10 oz each)
- 1 pint vanilla ice cream (optional)
- Fresh mint leaves for garnish (optional)

Equipment You’ll Need
While this recipe doesn’t require any specialized equipment, having these tools will make preparation much easier:
- Medium saucepan for cooking apples
- Heavy-bottomed saucepan for caramel
- Mixing bowls of various sizes
- Measuring cups and spoons
- Sharp knife and cutting board
- Wooden spoon and silicone spatula
- Baking sheet for toasting crumble
- Serving glasses or mason jars
Detailed Instructions
Step 1: Prepare the Crumble Topping
I always start with the crumble topping because it can cool while I work on the other components:
- Preheat your oven to 350°F (175°C) and line a baking sheet with parchment paper.
- In a medium bowl, combine oats, flour, brown sugar, cinnamon, and salt.
- Add the cold butter cubes and use your fingertips to work the butter into the dry ingredients until the mixture resembles coarse crumbs with some pea-sized pieces remaining.
- Spread the mixture evenly on the prepared baking sheet.
- Bake for 15-20 minutes, stirring halfway through, until golden brown and fragrant.
- Remove from oven and let cool completely. The crumble will crisp up further as it cools.
Step 2: Make the Caramel Sauce
The homemade caramel sauce is what elevates these dessert cups from good to absolutely incredible:
- In a heavy-bottomed saucepan, combine sugar and water, stirring just until sugar is moistened.
- Heat over medium-high heat without stirring – swirl the pan occasionally if needed.
- Cook until the sugar turns a deep amber color, about 8-10 minutes (watch carefully as it can burn quickly).
- Remove from heat and carefully add heavy cream (mixture will bubble vigorously).
- When bubbling subsides, add butter and stir until smooth.
- Stir in salt and vanilla extract.
- Transfer to a heat-safe container and let cool to room temperature. The sauce will thicken as it cools.
Step 3: Prepare the Apple Filling
The apple filling is the heart of this dessert – the perfect balance of tart and sweet:
- Peel, core, and dice the apples into ½-inch cubes.
- In a medium saucepan, melt butter over medium heat.
- Add apples, brown sugar, lemon juice, cinnamon, nutmeg, and cloves.
- Cook for 5-7 minutes, stirring occasionally, until apples start to soften but still hold their shape.
- In a small bowl, mix cornstarch and water to create a slurry.
- Pour the slurry into the apple mixture, stirring constantly.
- Cook for an additional 1-2 minutes until the mixture thickens.
- Remove from heat and stir in vanilla extract.
- Allow to cool to room temperature.
Step 4: Assemble the Dessert Cups
This is where the magic happens – creating beautiful layers for both visual appeal and perfect flavor in every bite:
- Add about 2 tablespoons of caramel sauce to the bottom of each serving glass.
- Add a layer of the cooled apple filling (about 3-4 tablespoons per glass).
- Sprinkle a generous layer of the crumble topping.
- Repeat layers once more, ending with crumble on top.
- Drizzle with additional caramel sauce.
- If serving immediately, add a small scoop of vanilla ice cream and garnish with a mint leaf if desired.

Nutritional Information
For those watching their intake, here’s the approximate nutritional breakdown per serving (without ice cream):
| Nutrient | Amount per Serving |
|---|---|
| Calories | 485 |
| Total Fat | 24g |
| Saturated Fat | 15g |
| Cholesterol | 62mg |
| Sodium | 220mg |
| Total Carbohydrates | 68g |
| Dietary Fiber | 4g |
| Sugars | 52g |
| Protein | 3g |
| Calcium | 45mg |
| Iron | 1mg |
| Potassium | 220mg |
Variations to Try
One thing I love about these dessert cups is how versatile they are. Here are some of my favorite variations:
Dietary Adjustments
For those with specific dietary needs:
| Dietary Need | Substitution |
|---|---|
| Gluten-Free | Replace all-purpose flour with gluten-free flour blend and use certified gluten-free oats |
| Vegan | Use plant-based butter and coconut cream instead of heavy cream |
| Dairy-Free | Use coconut oil instead of butter and coconut cream instead of heavy cream |
| Lower Sugar | Reduce brown sugar by half and use a sugar-free caramel sauce |
| Nut Lovers | Add ½ cup chopped pecans or walnuts to the crumble topping |
Flavor Variations
Want to mix things up? Try these delicious flavor combinations:
| Variation | Changes to Make |
|---|---|
| Bourbon Caramel | Add 1 tablespoon bourbon to the caramel sauce |
| Maple Apple | Replace half the brown sugar with pure maple syrup |
| Chai Spiced | Add ¼ teaspoon cardamom and ⅛ teaspoon ground ginger to the apple filling |
| Salted Caramel Chocolate | Add 2 tablespoons cocoa powder to the crumble and extra sea salt to the caramel |
| Cranberry Apple | Add ⅓ cup dried cranberries to the apple filling |
Make-Ahead and Storage Tips
I often prepare components in advance, especially when entertaining:
Make-Ahead Schedule
| Component | Can Be Made | Storage Method |
|---|---|---|
| Crumble Topping | Up to 1 week ahead | Airtight container at room temperature |
| Caramel Sauce | Up to 2 weeks ahead | Refrigerated in sealed container; warm before using |
| Apple Filling | Up to 3 days ahead | Refrigerated in sealed container |
| Fully Assembled | Up to 24 hours ahead | Refrigerated; add ice cream just before serving |
Freezing Instructions
- Crumble Topping: Freezes beautifully for up to 3 months
- Caramel Sauce: Freeze in ice cube trays, then transfer to freezer bags for up to 3 months
- Apple Filling: Can be frozen for up to 3 months; thaw overnight in refrigerator
- Fully Assembled: Not recommended for freezing as textures will change
Serving Suggestions
These caramel apple dessert cups are certainly delicious on their own, but here are some ways to take them to the next level:
Topping Ideas
- Vanilla bean ice cream (my personal favorite)
- Freshly whipped cream
- Cinnamon whipped cream
- Crushed toffee bits
- Toasted coconut flakes
- Drizzle of warm caramel sauce
- Sprinkle of flaky sea salt
Beverage Pairings
- Hot apple cider
- Coffee or espresso
- Sparkling water with apple slices
- Hot chocolate for kids
- Warm chai tea

Troubleshooting Common Issues
Even experienced bakers can run into problems. Here are solutions to common issues:
| Problem | Possible Cause | Solution |
|---|---|---|
| Runny apple filling | Not enough cornstarch or insufficient cooking time | Cook filling longer or add 1 teaspoon additional cornstarch mixed with water |
| Burnt caramel | Heat too high or cooked too long | Start over with lower heat and watch carefully; amber color means done |
| Soggy crumble | Didn’t bake long enough or stored while warm | Ensure crumble is completely baked and cooled before assembling |
| Too sweet overall | Individual preferences vary | Reduce sugar in each component by 25% |
| Apples too soft | Overcooked or wrong variety | Cook for less time and use firmer apple varieties |
Seasonal Adaptations
While this dessert screams fall, you can enjoy variations year-round:
| Season | Fruit Adaptation | Spice Profile |
|---|---|---|
| Winter | Add pears with the apples | Add star anise and cardamom |
| Spring | Replace half the apples with strawberries | Use less cinnamon, add lemon zest |
| Summer | Replace half the apples with peaches | Add fresh ginger and reduce other spices |
| Fall | Classic apple version | Traditional warm spices as written |
The History Behind Caramel Apples
I’ve always been fascinated by food history. The caramel apple has been an American tradition since the 1950s when Kraft Foods employee Dan Walker created them as a way to use up excess caramels from Halloween. The individual caramel apple has evolved into many forms, including this deconstructed dessert cup version that offers all the flavors with more elegance and less mess!
Questions & Answers
I get a lot of questions about this recipe, so I’ve compiled the most common ones here:
Can I make this dessert without dairy? Yes! You can substitute coconut oil for butter and full-fat coconut milk for heavy cream in both the caramel and the crumble. The flavor will be slightly different but still delicious.
What are the best apples to use for this recipe? I recommend using a combination of tart and sweet apples. My favorite mix is Granny Smith (for tartness and structure) and Honeycrisp (for sweetness and flavor). Other good options include Braeburn, Pink Lady, or Jonagold.
Can I use store-bought caramel sauce to save time? Absolutely! While homemade caramel has a richer flavor, a good-quality store-bought caramel sauce works well in a pinch. Look for one made with real butter and cream.
How do I know when my caramel is the right color? This is tricky for beginners. The perfect caramel should be a deep amber color, similar to a copper penny. If it’s too light, it will lack flavor; too dark, and it will taste burnt. When in doubt, it’s better to remove it from heat slightly early than too late.
Can I serve these warm? Yes! While I’ve written the recipe for room temperature assembly, you can warm the apple filling before assembling and serve immediately with cold ice cream for a delightful temperature contrast.
How can I make this dessert less sweet? Reduce the sugar in the apple filling by half and use tart apples like Granny Smith. You can also reduce the sugar in the caramel sauce slightly, though this will affect its consistency.
Is there a quick version of this recipe? For a shortcut version, use store-bought granola for the crumble, canned apple pie filling (enhanced with fresh lemon juice and extra cinnamon), and prepared caramel sauce.
Why These Caramel Apple Dessert Cups Will Become Your Signature Dessert
After years of bringing these to gatherings, I can confidently say they’ve become my most requested recipe. There’s something magical about the combination of warm spiced apples, buttery crumble, and rich caramel that speaks to something deeply comforting in all of us.
What I love most is watching people’s faces light up with their first bite – that moment when the flavors meld together perfectly. These dessert cups have helped me create countless memories around the dinner table, and I hope they’ll do the same for you.
Whether you’re hosting a dinner party, contributing to a holiday meal, or simply treating yourself after a long day, these caramel apple dessert cups deliver the perfect balance of homey comfort and elegant presentation. Happy baking!

