Have you ever craved sushi but felt intimidated by the rolling process or didn’t want to spend money at a restaurant? I’ve been there too! After years of experimenting in my kitchen, I’ve perfected a solution that satisfies my sushi cravings without the fuss: the canned tuna sushi bowl. This deconstructed sushi experience delivers all the flavors you love with ingredients you likely already have in your pantry.
As someone who balances a busy schedule with a passion for healthy, flavorful meals, I’ve found this tuna sushi bowl to be a lifesaver on hectic weeknights. It combines the umami richness of sushi with the convenience of a bowl meal, making it perfect for lunch or dinner when time is of the essence.
Why Canned Tuna Works in a Sushi Bowl
Traditional sushi uses raw fish, but not everyone has access to sushi-grade seafood or feels comfortable preparing it. Canned tuna offers a brilliant alternative that’s:
- Budget-friendly (a fraction of the cost of sashimi-grade fish)
- Shelf-stable and always ready in your pantry
- Pre-cooked and safe to consume without special handling
- Rich in protein and omega-3 fatty acids
- Versatile enough to take on classic sushi flavors
When dressed properly with the right seasonings, canned tuna transforms into a delightful substitute that captures the essence of Japanese flavors while being accessible to everyone.
Essential Ingredients for Your Tuna Sushi Bowl
The beauty of this recipe lies in its flexibility, but there are some key components that create that authentic sushi experience:
| Ingredient Category | Options | Purpose | Quantity per Bowl |
|---|---|---|---|
| Rice Base | Short-grain Japanese rice, Brown rice, Cauliflower rice | Provides the foundation of the bowl | 3/4 – 1 cup cooked |
| Protein | Canned tuna in water/oil, Canned salmon | Main protein source | 1 standard can (5oz/142g) |
| Vegetables | Cucumber, Avocado, Carrots, Radish, Edamame | Adds freshness and texture | 1/4 cup each, choice of 3-4 |
| Seasonings | Rice vinegar, Soy sauce, Wasabi paste, Pickled ginger | Creates authentic sushi flavors | 1-2 tsp each, to taste |
| Toppings | Sesame seeds, Nori strips, Furikake, Green onions | Adds texture and umami flavor | 1-2 tsp each |
| Optional Add-ins | Mango, Cream cheese, Tobiko/fish roe, Sriracha mayo | Enhances flavor profile | Small amounts to taste |
Rice Selection and Preparation
The foundation of any good sushi bowl is properly seasoned rice. Here’s how I prepare mine:
Traditional Sushi Rice
- 1 cup short-grain Japanese rice
- 1 1/4 cups water
- 2 tablespoons rice vinegar
- 1 tablespoon sugar
- 1/2 teaspoon salt
- Rinse the rice thoroughly until the water runs clear
- Cook according to package directions (stovetop or rice cooker)
- While still hot, gently fold in the mixture of rice vinegar, sugar, and salt
- Let cool to room temperature for best flavor
Time-Saving Alternatives
- Use microwaveable Japanese rice pouches
- Substitute with cauliflower rice for a low-carb option
- Prepare a larger batch of sushi rice and refrigerate portions for quick meals throughout the week
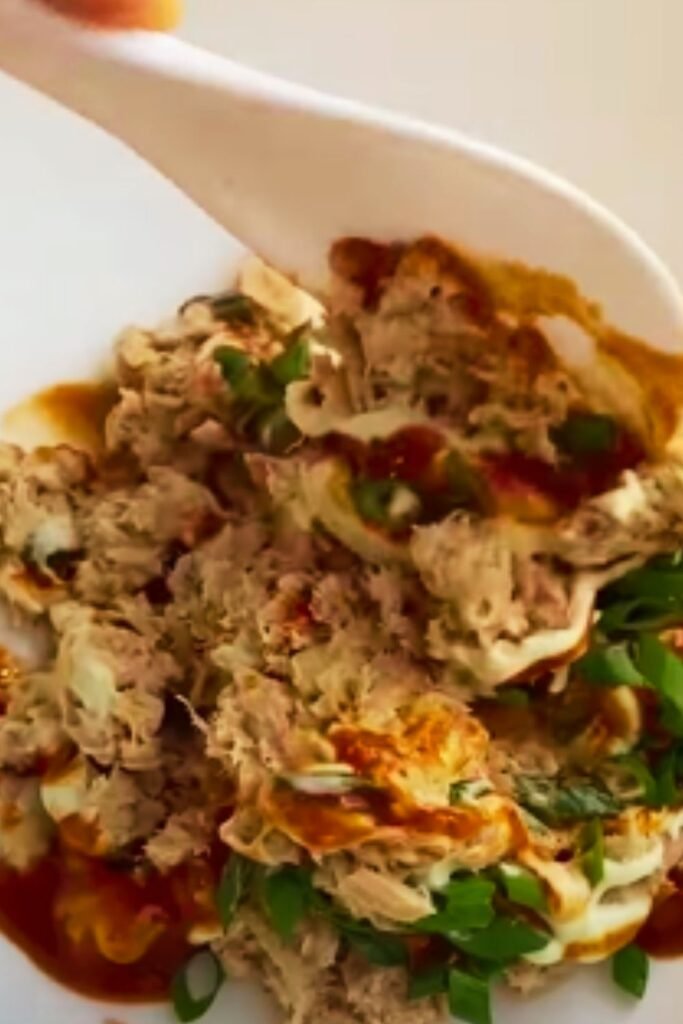
Transforming Canned Tuna into a Sushi-Worthy Ingredient
The secret to elevating canned tuna from a sandwich staple to a sushi bowl star lies in the preparation and seasoning. Here’s my foolproof method:
- Drain the canned tuna thoroughly (excess liquid can make your bowl soggy)
- Flake the tuna into a bowl using a fork
- Season with a mixture of:
- 1 tablespoon mayonnaise (Japanese Kewpie mayo if available)
- 1 teaspoon soy sauce
- 1/2 teaspoon sesame oil
- 1/4 teaspoon wasabi paste (adjust to your heat preference)
- Mix gently to maintain some texture rather than creating a paste
- Let the flavors meld for 5-10 minutes before assembling your bowl
This simple treatment transforms the tuna completely, giving it a rich, savory quality that mimics the flavor profile of more expensive fish options.
Choosing the Right Canned Tuna
Not all canned tuna is created equal. Here’s what I look for:
| Tuna Type | Flavor Profile | Best Uses in Sushi Bowls |
|---|---|---|
| Solid white albacore in water | Mild, firm texture, less fishy | When you want distinct tuna pieces |
| Chunk light tuna in water | Stronger flavor, softer texture | When mixing with stronger seasonings |
| Tuna in olive oil | Rich, moist texture | When you want a more indulgent bowl |
| Flavored tuna packets | Various (lemon pepper, sriracha, etc.) | When you want a quick flavor boost |
I personally prefer solid white albacore for its firmer texture and milder flavor, which works well with delicate sushi seasonings.
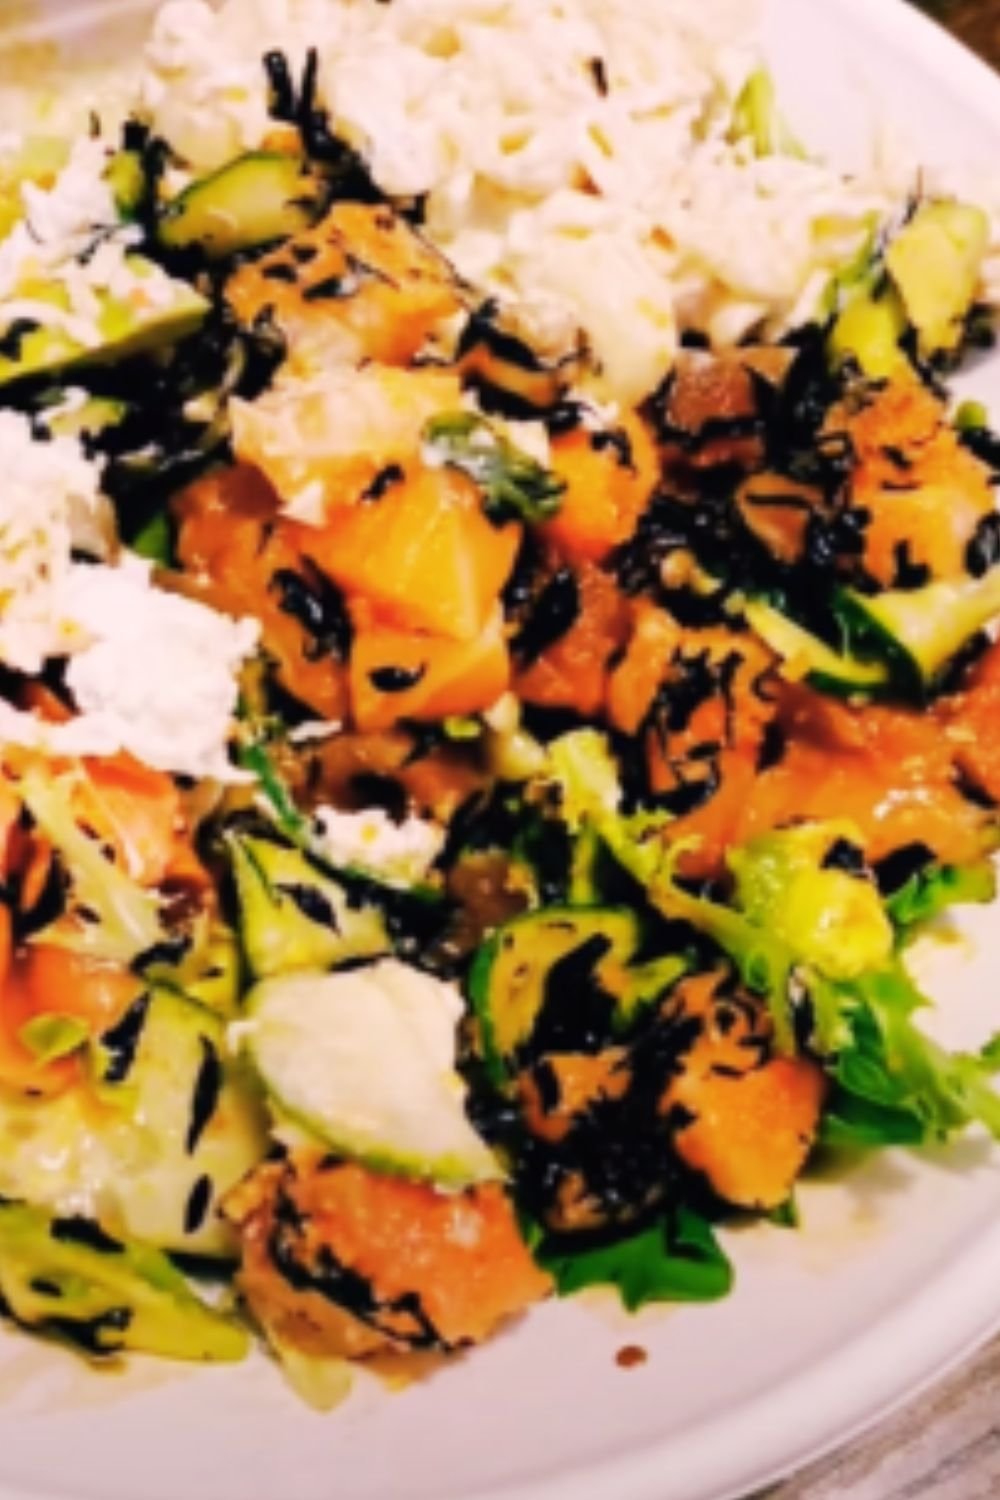
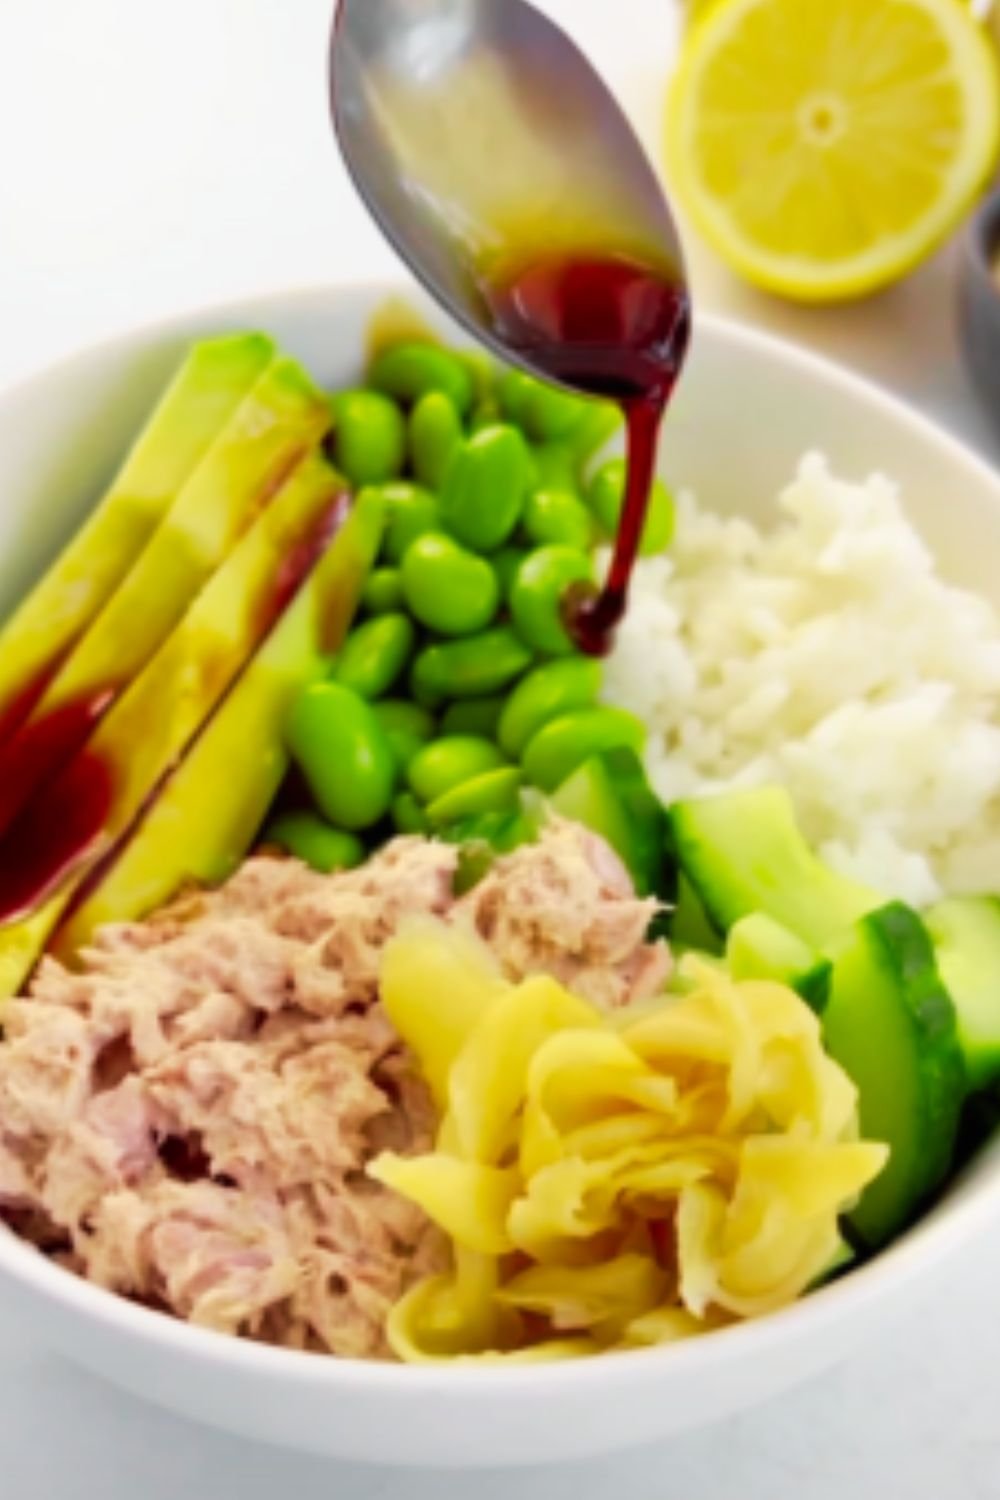
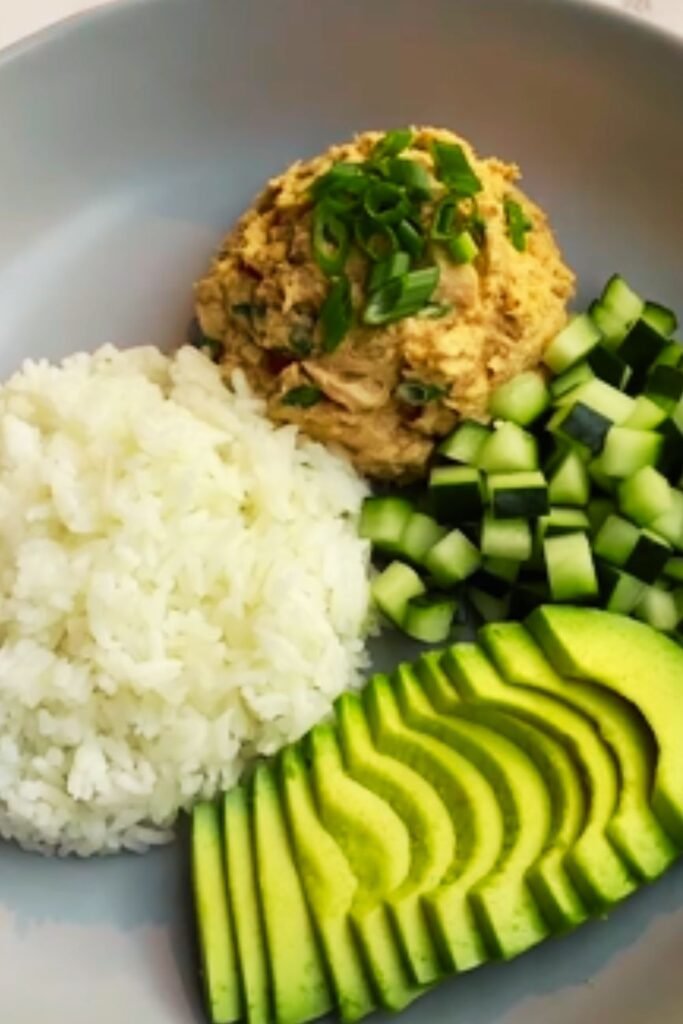
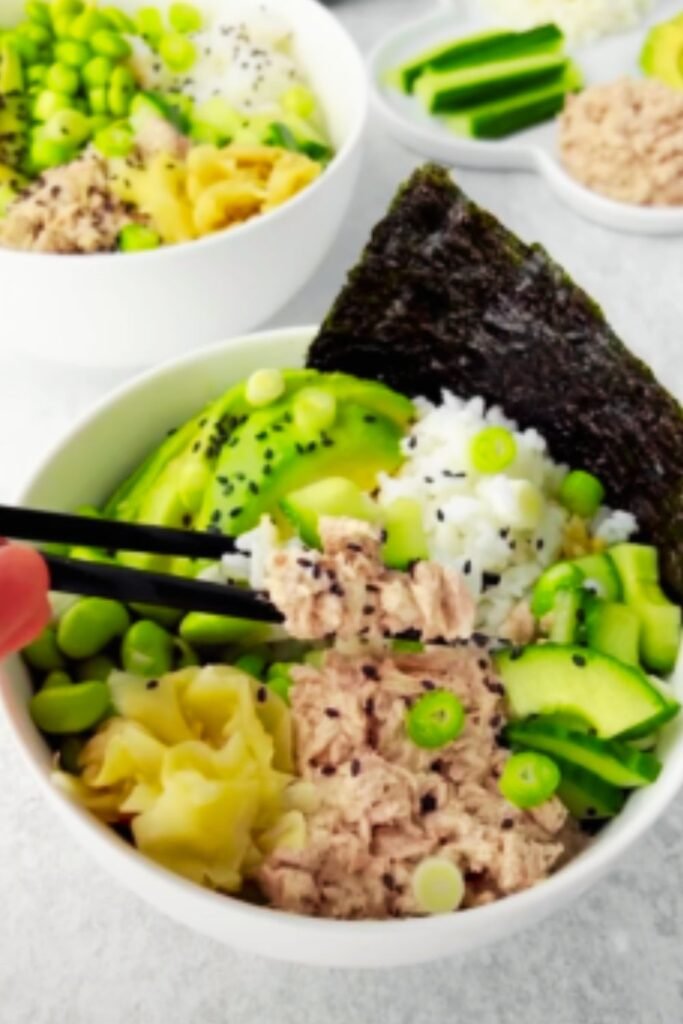
Building Your Bowl – Assembly Process
The art of the perfect sushi bowl lies in thoughtful layering and arrangement. Follow this sequence for the most visually appealing and functionally balanced bowl:
- Layer the base: Start with seasoned rice, shaped into an even layer covering about 2/3 of your bowl
- Add the protein: Place your seasoned tuna in a mound covering about 1/4 of the rice surface
- Arrange vegetables: Position your prepped vegetables in separate sections around the bowl
- Add color accents: Include pickled ginger, avocado slices, or mango for pops of color
- Finish with toppings: Sprinkle sesame seeds, crumbled nori, and green onions across the top
- Garnish: Add a small dollop of wasabi and a light drizzle of soy sauce or spicy mayo
This method creates a visually stunning bowl that allows you to enjoy each component individually or mix them together for the perfect bite.
Cutting Techniques for Bowl Components
The way you prepare your vegetables can make a significant difference in both appearance and eating experience:
| Vegetable | Cutting Technique | Benefits |
|---|---|---|
| Cucumber | Thin half-moons or matchsticks | Adds crunch and freshness |
| Avocado | Thin slices or small cubes | Provides creamy texture |
| Carrots | Julienned or ribbon peeled | Creates visual interest and easier eating |
| Radish | Paper-thin rounds or matchsticks | Adds peppery crunch |
| Mango | Small cubes | Introduces sweet contrast |
I prefer to cut everything into bite-sized pieces that don’t require further cutting when eating. This makes the bowl more enjoyable and authentic to the sushi experience.
Five Creative Tuna Sushi Bowl Variations
Once you’ve mastered the basic formula, try these variations to keep your meals interesting:
1. Spicy Tuna Sushi Bowl
- Mix tuna with 1 tablespoon sriracha mayo and 1/4 teaspoon togarashi spice
- Top with sliced jalapeños and extra sriracha drizzle
- Add cucumber and avocado for cooling elements
2. California Roll Bowl
- Combine tuna with a small amount of kewpie mayo
- Add avocado chunks, cucumber, and imitation crab if desired
- Sprinkle with toasted sesame seeds and extra nori
- Drizzle with unagi sauce for sweetness
3. Rainbow Bowl
- Use tuna as your base protein
- Add as many colorful vegetables as possible: red bell pepper, purple cabbage, yellow mango, avocado, cucumber
- Create a colorful arrangement resembling a rainbow
- Finish with black sesame seeds for contrast
4. Poke-Style Bowl
- Marinate tuna in a mixture of soy sauce, sesame oil, and rice vinegar
- Add edamame, cucumber, and diced pineapple
- Top with crispy fried onions and a drizzle of ponzu sauce
- Sprinkle with furikake seasoning
5. Mediterranean Fusion Bowl
- Season tuna with lemon juice, olive oil, and dill
- Add cherry tomatoes, cucumber, and kalamata olives
- Include a dollop of tzatziki sauce
- Use a rice and quinoa blend as the base
These variations keep this simple meal concept fresh and exciting, allowing you to enjoy it multiple times a week without boredom.
Nutritional Benefits of Tuna Sushi Bowls
I’m always conscious about balancing flavor with nutrition, and tuna sushi bowls excel in both areas:
| Ingredient | Key Nutrients | Health Benefits |
|---|---|---|
| Canned Tuna | Protein, Omega-3 fatty acids, Vitamin D, Vitamin B12 | Supports heart health, muscle maintenance, brain function |
| Brown Rice | Complex carbohydrates, Fiber, Magnesium | Provides sustained energy, supports digestion |
| Avocado | Healthy fats, Potassium, Folate | Promotes satiety, skin health, and nutrient absorption |
| Cucumber | Water, Vitamin K, Antioxidants | Hydration, anti-inflammatory benefits |
| Seaweed/Nori | Iodine, Iron, Vitamin C | Supports thyroid function, unique marine nutrients |
| Edamame | Plant protein, Fiber, Isoflavones | Hormone balance, heart health |
A typical tuna sushi bowl contains approximately:
- 400-500 calories
- 25-30g protein
- 50-60g carbohydrates
- 15-20g healthy fats
This macronutrient profile makes it an excellent balanced meal that keeps you satisfied without weighing you down.
Make-Ahead Tips and Storage
One of the reasons I love this recipe is its meal-prep potential. Here’s how I optimize it for busy weeks:
Components to Prep in Advance
- Rice: Cook and season a large batch of sushi rice, portion into containers, and refrigerate for up to 3 days
- Vegetables: Cut cucumber, carrots, and radishes and store in water in the refrigerator for up to 3 days
- Seasoned tuna: Mix with seasoning and store separately for up to 2 days
- Sauces: Prepare spicy mayo, unagi sauce, or other dressings and keep in squeeze bottles
Assembly Strategies
- Complete bowls: Assemble entire bowls without sauces for up to 24 hours
- Component storage: Keep ingredients separate and assemble just before eating
- Avocado hack: Store cut avocado with the pit and a squeeze of lemon juice to prevent browning
Storage Guidelines
| Component | Refrigerator Storage | Freezer Storage | Notes |
|---|---|---|---|
| Cooked sushi rice | 3-4 days | 1 month | Reheat with a sprinkle of water to restore texture |
| Seasoned tuna | 2 days | Not recommended | Keep well-sealed to prevent odors |
| Cut vegetables | 3-5 days | Not recommended | Store in water for crispness |
| Assembled bowls | 24 hours | Not recommended | Keep sauce separate until serving |
By preparing components ahead of time, you can enjoy a fresh sushi bowl experience in just minutes when hunger strikes.
Serving Suggestions and Pairings
While these bowls are satisfying on their own, I like to enhance the meal experience with thoughtful accompaniments:
Beverage Pairings
- Japanese green tea (hot or iced)
- Sparkling water with cucumber and lime
- Iced jasmine tea
- Ginger kombucha
Side Dishes
- Miso soup
- Edamame with sea salt
- Simple cucumber salad with rice vinegar dressing
- Seaweed salad
Dessert Options
- Mochi ice cream
- Fresh fruit with honey and ginger
- Green tea cookies
- Baked cinnamon apple slices
The light, refreshing nature of these accompaniments complements the savory, umami-rich flavors of the sushi bowl without overwhelming them.
Troubleshooting Common Issues
Even simple recipes can sometimes present challenges. Here are solutions to common problems:
Problem: Rice is too sticky or mushy
Solution: Reduce water slightly when cooking, make sure to let rice cool before seasoning, and don’t overmix
Problem: Tuna mixture is too dry
Solution: Add an extra teaspoon of mayo or a drizzle of olive oil to reach desired consistency
Problem: Flavors lack depth
Solution: Add more umami elements like extra soy sauce, a sprinkle of MSG, or additional furikake seasoning
Problem: Bowl is too bland overall
Solution: Include pickled elements like ginger, kimchi, or quick-pickled vegetables for flavor contrast
Problem: Components don’t stay fresh in meal prep
Solution: Store wet ingredients separately from dry ones, and add avocado just before serving
Budget-Friendly Tips for Sushi Bowl Ingredients
Making these bowls doesn’t have to break the bank. Here’s how I maximize value:
| Ingredient | Money-Saving Tip | Estimated Savings |
|---|---|---|
| Canned Tuna | Buy in bulk when on sale, store brand options | 30-40% |
| Rice | Purchase in larger quantities, wholesale stores | 50-60% |
| Avocados | Buy firm and ripen at home, freeze extras | 20-25% |
| Nori | Buy full sheets and cut yourself instead of pre-cut snack packs | 70-80% |
| Seasonings | Check Asian grocery stores for better prices on specialty items | 40-50% |
| Fresh Vegetables | Use seasonal options, farmers markets for better value | 30-40% |
By implementing these strategies, you can reduce the cost per bowl to approximately $2-3, compared to $12-15 for a comparable restaurant option.
Questions & Answers
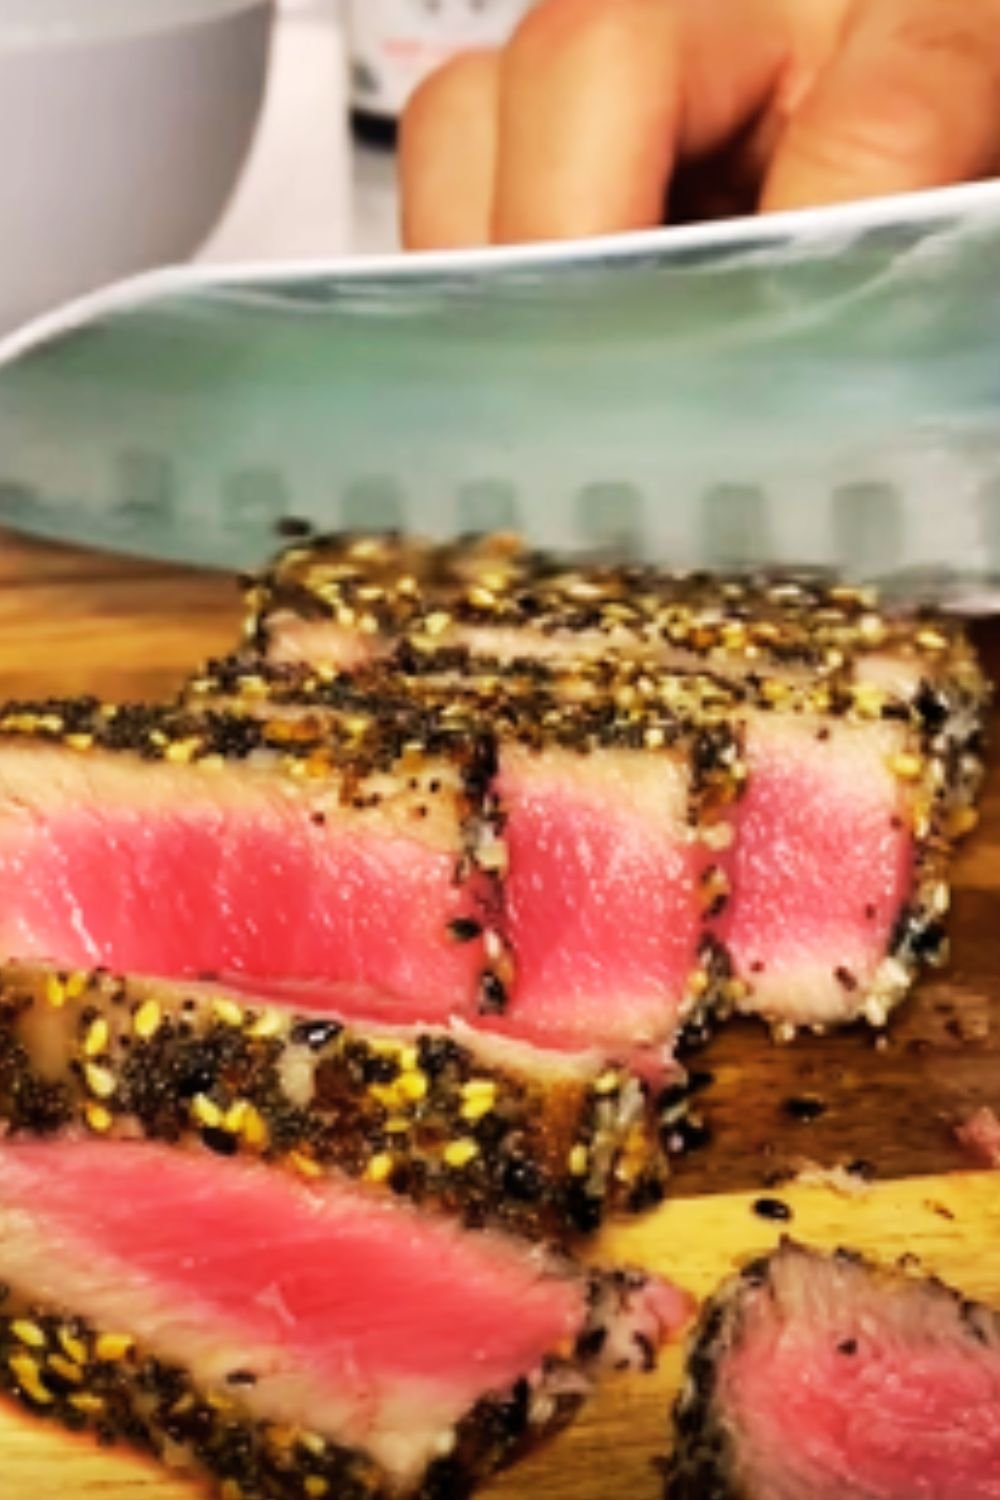
Q: Can I use fresh tuna instead of canned? Yes! If you have access to sushi-grade tuna, you can dice it and use it raw. Alternatively, you can quickly sear fresh tuna steaks, let them cool, and dice them for your bowl. Just be sure to use proper food safety practices when handling raw fish.
Q: Is there a vegetarian alternative to this recipe? Absolutely! You can substitute the tuna with marinated tofu, tempeh, or even cooked mushrooms seasoned with similar flavors. Edamame also makes an excellent protein-rich alternative.
Q: How do I make this recipe gluten-free? Use tamari or certified gluten-free soy sauce instead of regular soy sauce. Also check that your furikake seasoning and other prepared ingredients don’t contain hidden gluten.
Q: My children don’t like spicy foods. How can I adapt this for a family meal? Omit the wasabi and spicy mayo from the base recipe. Instead, set up a “sushi bowl bar” with components in separate bowls, allowing family members to customize their own bowls. Offer mild options like sweet unagi sauce for kids while adults can add spicier elements to their portions.
Q: Can I make this recipe keto-friendly? Yes! Replace the rice with cauliflower rice seasoned with the same vinegar mixture. Increase the avocado portion for healthy fats and be mindful of any sauces that might contain sugar.
Q: How long will this stay fresh if I’m taking it to work for lunch? If properly refrigerated, an assembled bowl will remain fresh for about 4-6 hours. For best results, pack the components separately and assemble just before eating, or keep the sauces separate until ready to eat.
Q: What’s the best way to transport this for lunch without making it soggy? Use a bento-style container with compartments to keep wet ingredients separate from dry ones. Place the rice at the bottom, tuna in one compartment, vegetables in another, and sauces in a small container. This prevents everything from mixing until you’re ready to eat.
Q: Can I use different types of seafood in this bowl? Definitely! Canned salmon works wonderfully, as does imitation crab, cooked shrimp, or even smoked fish. You can also mix different proteins for more variety.
Final Thoughts: Why This Recipe Will Become a Staple
After discovering how simple it is to satisfy my sushi cravings with this quick and economical alternative, I’ve made tuna sushi bowls a regular part of my meal rotation. They offer that perfect balance of being healthy yet indulgent, quick yet sophisticated.
What I love most about this recipe concept is its infinite adaptability. As the seasons change, as your pantry contents fluctuate, or as your taste preferences evolve, this basic formula can transform to meet your needs. It’s truly a template for creative expression as much as it is a recipe.
Whether you’re a sushi aficionado looking for a quick fix or someone new to Japanese flavors seeking an approachable entry point, this canned tuna sushi bowl delivers satisfaction without complexity. It’s proof that sometimes the most satisfying culinary experiences come not from elaborate techniques or expensive ingredients, but from thoughtful combinations of simple elements brought together with care.
So the next time your sushi craving strikes, remember that the solution might already be waiting in your pantry. With just a few minutes and some basic ingredients, you can create a bowl that honors the spirit of traditional sushi while embracing modern convenience. Your taste buds—and your wallet—will thank you.